Learning to Decorate Fancy Sugar Cookies
I still remember the first time I was scrolling through Pinterest and saw . . . THEM. I will never forget those first, fancy sugar cookies I saw– Santa Claus cookies with sparkling sugar beards and just a wisp of cheery blush on their cheeks. The details were incredible– his glasses were metallic silver, and his eyes glittered black with a dot of white for color. They were fabulous. How in the world could these be cookies???? I just had to find out.
And an obsession began.
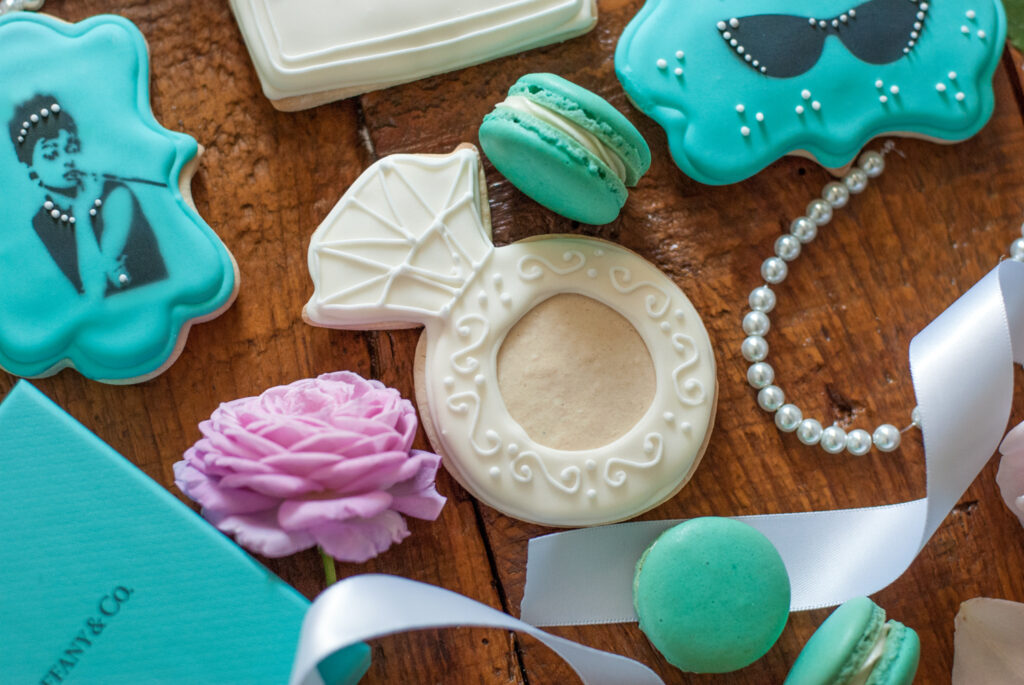
That day was the first day in what became a lifelong hobby and point of interest for me– how to make cookies so realistic that they were almost “too pretty to eat.” I had never used royal icing before then, and I had never even heard of meringue powder. I was absolutely clueless. But you know me. I decided to start working with both right away. Hey– there’s no better teacher than jumping in feet first, right?
Ohhhhhh the treacherous learning curves I had to navigate! I had no idea what I was doing when I first started. My ridiculously unhelpful royal icing dried up like cement in the piping tips when I left them out on the counter for a few minutes (not realizing that royal icing needs to be covered at all times). After scraping it out with a toothpick, I tried piping the monstrous mélange onto my carefully mixed, cut out, and baked cookies. Ohhhhh the humanity! My icing would sit perfectly for a second, then it would slowly ooze off the cookie like some kind of deadbeat parent trying to quietly escape his responsibilities before the cops showed up. When I tried the infamous “wet on wet” technique, my cookies overflowed like the Johnstown Flood. It would have been so much easier to give up and just buy cookies like everybody else, but I’m stubborn, and I kept practicing. All artists were first amateurs, and I knew that if they could learn to do it, then so could I.
The first (and most important) thing when learning to decorate “fancy schmancy” sugar cookies is that it takes practice. Oh my goodness. So. Much. Practice. I must have made hundreds, if not thousands of cookies before I started really liking how my work was turning out.
There are many ways you can practice. And surprisingly, not all of them involve baking cookies (because what is more demoralizing than seeing your lovingly crafted cookie children being smeared with mistakes of gooey icing and thrown away? It’s gut wrenching). You can decorate anything, really– one of my favorite practice mediums is a piece of wax paper placed on top of a printed template. That way you can practice your piping and just throw away your practice paper, rather than having tons of ugly cookies lying around whispering, “Give up baby. You ain’t got da’ skilllllzzzzzzz . . .”). Another alternative is the “Notacookie,” which is a plastic cookie that you can decorate and then wipe off before decorating again. Yes. They really do make these. Told you– you aren’t alone.
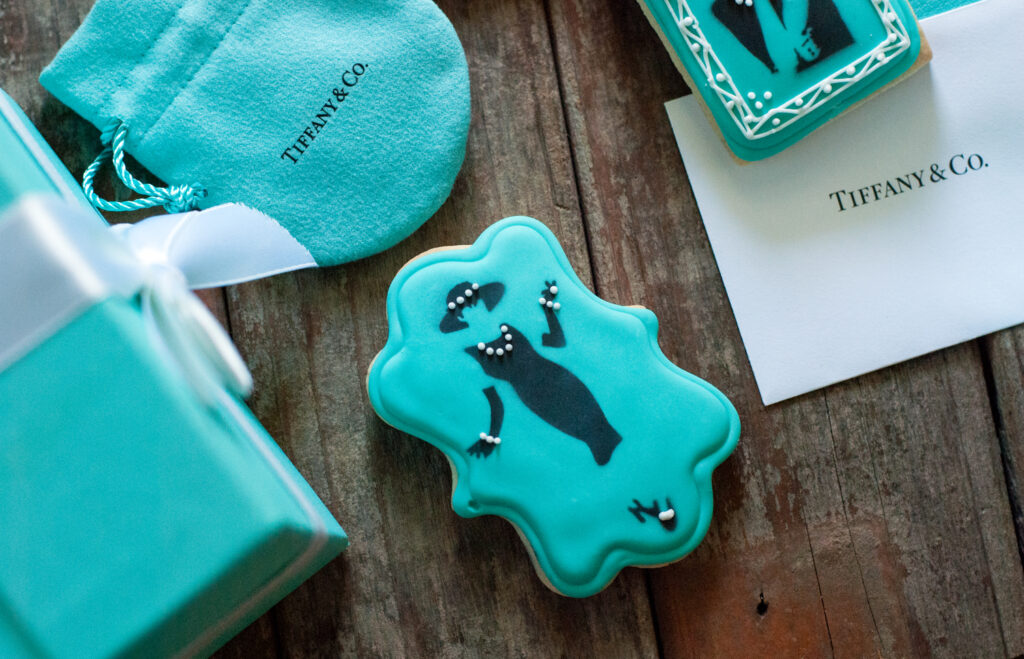
Now, let’s talk about one of my favorite subjects– cookies. What kind of cookies should you be making if you intend to practice using real cookies? When I was at the feverish height of my home “cookie college” experience (of which I was teacher, student, and also custodian, I suppose), I baked so many cookies it was unbelievable. I baked them in all shapes and sizes and colors. And my friends, eventually everyone you know will get sick of cookies. Yes. Everyone.
I’m looking at you, UPS man. Because eventually you will have so many of those darned things that you reach out to literally everyone you know, everyone you have ever met, and everyone that your friends know or have ever heard of, to give him or her a cookie. It’s a maniacal miracle, this cookie madness. You will take cookies to work. Cookies to church. Cookies to the doctors’ office for the wait staff. You will become very popular, as if by magic. But still, you will bake on, determined to get it *just* right.
Take my advice– think outside the box when you’re decorating. As I mentioned, above, you technically don’t even NEED cookies when you’re just starting to learn to decorate. The old wax paper works just fine as you learn to master the consistency of royal icing.
Use fake cookies. Save a friend.
HOWEVER. If you’re a purist at heart who buys only real, organic, grass fed, made in Ireland by cows that dance the reel and have red hair butter, and you are opposed to everything plastic and fake and “wax papery” and want to use REAL COOKIES EVERY TIME, the great part about this is that you can use any cookies you like (even if they aren’t sugar cookies).
Say what???? Yes. I’m making all your cookie dreams come true. You’re welcome.
The “cut and bake” kind of “cheater cookies” work just fine. You can decorate store-bought sugar cookies, too. If you’re super ambitious and have a death wish, you can make all your own cookies from scratch using your favorite recipe (I use sugarbelle’s recipe, here). Eventually you will become a better decorator and you won’t need to make as many “throwaway, mistake cookies” to get your design right. And at that point, when your cookies start to reflect quality over quantity, you will know that you did it. You may be on the caboose of the cookie artist train, but girl, you got on board. You’re amazing. I love working with you.
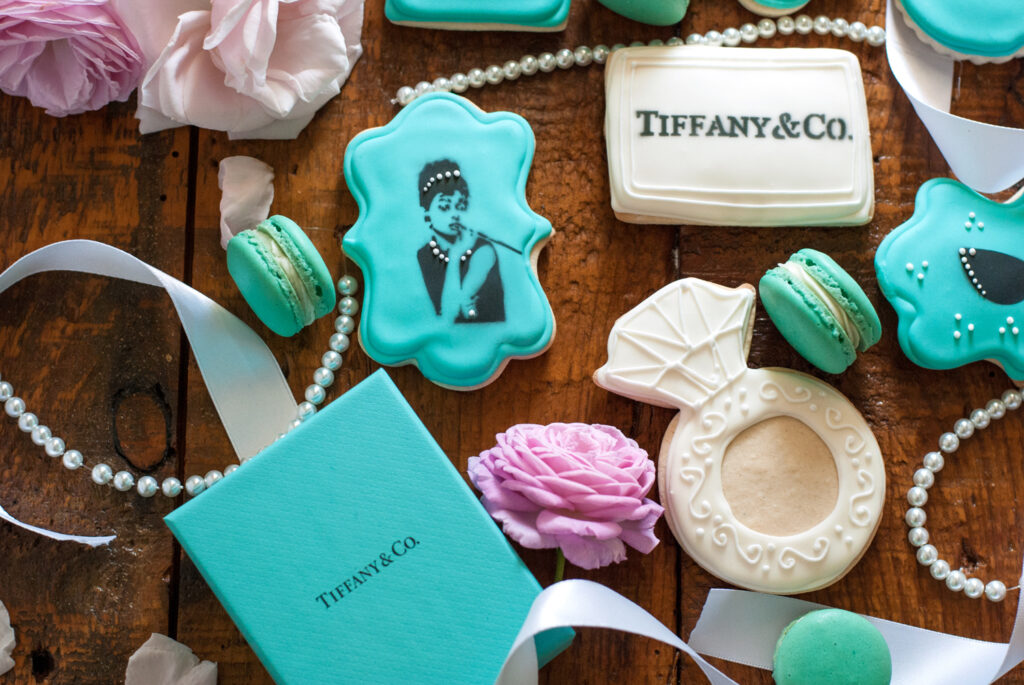
Now let’s talk cutters. Ahhhh yes. Every cookier’s nightmare. Yes, “cookier” really is a term. Now that you are one of us, you are a cookier, too. It’s a free title. Take a couple for later.
One problem that I ran into fairly early in my cookie decorating journey was that I always seemed to need a specialty cutter that I would use only once and then have to store somewhere on my already cramped baking shelves. Eventually I got so many of them that I could have practically created cookies for a small country. Cutters are unique, bulky, and sometimes expensive, and space in my modest kitchen is at a premium. Unlike biscuit cutters, the unique shapes mean that these guys can’t “nest” to save space. You end up with bags and bags of weird, forgotten metal figurines, and even if you know you have that ONE cutter *somewhere*, half the time you can’t even find it in all the metallic chaos that has become your cookie cutter collection.
You can get past that problem by making your own cookie cutters (see my tutorial here). I use aluminum sheeting (I am still using the same piece, almost 5 years later), but you can also use a rinsed out soda can, cut into 1 inch strips. Just be careful of the sharp edges– cover them with tape if they are too sharp to work with. I don’t want your blood on my hands. Or, you know, your hands. Anyone’s hands. I don’t want your blood on anyone’s hands, including yours. Stay safe. Use tape.
When you make your own cutters you don’t have to specially purchase unique ones that you are going to use only once. You also don’t have to feel too badly if you recycle the cutter when you’re finished using it. If you should ever need that shape again (doubtful), then you know how to make it. If you are going to become serious about cookie decorating, then making your own cutters is a skill you should learn to save money and space.
It also eliminates that weird problem you get when someone asks for “cookies that look like my grandma.” Um, ok. Now you can make granny’s head yourself, because you won’t find that cutter for sale anywhere. Let them deal with the consequences of eating grandma. You don’t want that on your conscience. And you won’t need that cutter ever, ever again. Trust me.
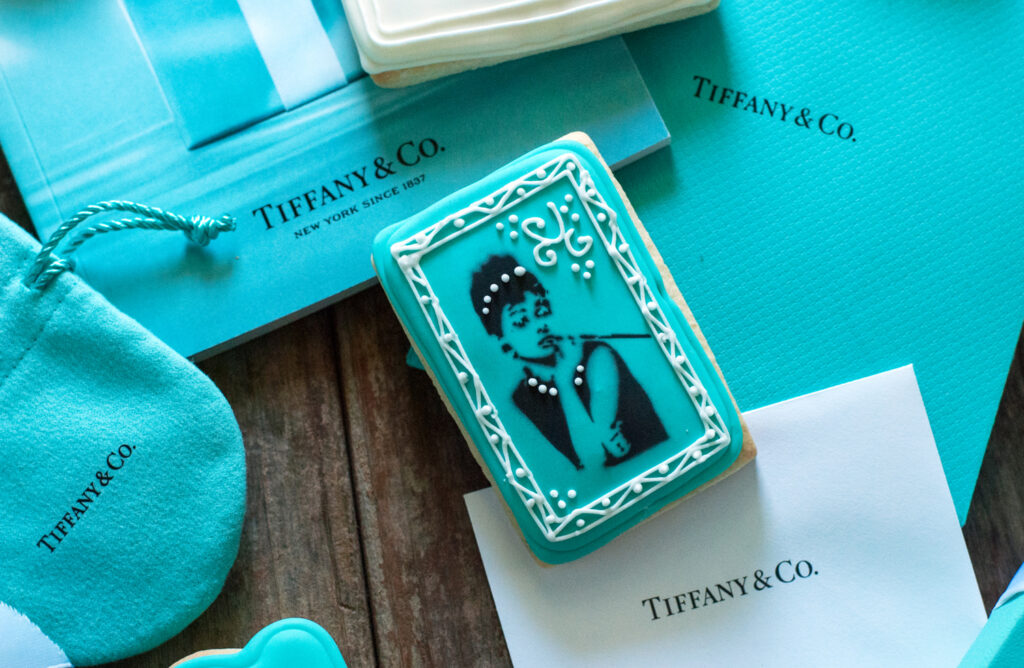
Another part of learning how to make sugar cookies is learning how to make royal icing. You can’t make royal icing without meringue powder— and learning to work with it can be interesting if you are new to it. You have to keep royal icing covered at all times, because it starts drying immediately when it is exposed to the air. Remember my sad “cement in my piping tips” story? Yeahhhhhh. Like that. I think that learning to make royal icing the correct consistency was probably the hardest part of my cookie decorating journey. I now use a spray bottle to add water, so that I can literally add in just a few drops at a time. A few drops can change your icing from “perfect” to “THAR SHE BLOWS!!!” as it careens over the side, ruining the cookies. Practice on waxed paper. You can even say it was your own idea. I won’t tell anyone.
Ahhhhh you want to COLOR your royal icing too? You just don’t ask anything easy, do you? There are many brands of icing colors, but the best I have found are Americolor gels. Gels are far preferable to the little teardrops of food coloring you buy at walmart (which are mostly liquid and water down your icing, producing the aforementioned “Thar she blows” effect by making the icing too runny). Americolor gels are the only ones I have found that keep their color through baking (if you are making macarons), and also make bright, vibrant colors that don’t fade for royal icing. Because they are gel, they don’t water down your icing. Get the Americolor gels
. Your icing will thank you.
A good set of piping tips is also essential. I have many piping tips, and many spares (in case something decides to turn to cement in the tip. Ahem . . .). I use the #5 for flooding, and the #3 for basic piping. I use the #2 for fine piping, or the ridiculously tiny #1 for devilishly detailed cookies. Your hand will ache after using that one. Whew.
Just like handwriting can cramp your hand if you don’t do it very often, piping will make your hands cramp something FIERCE if you aren’t used to it. Practice, and the muscles in your hand will get stronger. You’ve got this. May the force be with you.
One cookie decorating tool that I looked at for a long time before finally pulling the plug and purchasing it was an airbrush machine. Unlike traditional “paint filled” airbrush machines, these ones are food safe and for food coloring, only. But before you decide to go out and splurge on this baby, there are a few things to remember.
- Airbrushing can be a way to really “bring your cookies to life.” You can use stencils and shading to give your cookies a gorgeous, artistic effect.
- Airbrush guns are expensive. Expect to spend $60 for the base models and up to $300 for the higher end machines and attachments.
- Airbrush guns WILL CLOG. No matter how well you care for them, eventually the spray gun will clog and randomly spit globs of coloring at you, your table, your cookies, and everything else in your life within “spitting distance.” You will have to take the teeeeeeeeeeeeny little pieces apart and clean them, then get them back together properly so that you don’t spray your face with blue food coloring and have yourself sneezing blue for several days. This isn’t a scary process, but it is a complicated one, and you need to realize that buying an airbrush means that eventually you will have to learn how to take it apart and clean it thoroughly to keep it in working order.
- Airbrush guns take a special kind of food coloring (I use Americolor airbrush colors
), which means that you can’t use your gel colors that you use for royal icing in your airbrush machine. You have to buy another set of colors for it and always keep them separate.
I have a much more detailed tutorial on airbrushing cookies, here. Check it out if you think that airbrushing cookies might be something you’d like to learn more about. Don’t be afraid. If I can learn it (blue sneezing aside), then anyone can. You’ve got this.
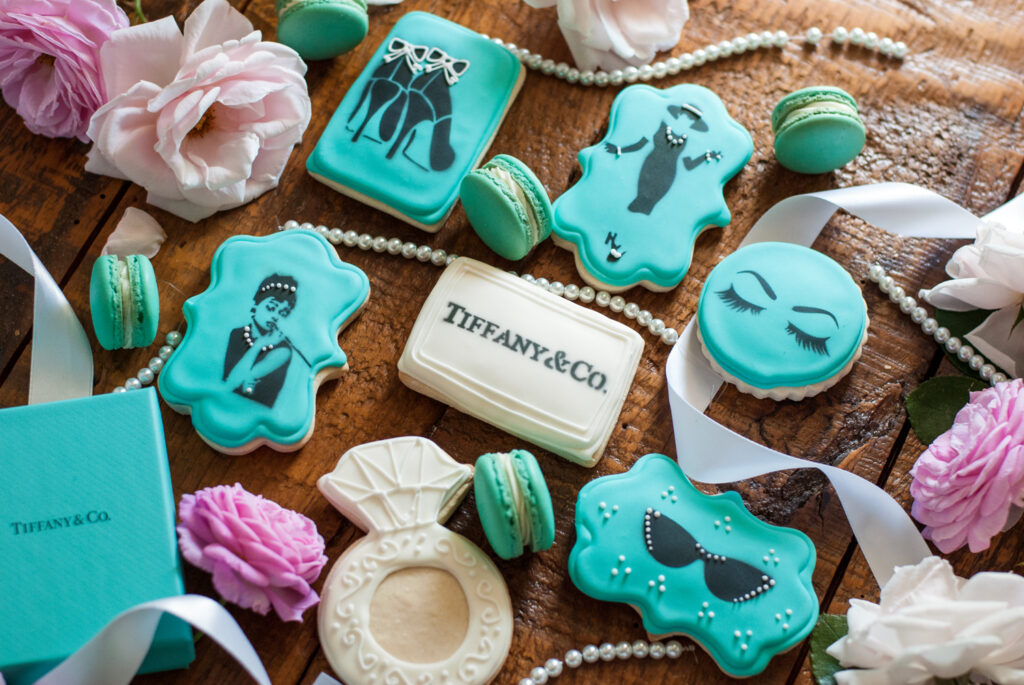
There are many other special effects that you will pick up as you start to get the hang of cookie decorating. You will learn how luster dust can transform a cookie into a glittering gold coin, or the glasses of Santa Claus into metallic shapes that gleam in the light, like those first Santa cookies that drew me to this art form in the first place. You can apply sheens
and a pearly residue to your royal icing to give the entire cookie a shimmering, mermaid effect. You can use isomalt
to make glittering, edible jewels (just be careful not to burn yourself). The possibilities are truly endless. You will never stop having fun creating, because there will always be something new to learn.

When I look at those first, sorry examples of cookies that I started practicing with, I chuckle. I thought they were amazing, but ecckkkkkk. I’ve learned a lot. I didn’t give up. And eventually I succeeded. And you will too.
Do I still make mistakes? Pssshhhh. All the time. But the more you practice, the more you learn how to fix those mistakes and learn to have a few extra cookies on hand, just in case. Since you are no longer churning out mistakes like the Ben and Jerry’s factory churning out Cherry Garcia ice cream, you won’t have trouble unloading the few mistake cookies anymore. In fact, you might even find yourself munching away happily while you finish up the rest of the decorating. Who says that kids get to have all the fun?
You did it. And I’m just so proud of you.

Disclosure: This post may contain affiliate links, which just means that we get a few pennies if you purchase through our link. I never recommend products that I don't personally use and love. Thanks!
