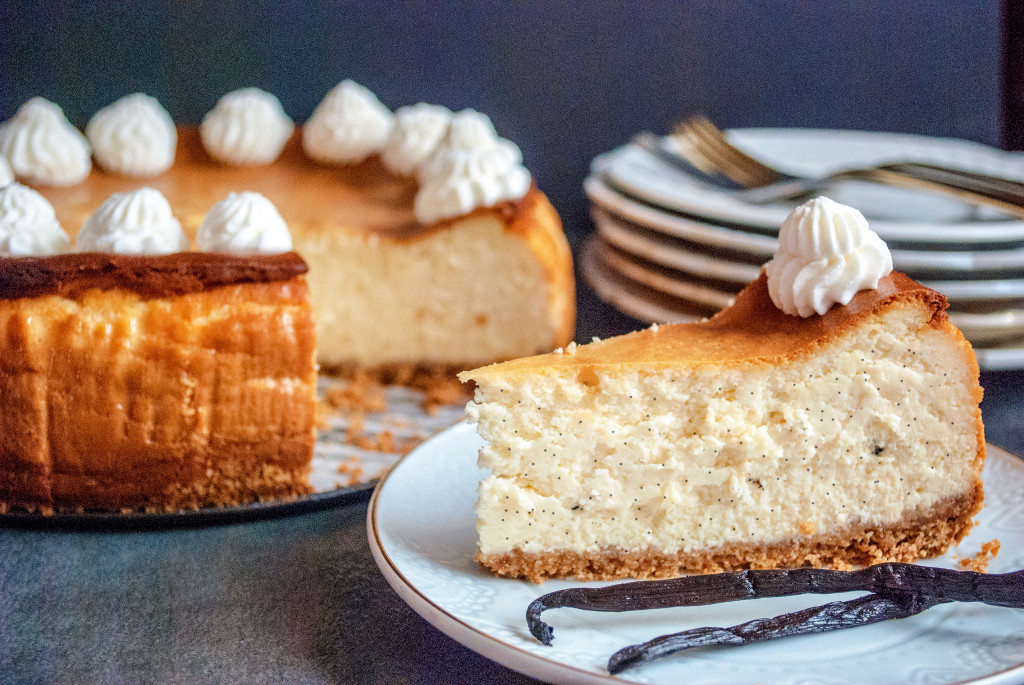
Cheesecake is one of those desserts that everyone loves, but everyone fears to make. Cheesecakes are, at their heart, a custard– similar to creme brulee. For this reason they are often overbaked (becoming curdled), or underbaked (becoming a weird, gelatinous, oozy monster that you cry over when you slice it). How to TELLL? Well, practice makes perfect. The more cheesecake you make (and eat! Yum!), the more you will start to get to know the quirks of your oven– the sweet spot for perfect baking, the location in the oven for perfect browning (mine is near the top). Don’t give up. You’ve got this!
What are we waiting for? Let’s do this!
Vanilla Bean Cheesecake
(adapted from allrecipes.com)
Crust Ingredients:
1 sleeve graham crackers (about 9 crackers), crushed
5 tbsp. melted butter
Cheesecake Ingredients:
4 (8 oz.) packages cream cheese, softened to room temperature
1 1/2 cups white sugar
3/4 cups milk (room temperature)
4 eggs (room temperature)
1 cup sour cream (room temperature)
1 vanilla bean, scraped and caviar removed
1/4 cup flour
Directions:
Beat softened cream cheese with your mixer until it is smooth, with no lumps remaining. Add in white sugar and mix well. Add in milk and eggs, slowly mixing so the batter doesn’t splash. Scrape the bowl well and mix again. Add in your sour cream, vanilla bean caviar (throw away the bean pod– do not put it into the recipe), and flour. Mix well until smooth. To make crust, mix your melted butter and crushed graham crackers together into damp crumbs. Spray a 9″ springform pan with cooking spray and cover damp sections with parchment paper. Respray paper with cooking spray and press graham cracker mixture into bottom of pan with the bottom of a measuring cup. Pour in cheesecake custard and carefully wrap bottom and sides of pan with foil (do not cover top). Bake at 350 degrees for 60-75 minutes, with a hot water bath (more on this in a moment) until cheesecake is lightly brown and set in the middle, with a teeny jiggle in the 2 inch direct center. Turn off oven, crack door, and allow cheesecake to rest for 1 hour in cooling oven. Remove from oven and allow to cool until comfortable to touch. Cover top with a paper towel (to absorb moisture) and a piece of foil to seal. Place in fridge overnight. Chill completely before opening springform, cutting, and serving.
It seems hard, but it’s not– it’s just a lot of steps. Let’s go through the process in pictures! 🙂
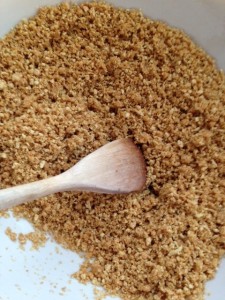
Normally, when something goes terribly wrong, you can say, “Oh CRUMBS!!!” In this case, though, “Crumbs” are a good thing. Mix your crushed graham cracker crumbs (I gave mine a whirl in the food processor, to the absolute delight of my 4 year old, who thought there was a tornado in the kitchen) and melted butter together. The crumbs shouldn’t be wet, but they should be moist enough that they kind of clump together, when you press them with a spoon.
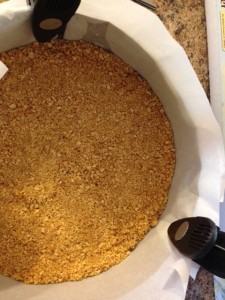
Now this part is going to seem weird, but stay with me, here. To start with, you want to spray your springform pan (a pan where the sides can be removed after baking, leaving a free-standing cake) with cooking spray. Next, cut out a circle and several strips of parchment paper, and “stick” the parchment to the sprayed pan. The spray will kind of help the paper stay on there. If your parchment is having trouble sticking, I have a super difficult and expensive solution for you. You practically need to work at NASA to understand it . . . well, I’m kidding about the difficult and expensive part, but not about the solution part. To help the paper stick, just use a couple of handy dandy “chip clips” and stick it on there. Presto. Your paper is instantly behaving. Too bad they don’t make chip clips for toddlers.
Next, re-spray your parchment paper with cooking spray. (What? Are you an envoy for the cooking spray people?). No . . . I just want your cheesecake to come out perfectly 🙂 It’s a difficult animal, is the cheesecake, and you’re going to knock it out of the park the very first time. You’re welcome. Next, use a measuring cup to press the graham cracker crumbs into the bottom of the pan. The cup’s bottom just kind of helps to get everything nice and packed and smooth.
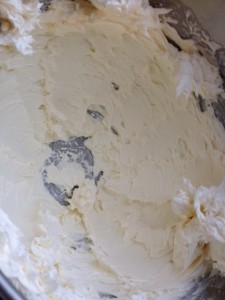
Next, we will perform an action that I wish worked on myself . . . beating out all the lumps and making this look good as new. 😉 Place your 4 blocks of softened cream cheese into the bowl of your stand mixer. Honestly, most recipes can be made with any mixer, but this one needs a good, tough mixer, like a Kitchenaid, since you’re working with so many ingredients. Start out on the lowest speed, and then gradually increase the speed (you may need to stop to scrape the beaters and sides, to get all the cream cheese incorporated) until your cream cheese is completely beaten together. It should look like this– nice and smooth, with no big chunks remaining.
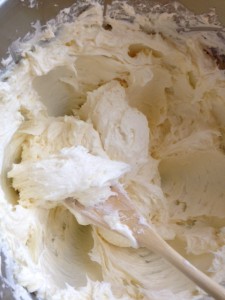
Next, add in your sugar. Since we are dealing with such a large amount of cream cheese, you may have to stop periodically and scrape down your beaters and sides, again, to make sure that everything gets mixed in. Ahhh . . . look at that velvety loveliness!
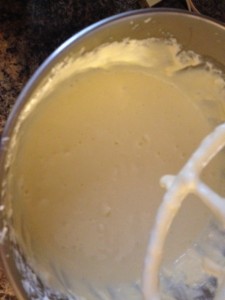
Next, add in your milk and eggs. This part can be a little messy, so start on the lowest speed so you don’t get “baptized,” and gradually increase when things start to get incorporated. You definitely need to scrape the sides and bottom of your bowl to make sure that grumpy cream cheese is playing nice with the other ingredients.
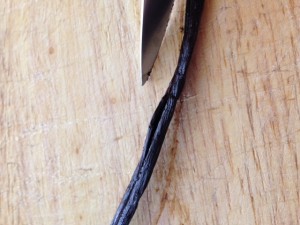
Now, let’s talk vanilla beans. Did you know that vanilla beans are actually the “fruit” of a special kind of orchid? Cool, huh? There are 2 kinds of vanilla beans– Madagascar and Tahiti beans. Either one works fine, but Madagascar ones are cheaper, so that’s what I’m using. Start by using a sharp knife to split your bean down the middle– I just carefully sliced it, with the bean lying on a cutting board. Don’t push hard enough to go all the way through– just enough to slice through the top layer. Go ahead and use the knife to kind of pry open the bean so you can see all the “guts and glory” inside.
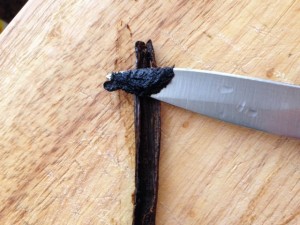
Once you have the vanilla bean split open, gently scrape the “caviar” (the black stuff) out of the inside. This is concentrated vanilla flavor, as well as those adorable little black specks that tell you you’re eating a product with real vanilla in it. Well, they either tell you that or they tell you that Grandma lost her glasses while she was cooking again . . . and why does this cheesecake have a weird, peppery taste?!?! Just kidding 😉
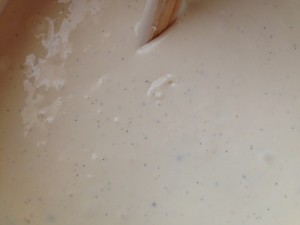
Scrape the caviar off into the mixture (I scrape mine right off onto the beater– it’s easier) and mix thoroughly. See all those pretty little black specks? MMMMmmmm. This smells amazingly “vanilla-y,” too. Don’t put the actual bean shell/pod in there. You can throw that part away or let it simmer in, say, maple syrup, for a nice little vanilla flavor. Just make sure you don’t eat the bean shell. It’s gross.
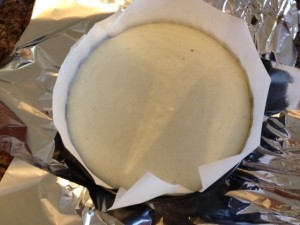
Carefully pour your cheesecake filling into your sprayed springform pan and over your prepared crust. Now, this part is kind of weird, too, so stay with me . . . take 2 long pieces of foil and place them like a (+) sign over a small cookie sheet (I use a round pizza pan– the cookie sheet will just help support the cheesecake while it’s cooking and when you move it around). Place the cheesecake in the center and carefully wrap the foil up around it. Bend the foil down at the top, so the cheesecake’s pretty little top is exposed to the heat.
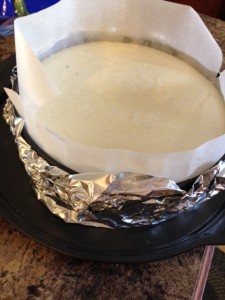
There you go! It’s all tucked in, nice and cozy. Some people like to put this whole ‘shebang into a water bath– that is, submerge this foil-clad pan into a larger pan of hot water. Personally, I find that the water, like junk mail, always somehow finds its way inside. So I wrap with foil to ensure that my springform doesn’t leak any butter from the crust (burning oil = the kitchen smells disgusting! I must sell my house to escape!), and I place a “fake” water bath beneath the pan. Let me show you what I mean . . .
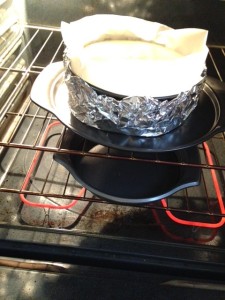
Here is my setup: I have my foil-wrapped springform pan up above, positioned in about the middle of the oven (move your oven racks around, if necessary). Then, right below that, I have a small round baking pan about halfway full of hot water. This water will steam while the cheesecake bakes, keeping everything nice and moist so your cheesecake doesn’t crack. Check your water periodically throughout the baking, to make sure that it hasn’t dried up. Bake the cheesecake at 350 degrees until it is nice and golden brown on top, but still a teensy bit jiggly (but not liquid) in the center. I look for a spot about the size of a golf ball to be not quite “hard” in the center. You can also insert a toothpick into the center, and if it comes out completely covered in liquid, the cheesecake needs more time in the oven. If it’s clean, the cheesecake is overdone. You want it to kind of look like it was dipped in hand lotion– there will be some cheesecake substance on it, but it won’t be completely runny or completely dry– just somewhere in the middle. When you get that consistency, turn off your oven, crack the oven door open, and let the cheesecake sit in that “cooling” oven for about an hour. This step helps the cheesecake to cool, gradually, which helps prevent your top from cracking. It also takes care of that little jiggle in the center, which will firm up as the cheesecake finishes up in the still-warm oven.
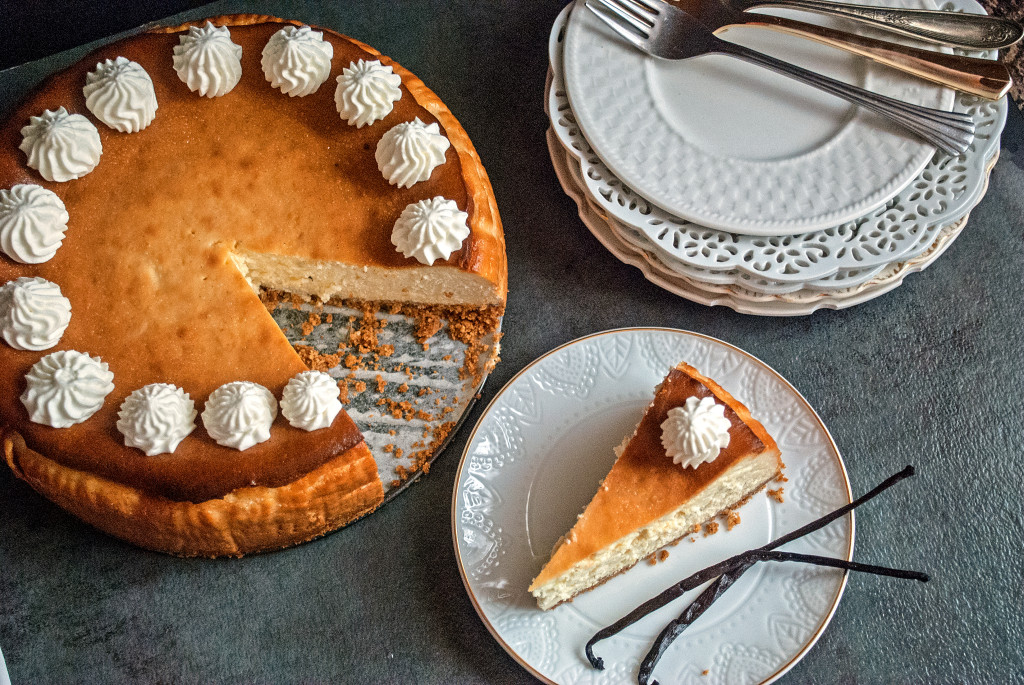
When the cheesecake is cool enough to handle, I take it from the oven and put a few folded paper towels on top. I then cover the entire thing with foil and let it sit in the fridge, overnight. The paper towels absorb the moisture that the still warm cheesecake will emit as it cools, and that way your cheesecake top will be nice and dry when you remove the damp paper towels tomorrow.
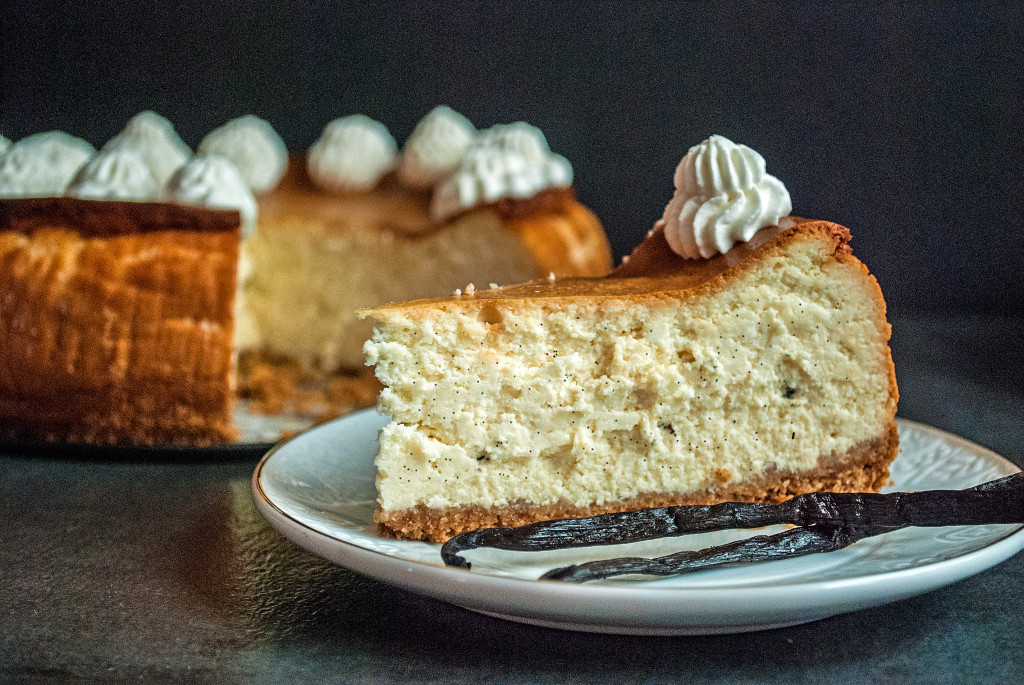
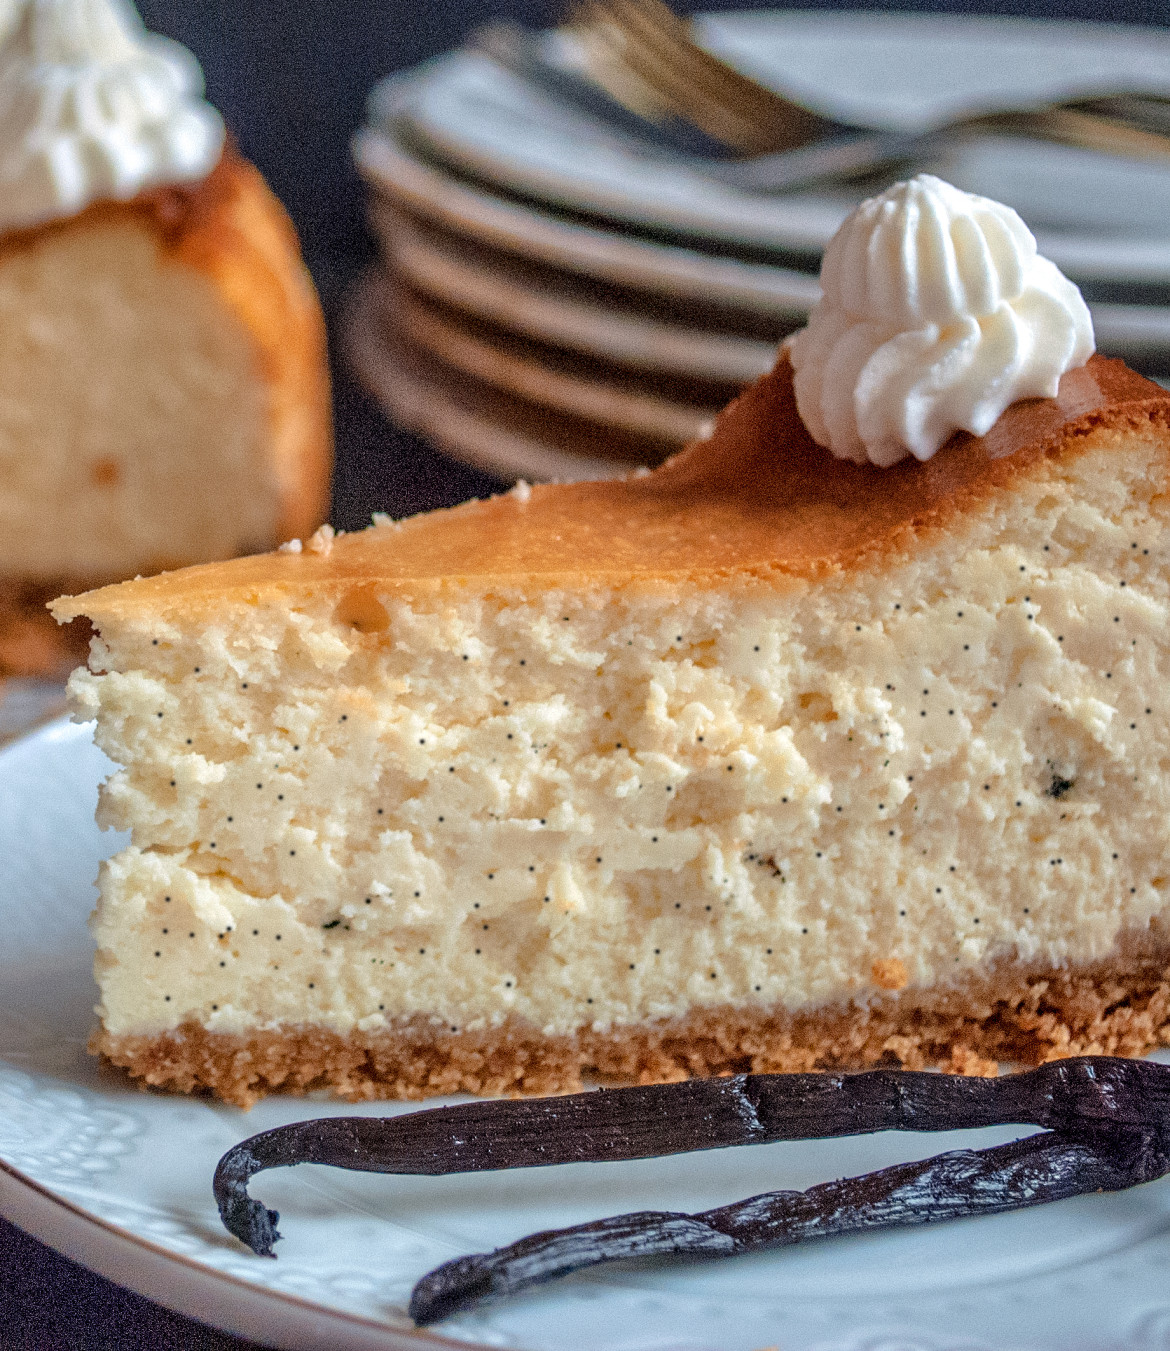
Cut into this delicate beauty. See all those cute little vanilla beans and swirl a little whipped cream on top, if you want. Mmmm. Who says that vanilla has to be boring?
I’m sorry– did you say something? I was drifting off to Bliss-land. And when you try your first bite, you will, too.
You did it. And I’m just so proud of you.

Disclosure: This post may contain affiliate links, which just means that we get a few pennies if you purchase through our link. I never recommend products that I don't personally use and love. Thanks!





Have you find that the 60-70 minute cook time is accurate because this is second time cooking it and the top has never gotten remotely browned like in your finished product picture ? I actually left it in 75 minutes and seems like center that is giggly is much larger than 2 inches but I am afraid to overcook it .. cracked oven and waiting and praying
Hi there PJ, I’m sorry you’re having trouble with this cheesecake. Cheesecakes do take some getting used to; each oven is a little different, and in the beginning I had to experiment a couple times to find the “sweet spot” for baking a cheesecake in my oven. My oven tends to be a little top hot– so that could be the reason my top is a little more brown than what you’re seeing in yours. You could try moving the rack up a little to see if you get more browning. I generally find that 60-70 minutes works perfectly for me, using an oven thermometer to make sure I am really at 350 (ovens often lie and come in cooler than what they say– perhaps yours is really a little cooler, which could explain the longer bake time). I also bring my ingredients to room temperature before mixing, which also means that I need a shorter baking time (because they aren’t cold). But less than the actual time I watch the cheesecake itself– I watch for the top to brown, and I watch for the jiggle in the center to be about the size of a golf ball. It should not be larger than that, or you need more bake time. You can also test with a toothpick– you should get creamy, not wet, not dry. It all really comes down to getting to know the quirks of your oven. What works in mine may work differently in yours. I wish I could pop on over and see how your oven works, but hopefully these tips help. I hope your cheesecake turns out great! 🙂
I just need some clarification , do you put cheesecake in water in top pan and submerge cheesecake and also use water in lower pan ? Or is lower pan the only one with water ?
Hi there— traditionally with cheesecake you wrap the springform pan in foil and submerge it in water so that it is kind of like in a little hot tub while it bakes. I personally find that sometimes the water leaks into the cheesecake itself when I use that method so I prefer to put the cheesecake dry on a cookie sheet above and a pan of boiling water beneath. So to answer your question I put water only in the bottom pan not around the cheesecake itself.
There is no mention of how big of a springform pan ? 9 inch 10 inch ?
Hi Paul. Why you’re right! I use a 9″ springform, but this recipe fills it right up to the top. You can use a 10″ if you adjust your baking time and keep an eye on it so your cheesecake doesn’t overbake. I will go back and add that I used a 9″ pan. Thanks for pointing this out. — Emilie
Yum! How can I get your recipes?
Hi Bev– the recipes are at the top of each post. 🙂 Thanks for stopping by.
Is there a difference if you use farmers cheese or farmers cheese?
Hi there Elle– Farmer Cheese is softer, so I wouldn’t use it for this recipe. Cream cheese is what you need. Thanks for stopping by! 🙂
Pingback: Snickers Cheesecake – Cookies for England
Pingback: No Churn Vanilla Bean Ice Cream – Cookies for England
I would love to have the skillet thanks hugs