Yum
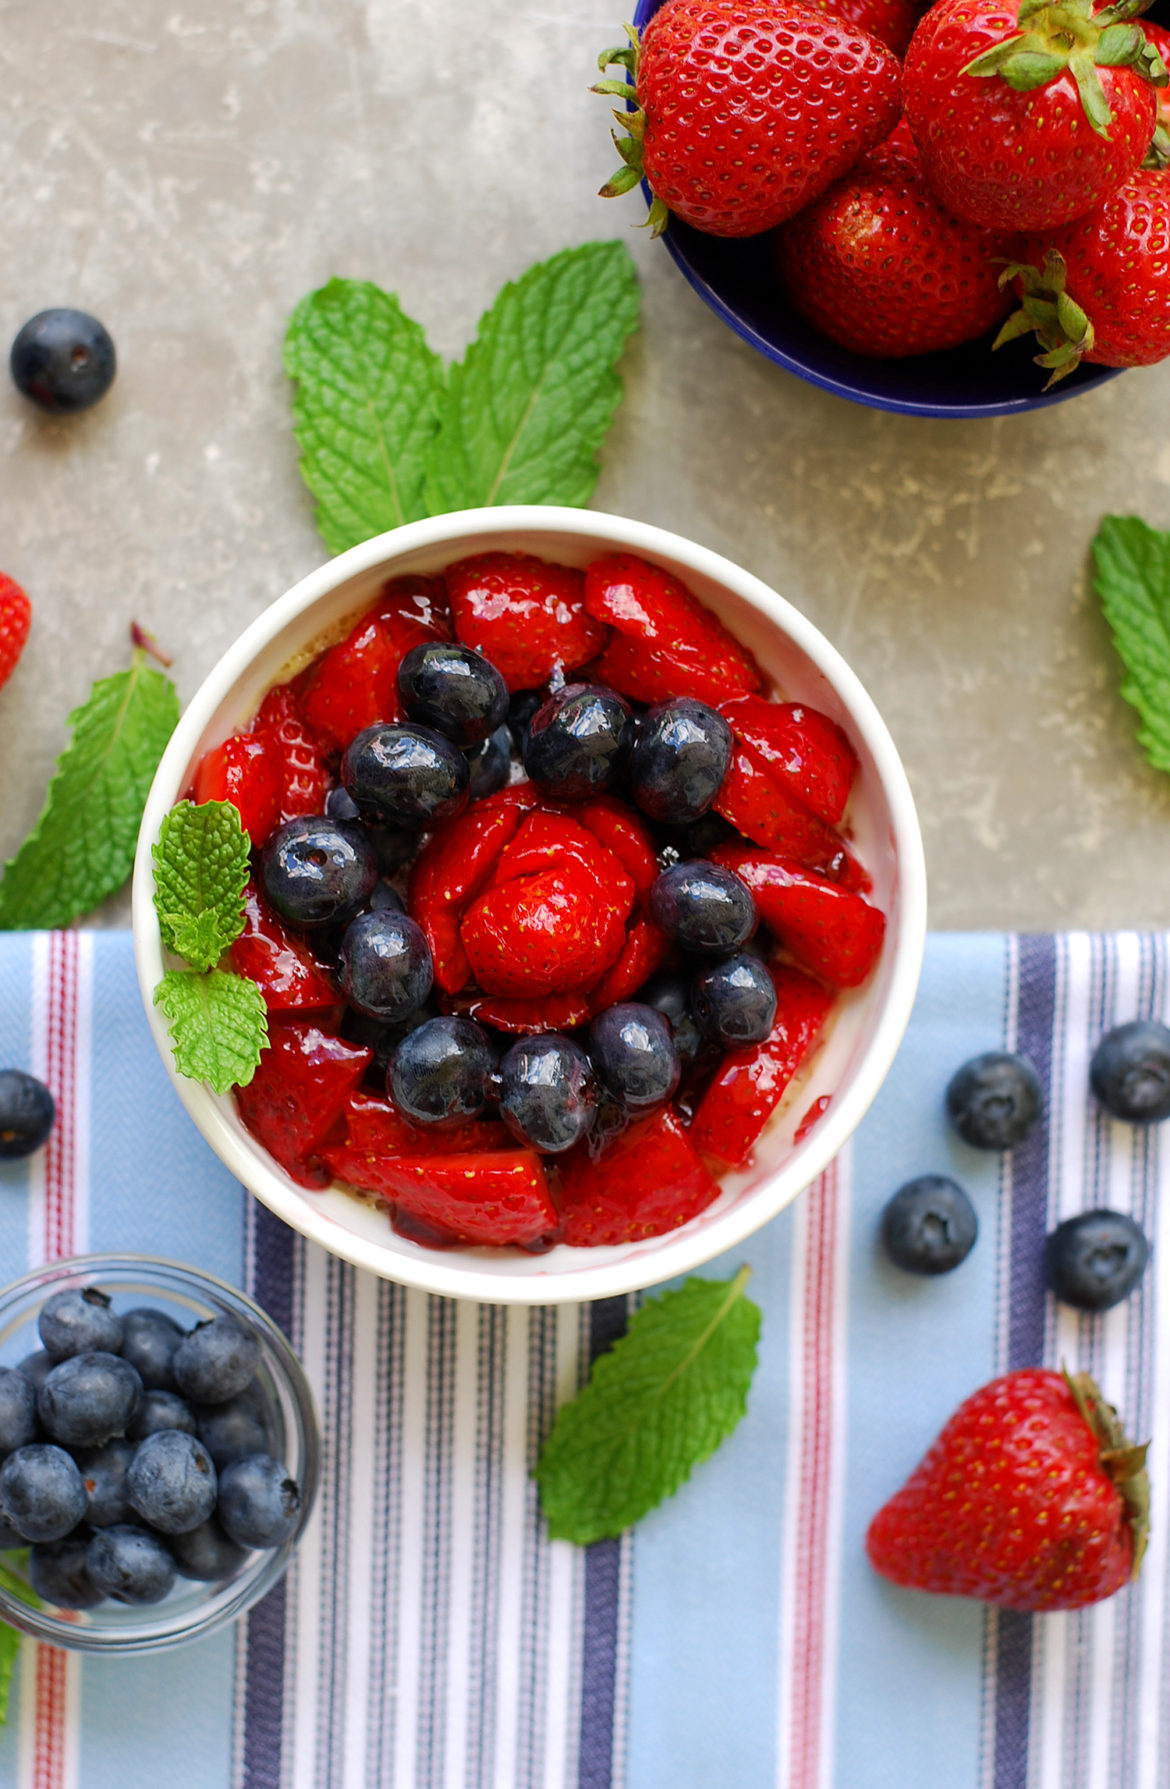
I just love patriotic holidays. There is something so striking about the snap of Red, White, and Blue. This dessert is perfect for either Memorial Day, or, conveniently, the 4th of July that follows soon enough after that your kiddos can wear the same patriotic outfits you bought them for the first holiday. I love double duty outfits. 😉 And when you bring out the shiny, glazed fruit tarts for your next get together, you don’t have to tell anyone how easy it was to make. Or that you made them ahead of time and pulled them out of the fridge, effort free, for your get together. Noooooo one has to know. 😉 If you don’t tell, then I won’t, either. 😉
What are we waiting for? Let’s do this!
Red White and Blue Fruit Tart
Ingredients:
3 egg yolks
284 g. heavy cream (measure this with a food scale like this one here)
45 g. white sugar
1/2 tsp. vanilla
1 cup fresh fruit (I used quartered strawberries and blueberries)
2 tbsp. grape jelly (not jam) plus roughly 1/2-1 tsp. water, to make a thin glaze
Directions:
Bring vanilla and heavy cream to a simmer (just tiny bubbles around the edges– no boiling). Meanwhile in a separate bowl whisk together your egg yolks and white sugar for roughly 1 minute until mixture is light yellow in color. Slowly drizzle heated cream into egg yolk mixture, whisking the entire time so that eggs don’t scramble. Skim off foam and divide mixture equally into 2 large ramekins (mine are about 4 inches across). Place into a 325 degree oven in a casserole dish, and *carefully* pour very hot water into the dish about 3/4 up the casseroles. Be very careful not to get any water into the cream mixture, or the custard will not set. Bake at 325 degrees for roughly 40-45 minutes until the custards are “set.” They will have a slight “jello-like” jiggle in the center, but no liquid moving when you move the pans gently. When the custards are set, remove them from the oven and let them come to “slightly warm” while still in the water bath. At that time remove them from the water and place in the refrigerator. When they have cooled completely top them with fresh fruit. Heat jelly in the microwave for 10-15 seconds until it forms a glaze. Stir in just enough water to make jelly thin enough to brush over fruit. Use a pastry brush to apply “glaze” to fruit so that it sparkles.
Now, in pictures! 🙂

Now, before you judge me for my “broke yolk,” hehe, let me tell you that I have a fear of separating eggs. Yet, I do it. I do. I must. Without separated eggs there would be no divine Chocolate Mousse. There would be no Mint Chocolate French macarons. There would be no Creme Brulee. So I persevere and separate my eggs. But it’s tricky. You want to make sure you don’t get any yolk into your egg whites, because egg whites won’t whip with even a speck of oil in there. Now granted . . . for THIS recipe we are using only the yolks. But save the white for Strawberries and Cream French Macarons. Your family will thank you. 😉

Meanwhile, get your cream and vanilla heating over medium low heat. Watch this carefully– you don’t want the cream to boil or get a skin– but *just* start to get teeny little bubbles on the edges. If you lift the spoon out after stirring a teeny bit of steam should come up. That’s perfect.

Weigh out 45 grams of sugar. “What the heck? I don’t have a food scale!!!” Awww. EVERY kitchen should have a good food scale! 🙂 It helps you to make recipes perfectly, every time. Even a cheapie like this one here will do.

Next, take your egg yolks and white sugar and start to whisk them in the bowl of your stand mixer. At first, they will be bright yellow– like this. That’s not enough. Do a little dance move and keep mixing away.

After about a minute of mixing, the color will lighten to almost a creamy light yellow, and the mixture will have lots of bubbles in it. That’s what you want. You may keep dancing, if you want to, but stop mixing here. 😉

At this point, your cream/vanilla mixture should be “just” starting to get those teensy weensy bubbles around the edges. If you stir the mixture and lift out your spoon, you should just be able to see a little steam. We don’t want anything boiling or bubbling or frothing. Stop the heat when you get those miniscule bubbles along the side.

Now be careful with this next part. If you add all the hot cream to the egg mixture at once, it will scramble your eggs. Eeeew… I like scrambled eggs as much as the next gal, but not in dessert. 😉
You have to start drizzling the hot cream into the egg yolk mixture, super slowly. Like, a teeny drizzle at first. Keep whisking the entire time, so that as soon as the hot hits the cold, it is whisked in together before it has a chance to know what hit it. 😉 Slowly you can increase the speed, and as long as you go slowly and whisk the whole time, it will be OK. The eggs will come up to temperature slowly and not cook. You know the “frog in boiling water vs. water that is slowly heating up” theory? Gross but yeah. It’s like that.

After you have added the cream and egg mixtures together, go ahead and skim off some of the foam and throw the foam away. This step isn’t *absolutely* necessary, but I find that the froth kind of gets a weird texture once it’s cooked, so I like to skim off as much of the bubbly stuff as I can.
Divide your mixture equally into two 4″ ramekins. Now this next part is important so . . . *taps chalkboard* . . . listen up, class. You have to bake these custards in a water bath. That just means that you need to pour super hot water (not boiling) into a baking dish about 3/4 up the sides of the ramekins, so that they will bake at super even temperatures. *however* . . ahem.
You cannot get even a single drop of water into the pudding mixture, or it won’t set. It will remain liquidy and gross. SO. The easiest way I have found is to preheat your oven to 325. Use a cheapie oven thermometer to make sure. Then when you have skimmed your mixture and divided it into ramekins, put the ramekins into a glass baking dish. Place the baking dish in the oven. And *then* carefully pour your water into the pan 3/4 cup the sides of the ramekins. The water needs to be hot and steaming (not boiling) so that it doesn’t shatter your baking dish (cold and hot don’t mix with glass). And it’s much easier to pour the water into a stationary pan than trying to pour the water and then move this waterbed shaking pan over to the oven without spilling. That’s a recipe for getting water into your custards, and as I already mentioned . . . big no no. So put custards in pan. Pan in oven. Pour water in pan 3/4 up sides of ramekins. Yep. I knew you were good. A+ for you.
Bake your custards at 325 degrees for 40-45 minutes until they are “set” in the center. They will have a *slight* jiggle but no liquid moving when you move the pans. At that point take the custards out of the oven and let them, in their water bath, cool from hot to warm. Then you can take them out of the water and let them finish chilling completely in the refrigerator.
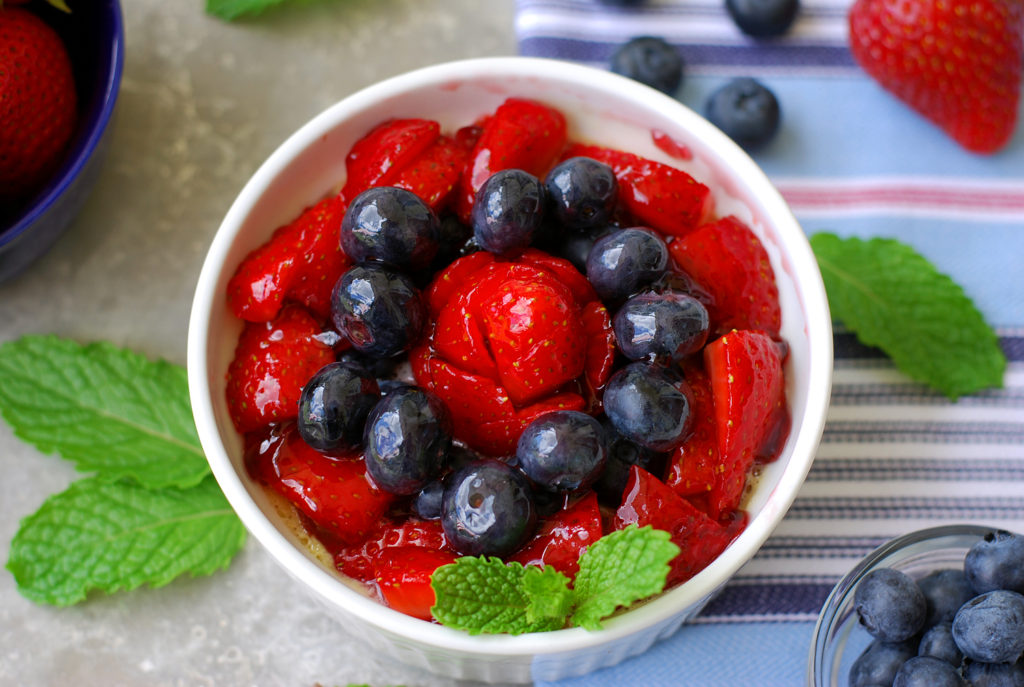
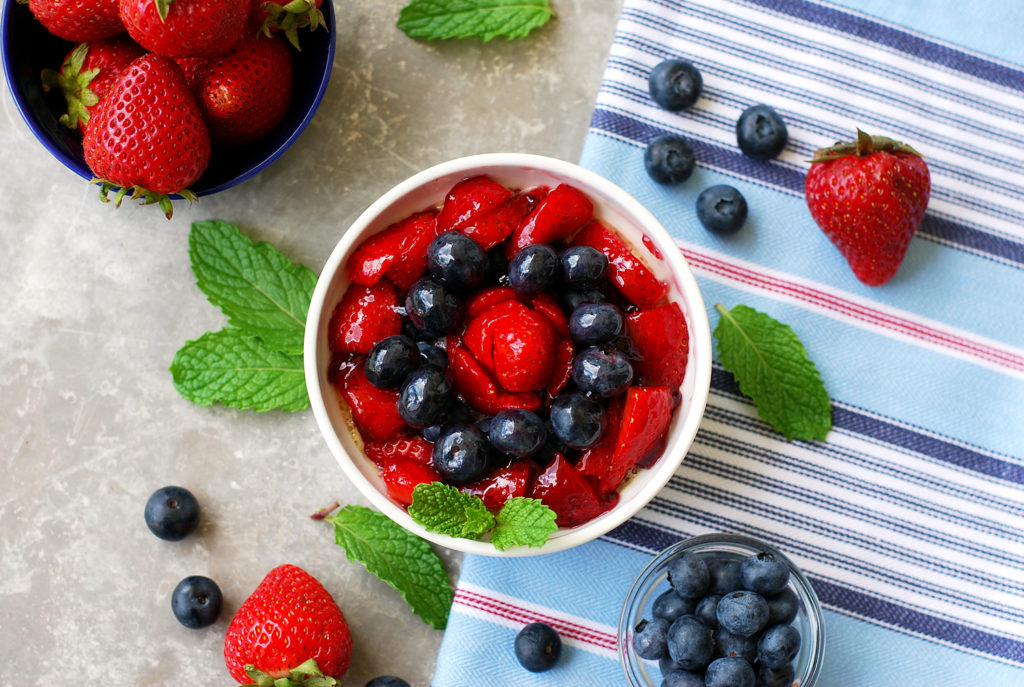
Now, let’s talk FRUITTTTTT TOPPPPPPINGGGGGGG. This part is really fun, and although I used strawberries and blueberries, you can use any kind of fruit that you like. When your custard bases are completely cool. arrange a variety of fresh fruit on top. I tried to do a strawberry rose. Yeahhh. Not so much. I’m not a pastry chef. haha. But I tried. Just arrange your fruit the best you can. And if you know how to cut a rose out of a strawberry, please enlighten me. 😉
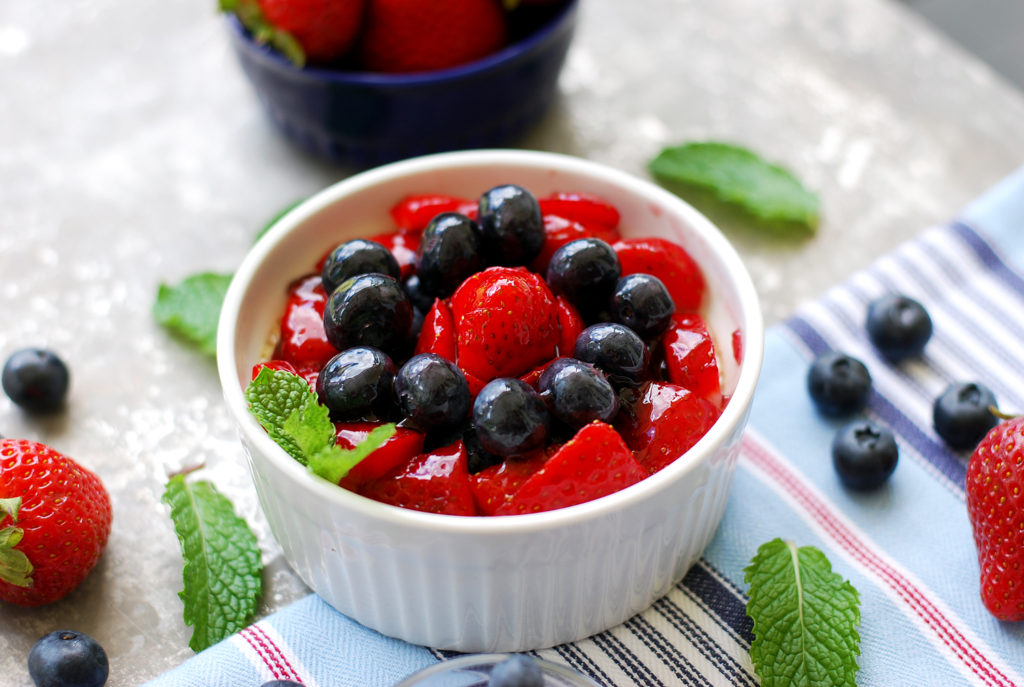
The magic happens with the glaze, though. Once your fruit is arranged the way you like it, heat your grape jelly in the microwave for 10 seconds or so. Add just enough water to make it thin enough to be almost a syrup. Then use a pastry brush to dab your fruit with the glaze. Voila. Glistening, gorgeous fruit tarts. No one would ever guess how simple it is. You’re so smart– I love working with you.
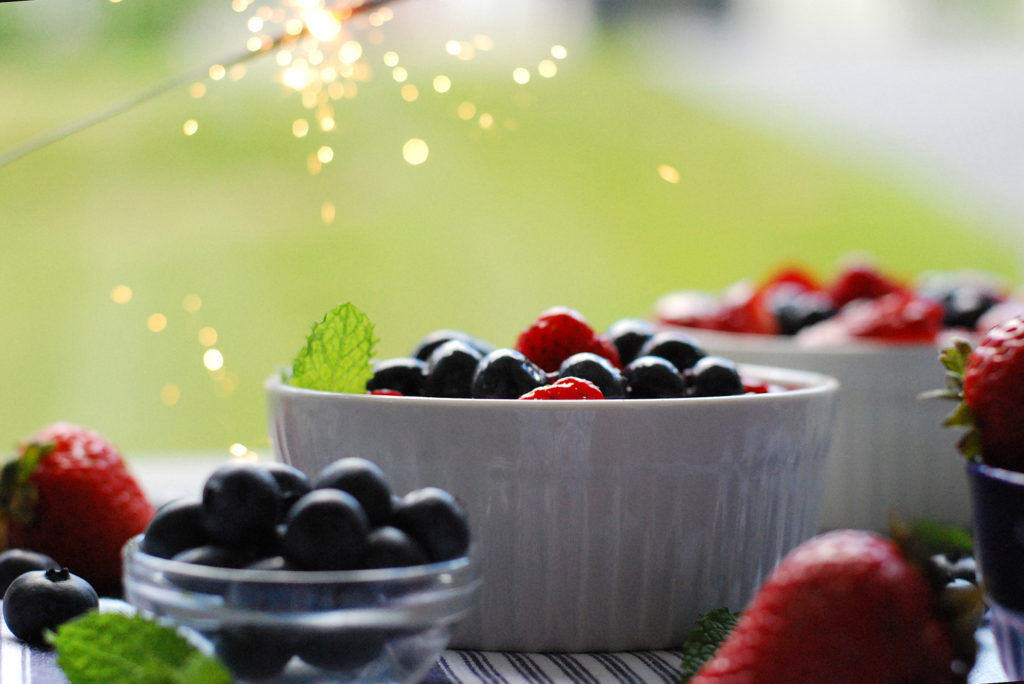
Cover the tarts loosely with plastic wrap and refrigerate until your party. Then, whisk them from the fridge– these beautiful, edible jewels that everyone will love. The creamy filling and that gorgeous, sparkling fruit is a definite recipe for success, on holidays or any other time. 😉
You did it. And I’m just so proud of you!

Disclosure: This post may contain affiliate links, which just means that we get a few pennies if you purchase through our link. I never recommend products that I don't personally use and love. Thanks!
