Yum
Dark Chocolate and Raspberry are like the dark, sensuous lovers of the kitchen. They are sweet. Rich. Deliciously and deliriously melodious. Their marriage is a tempestuous love affair– And when you see them waltz the night away into cheesecake bliss, it’s the very best kind of chemistry. Just don’t be surprised if some night when you creep down the stairs for a midnight snack, they are softly playing Sinatra and dancing cheek to cheek in the kitchen. Sweethearts for a lifetime. 🙂
What are we waiting for? Let’s do this!
Dark Chocolate Raspberry Cheesecake
Crust Ingredients:
2 1/2 cups crushed chocolate cream cookies (such as Oreos)
3 tbsp. melted butter
Cheesecake Ingredients:
4 (8 oz.) packages of cream cheese, softened
1 1/2 cups white sugar
3/4 cup whole milk (room temperature)
4 eggs (room temperature)
1 cup sour cream (room temperature)
1 tbsp. vanilla bean paste
1/4 cup all purpose flour
1 (12 oz.) bag semi-sweet chocolate chips, melted
Fresh Raspberries and chocolate curls for garnishing, optional
Directions:
To make crust, pulse chocolate cream sandwich cookies in a food processor until they are fine crumbs. Mix with melted butter and set crust aside.
Prepare a 9″ springform pan for baking. Spray the pan with cooking spray and line with parchment paper (I use chip clips to help hold the paper in place). Re-spray the parchment paper with cooking spray. Pour the crust into the (1) sprayed (2) parchment paper lined (3) resprayed springform pan, and lightly press the crust about 1″ up the sides and along the bottom of the pan.
To make cheesecake batter, whip together softened cream cheese and white sugar until the mixture is nice and creamy with no lumps. With the mixer going on low speed, slowly drizzle in lukewarm milk. Stop mixer and scrape down sides of the mixing bowl, to make sure that everything is incorporated. Add in the eggs, one by one, mixing after each addition. Mix in vanilla bean paste and sour cream, and then flour. Stir in melted (just melted– not hot) semi-sweet chocolate until completely combined.
Pour cheesecake batter into 9″ springform pan and prepared crust. Place cheesecake on a cookie sheet and place in the center of the oven (move racks if necessary to make sure it bakes in the center), with a pan of boiling water on a separate baking rack underneath. Bake at 350 degrees for roughly 1 hour/15 minutes, until cheesecake is set in the center and a toothpick inserted in the center comes out “creamy,” and not wet. You may need to cover the cheesecake with foil during the last 1/2 hour of baking, to avoid it getting too brown. When the cheesecake is set in the center turn off the oven and crack the oven door, but let the cheesecake inside the oven to cool. When the cheesecake has cooled to warm, and not hot, place it in the refrigerator, with a paper towel overtop to absorb moisture. Allow cheesecake to chill completely in the refrigerator overnight before removing from springform pan, decorating if desired, and cutting into slices.

The best desserts don’t stick. Yeah. That’s pithy. But it’s true. I can’t tell you how many beautiful things I have made, over the years, that stuck when I took them out of the pan. Kaput. Dog food.
Lucky dog.
Cheesecake takes some work. It is the goddess of the dessert kingdom, after all. But you don’t want things to get . . . sticky. So spray your springform pan. Stick the parchment to the spray (which, ironically, is supposed to keep things from sticking). Then respray the parchment. I use chip clips to hold the parchment in place until I get all my “sawwweeeettttt lovin’ sugar” in there. Plus, that will give you an excuse to eat chips, while the clip is occupied. You know– just to make sure they aren’t stale. You’re welcome.

*Crunch, crunch.* I’m sorry– did somebody say something? *hides chips guiltily behind back.
Ok right back to this cooking lesson. Mix together your crushed Oreo crumbs (a food processor makes this a snap) and melted butter together. Press the crumbs about 1 inch up the side of the pan. Use the back of a spoon to get the crumbs nice and packed. (Someone’s packin . . .)

Next, use your stand mixer to mix together your softened cream cheese and sugar. NOTE: IF YOU ARE A NAUGHTY STUDENT AND DON’T LISTEN TO ME AND TRY TO BEAT YOUR CREAM CHEESE RIGHT OUT OF THE REFRIGERATOR YOUR CHEESECAKE DREAMS WILL TURN TO MUSH.
Yeah, well. Ruined cheesecakes get my hackles up. Get your cream cheese out of the fridge about 30-40 minutes before you begin. THEN you will be able to mix up glorious cheesecake dreams. You’re welcome.

Next, with the mixer going on low speed, slowly drizzle in the lukewarm milk. Yep– that lukewarm thing again. I’ve said it before, and I’ll say it again:
Cold Ingredients are the Enemy of Good cookies.
And the same thing goes for Cousin Cheesecake. Blame it on her mother’s side. They were always so sweet.
Slightly warmed ingredients make for happy happy dessert. And happy dessert makes for happy Mommy. You live on the crusts of peanut butter and jelly and whatever else your kids leave behind. You need this.

After you were an obedient student and blended your lukewarm milk into the room temperature cream cheese mixture, scrape down the sides of your mixing bowl (with the mixer stopped, obviously), just to make sure that everything is well combined. Then add in the eggs (also room temperature), one by one, mixing after each one.
“MOOOMMMEEEEEEEEE why do I have to add the eggs one by one? Whywhywhywhywhywhyyyyyy??”
“Because I told you so, dear.” Moving on.

Mix in your vanilla bean paste, room temperature (see a pattern here?) sour cream, and then flour.
What, may you say, is vanilla bean paste? Do I REALLY NEED it? *gazes suspiciously across the table.*
Does a lady need makeup? Eh . . . maybe not. But it accentuates the beauty that’s already there. Give your cheesecake some makeup for her night out on the town. Trust me on this.

Next, melt your chocolate chips at 30 second increments in the microwave. Stir after each heat, until your chocolate is just melted, not hot.
“Darling. You just make me melt.” Sigh.

Mix all that ooey gooey chocolate loveliness into your cheesecake bliss.
Ahhhh. This is what chocolate dreams are made of.

Now here’s a little trick about the queen of desserts– cheesecake. She needs a nice, hot bath. 😉 Seriously. Put a pan of hot water underneath the cheesecake to keep things nice and moist so your cheesecake doesn’t crack while it’s baking. Deeeeelicious!
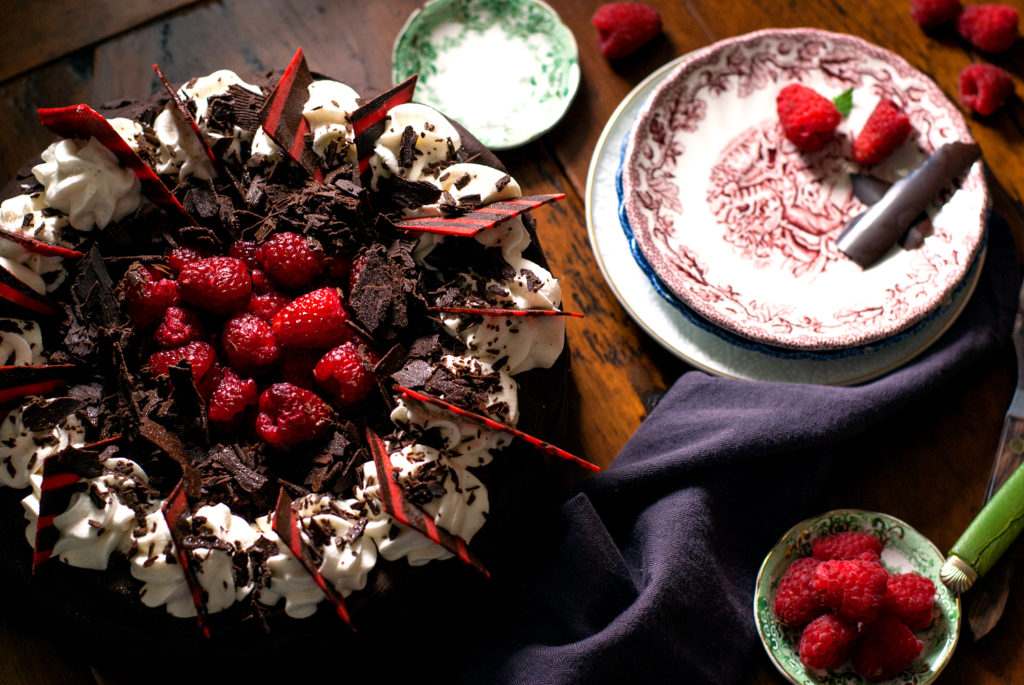
Bake your cheesecake at 350 for about an hour and 15 minutes. I would suggest an oven thermometer to make sure your oven isn’t lying to you. Because, you know, there is no cheesecake oath. And they don’t have hands to put on the Bible, so I guess it wouldn’t even really matter if there were.
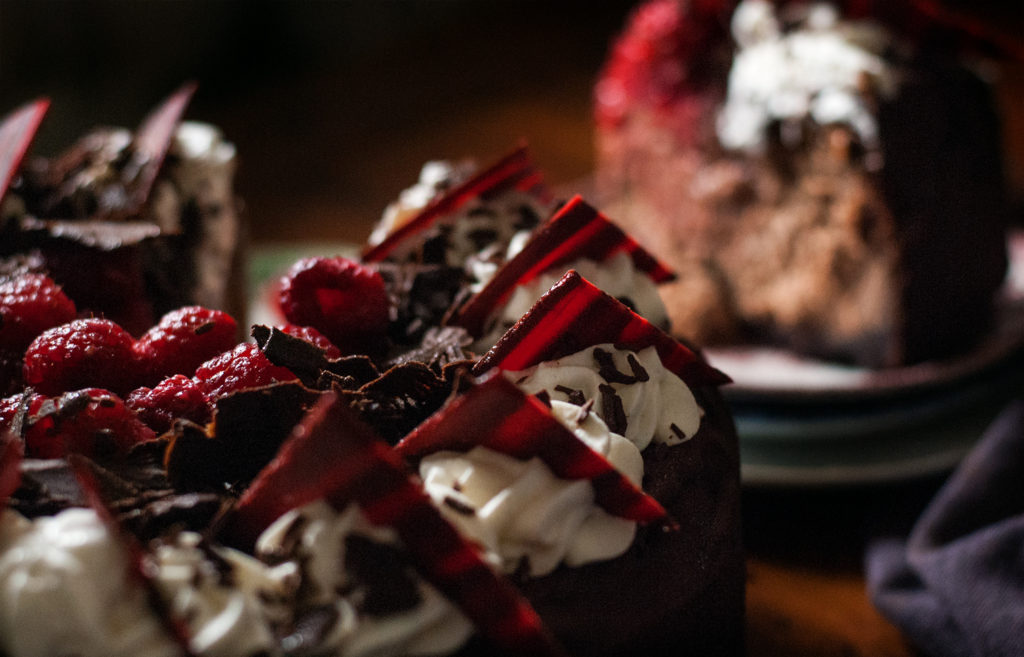
When your cheesecake is done baking, crack the oven and let it cool down in the oven, with the door open partway. This just helps the cheesecake to cool gradually, which means it’s less likely to crack. Of course, if it does crack, no biggie. That’s what whipped cream is for. 😉
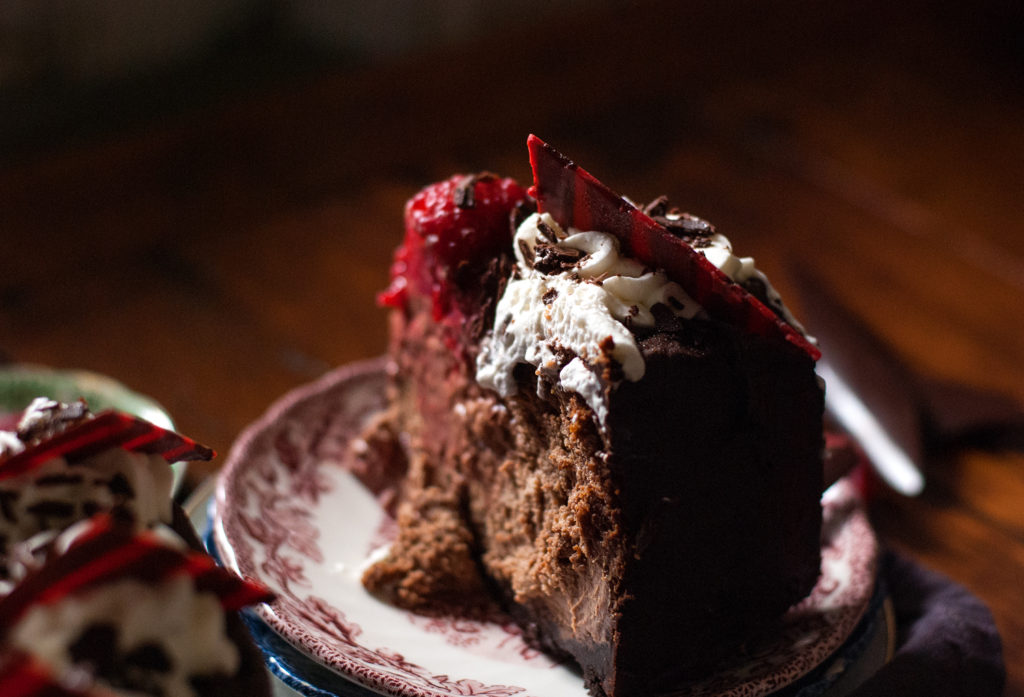
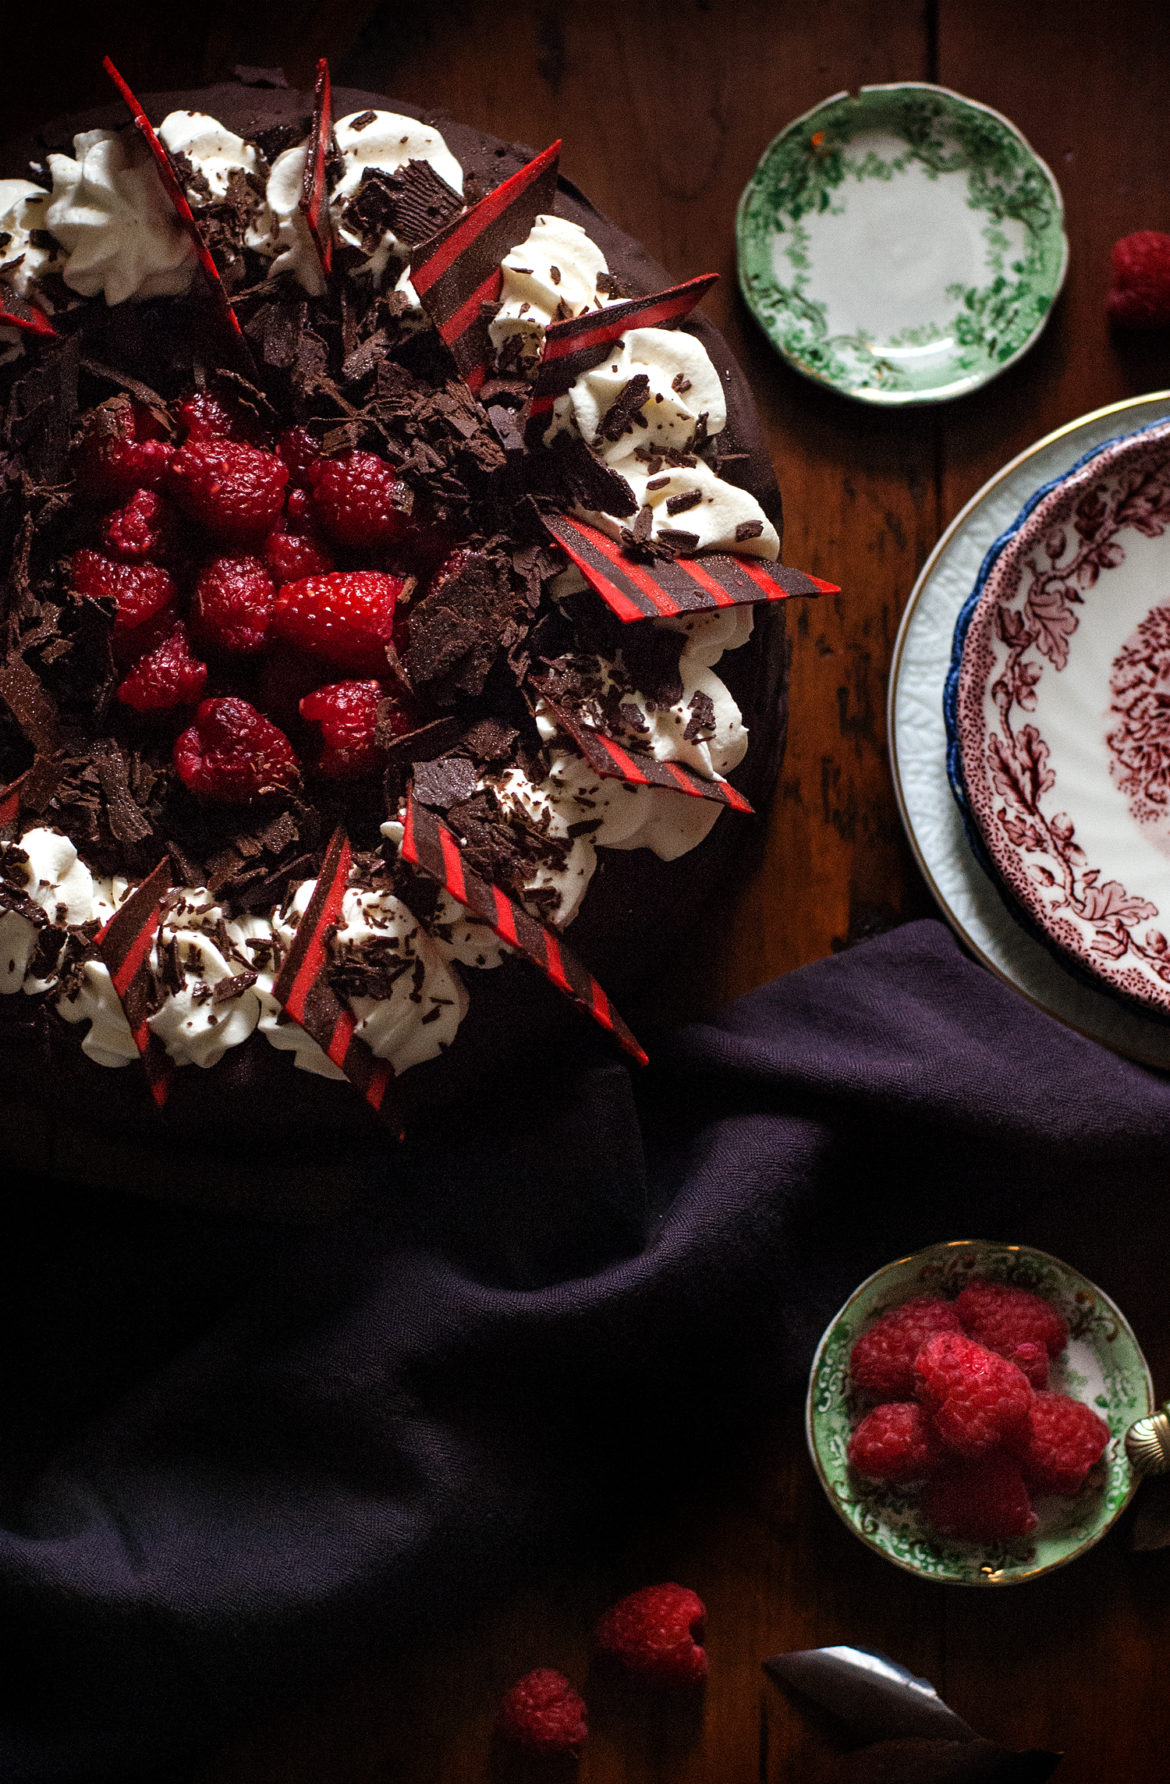
When your cheesecake is completely cool, decorate it with some whipped cream, chocolate curls, and fresh raspberries. You seriously can’t mess this up. Chocolate bliss. This dessert could make a Monday morning look good.
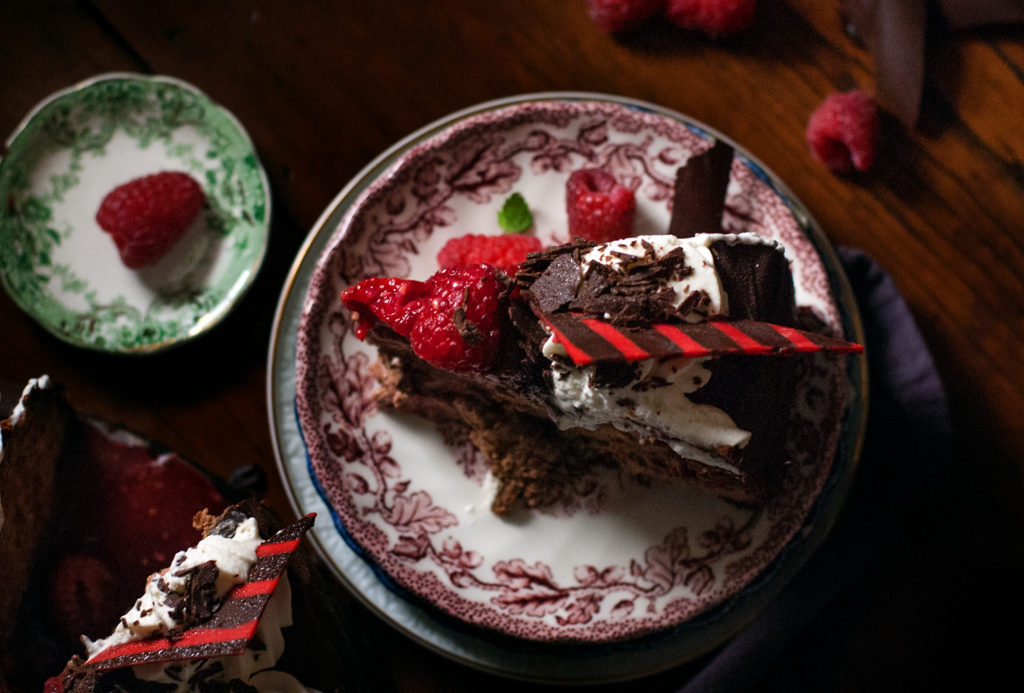
And when you take that first, glorious bite, you will understand why classic sweethearts are forever. It’s just a love affair too sweet to ever stop.
You did it. And I’m just so proud of you.

Disclosure: This post may contain affiliate links, which just means that we get a few pennies if you purchase through our link. I never recommend products that I don't personally use and love. Thanks!
