Firestone Tire Cookies
I used to fear taking my car to the garage. I was often the only woman in the waiting room– a dim, crowded place filled with “Mechanics Monthly” magazines and lots of men irritated by the noises my kids were making.
Not anymore. Somewhere along the way I bought new tires at our local Firestone, and I discovered Jason’s wonderful team that helped me and made the garage seem much less intimidating. From the first day they always went the extra mile, took time to explain things to me, and even had a little play area for my kids, with books, toys, and puzzles. I decided that some thank you cookies were in order. We haven’t done a sugar cookie tutorial for a while, even though that was the original idea that started this blog. So let’s see if I still have the “Skillz” and do a sugar cookie decorating tutorial today. 🙂

The first thing that I did when I wanted to create these “Sizzlin” Firestone cookies was check out the logo on Firestone’s website. I know about a gazillion years ago, when I first started this blog, I showed you a tutorial about how to make your own cookie cutters. And I still make cookie cutters from that SAME piece of aluminum sheeting. I’ve made so many cookie cutters out of it. And there is still at least half of it remaining! Score.
Start out by tracing your shape on a piece of scratch paper and making your cutter (more details about how to do this on cookie cutter tutorial). Firestone uses a shield emblem which is luckily a fairly basic shape.

Once the cookies are baked (any sugar cookie recipe will work but I used this one here), you can start decorating!
Now take a look. Take a LONNNNNGGGG, hard look at these cookies. Sugar cookies (especially those on the second or third time you roll the dough out) can look pretty rough. Some of those gals look rougher than your bitter ex after you started dating again (because we ALL know you’re FABULOUS, so . . .). The more times you roll out sugar cookie dough, the more it gets stretched out and bumpy/lumpy. Sigh. Like your body after pregnancy. *eye roll*
But the GREAT thing is that sugar cookies can be fixed up just like new with makeup and mascara!!! Um, I mean, royal icing. The icing will dry beautifully and smooth, and you’ll never know that there is an old, lumpy lady under there (google “celebrities without makeup.” I rest my case). So don’t be afraid to roll out your dough many times. You’ll cover up the rough spots when you ice them.
I am using 17 second royal icing (icing that takes about 17 seconds to completely “sink” back into itself and become smooth again), colored with Americolor Super Red. I prefer Americolor to Wilton (although I have and use both) because the colors don’t seem to have as much of an aftertaste– especially red and black which are notorious for chemical tastes in Wilton’s line of food coloring gels. ANnnnnnnnd since red and black are pretty much my entire color palette, I didn’t want people to be squinting at me afterward in a chemically induced haze. Well . . . unless you are making these for an enemy. Then use the chemical tasting colors and add plenty of them. And offer seconds on all cookies.
Go ahead and outline those bad boys in red. By the time you finish outlining all the cookies, the first ones should be dry enough to start filling with the red icing inside. The dry outline should blend into the center, providing just enough support to hold in the more runny icing until it dries enough that it will stay in place. (Basically, if icing is the mascara, then the icing dam is the hairpins– holding unruly bits in place. 😉

Now. I realize, loved ones, that I haven’t done sugar cookies in a while. *HOWEVER* since all of you are so intelligent and have photographic memories, you no doubt remember that when you’re adding one color of royal icing on top of another (ESPECIALLY when that second color is lighter than the first, such as white on top of red, *throat clearing*), you have to let the darker color completely dry, first. If you don’t let the darker color dry first, then these babies will bleed like a broken heart (as you will see, later, that I did by accident). Sigh. I am not as smart as you are. Please forgive me.
But once your red bases are dry, you can start doing your designs. Now, there are a couple of ways that you can “draw” a logo. At one point when I was really into sugar cookies I had a Kopycake projector. It was great for tracing exact logos, but it was enormous– and frankly it was such a pain to pull out of the closet and assemble when I wasn’t using it as often that I got rid of it. Another way I sometimes do logos is to trace the outline with edible markers
and then pipe over the details. But if the design isn’t too difficult I just freehand it like I did here. The letters aren’t exactly alike, but that’s ok. No one will care. 😉

Now, these pretty little cookies are gorgeous just like they are . . . but to take them from pretty to GAWWWWWGEOUS, I suggest using a food coloring airbrush. This is the one I have, here. If you are going to take your baked goods from a homemade to a professional level, this is an investment you might want to consider. I have many cookie decorating supplies, but the airbrush is the piece of equipment I probably use the most.
I also find that if you use a cheapie paper plate (the really cheap ones that no one wants at a picnic because the baked beans and watermelon juices always leak through!), then it catches all the superfluous overspray. Then cleanup is as easy as throwing the plate away when you’re done.

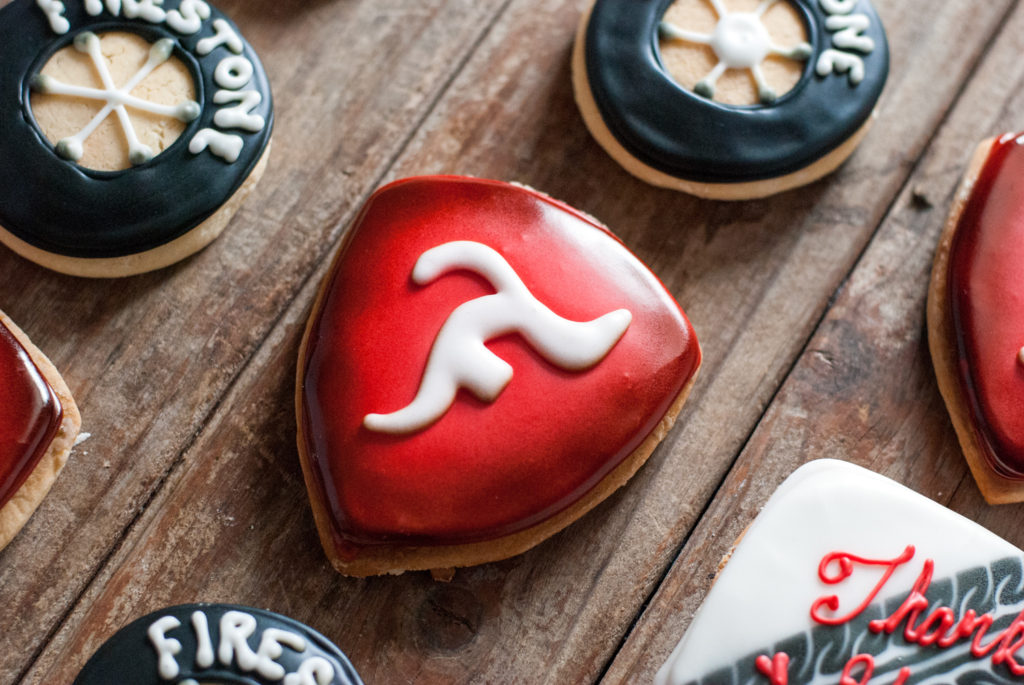
To give the shields the appearance of a shadow I used black airbrush color to gently highlight the edges. You can use red or brown, as well, but black created the nice dark shadow that I wanted. As in all airbrushing colors, it’s better to do several light coats than 1 dark one. Go slowly and airbrush a few times, if necessary, to get the darkness level that you want. Too much color too fast will run and look weird.
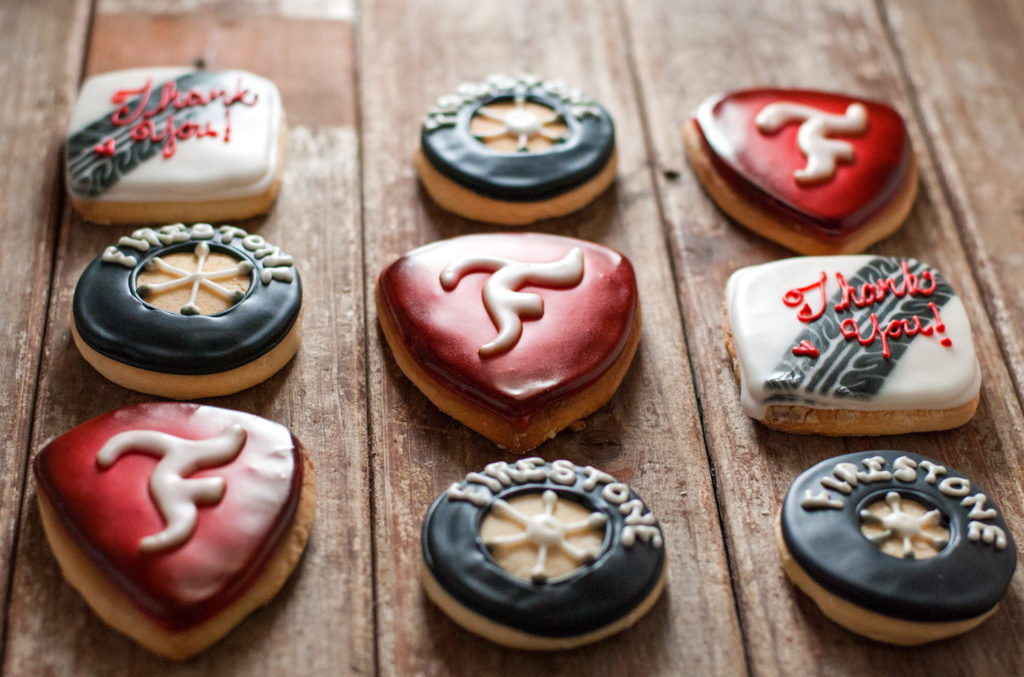
Now, here I must make a confession to you. Remember how I applauded you for being so good to remember that we are supposed to let the dark colors dry BEFORE adding white? Sigh. Loved ones, I must confess that I rushed these tires. And see? My black color kind of bled onto the white. 🙁 But in the end it looked kind of silvered and intentional (I told myself), so I left it. Thankfully the shields didn’t bleed because I let the red fully dry. I need to be more patient. Hmm.

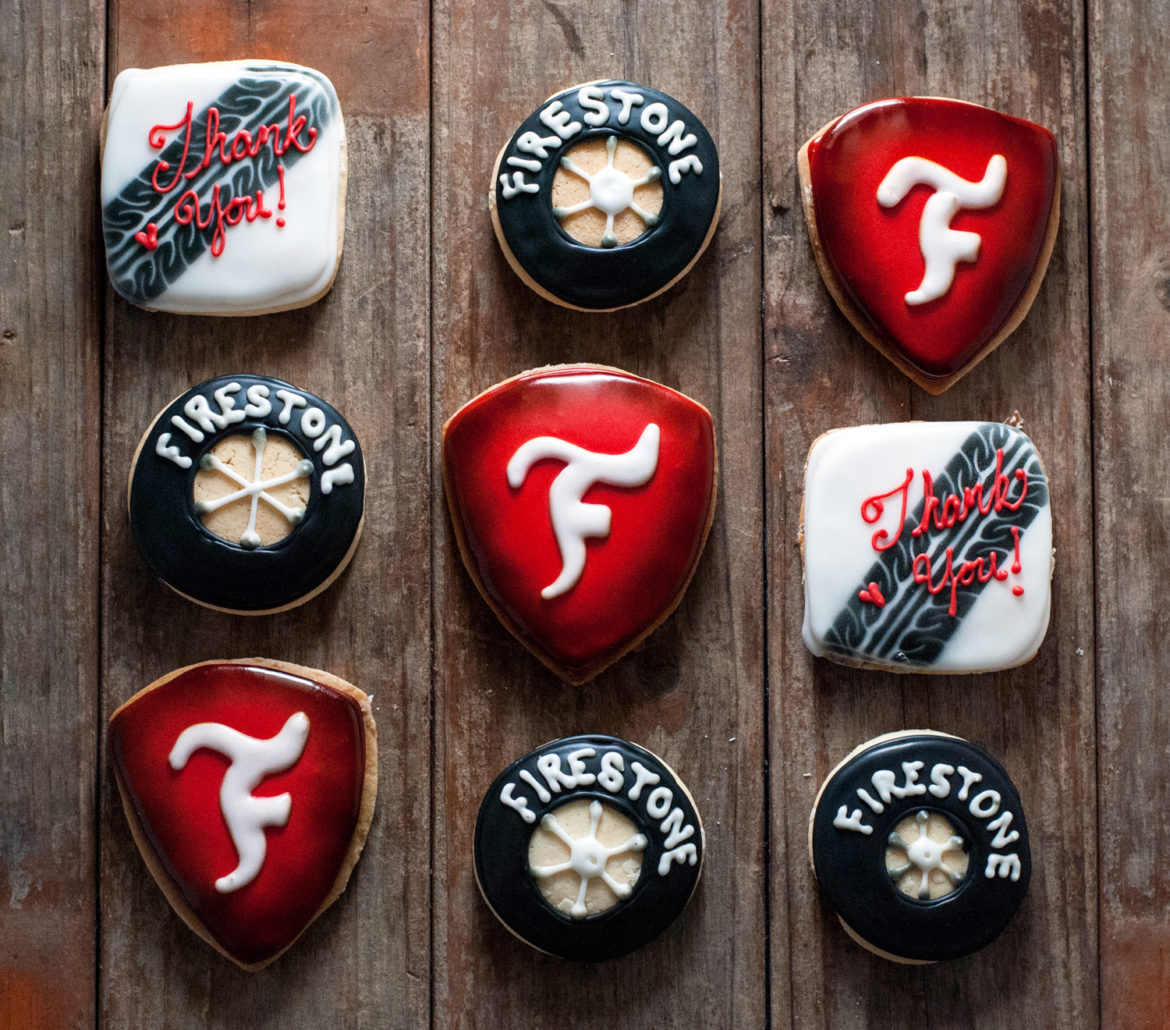
Now how DID you do that cool tire print?????
Well, that’s another cool trick that you can do with the airbrush . . . stencils! All you have to do is place the cookie under the stencil and give it a few light coatings, letting the design dry between coatings so that the color doesn’t get too heavy and bleed. I use magnets to hold the stencil in place (metal cake pan, turned upside down, cheapie paper plate, cookie, stencil held by magnets that stick to pan). That way my stencil stays put while I spray and I don’t have to worry about holding it exactly in place. See? I knew you were a genius.
Sigh. My heart (or tire, rather) bleeds for you. But they looked pretty cute anyway.

The cookies turned out really cute, and when I took them to the guys at the garage, everyone was happy. And the next time I took my car in there they bumped me to the front of the line with a smile.
Hey. That wasn’t why I did it, but it sure was nice. 😉
You did it. And I’m just so proud of you. 🙂

Disclosure: This post may contain affiliate links, which just means that we get a few pennies if you purchase through our link. I never recommend products that I don't personally use and love. Thanks!


Your cookies look amazing. I got an airbrush for Christmas and STILL haven’t used it. Wanna come over and teach me?! Please?
You will loooooove it!!!! Open that bad boy up!