Blue is my favorite color. Psychology says that people who choose blue as a favorite color tend to be very detail oriented. They can juggle many things at once. They tend to be perfectionists. They get frustrated easily at themselves. But they make some really cute cookies (ok, maybe it didn’t say that one, but it should have).
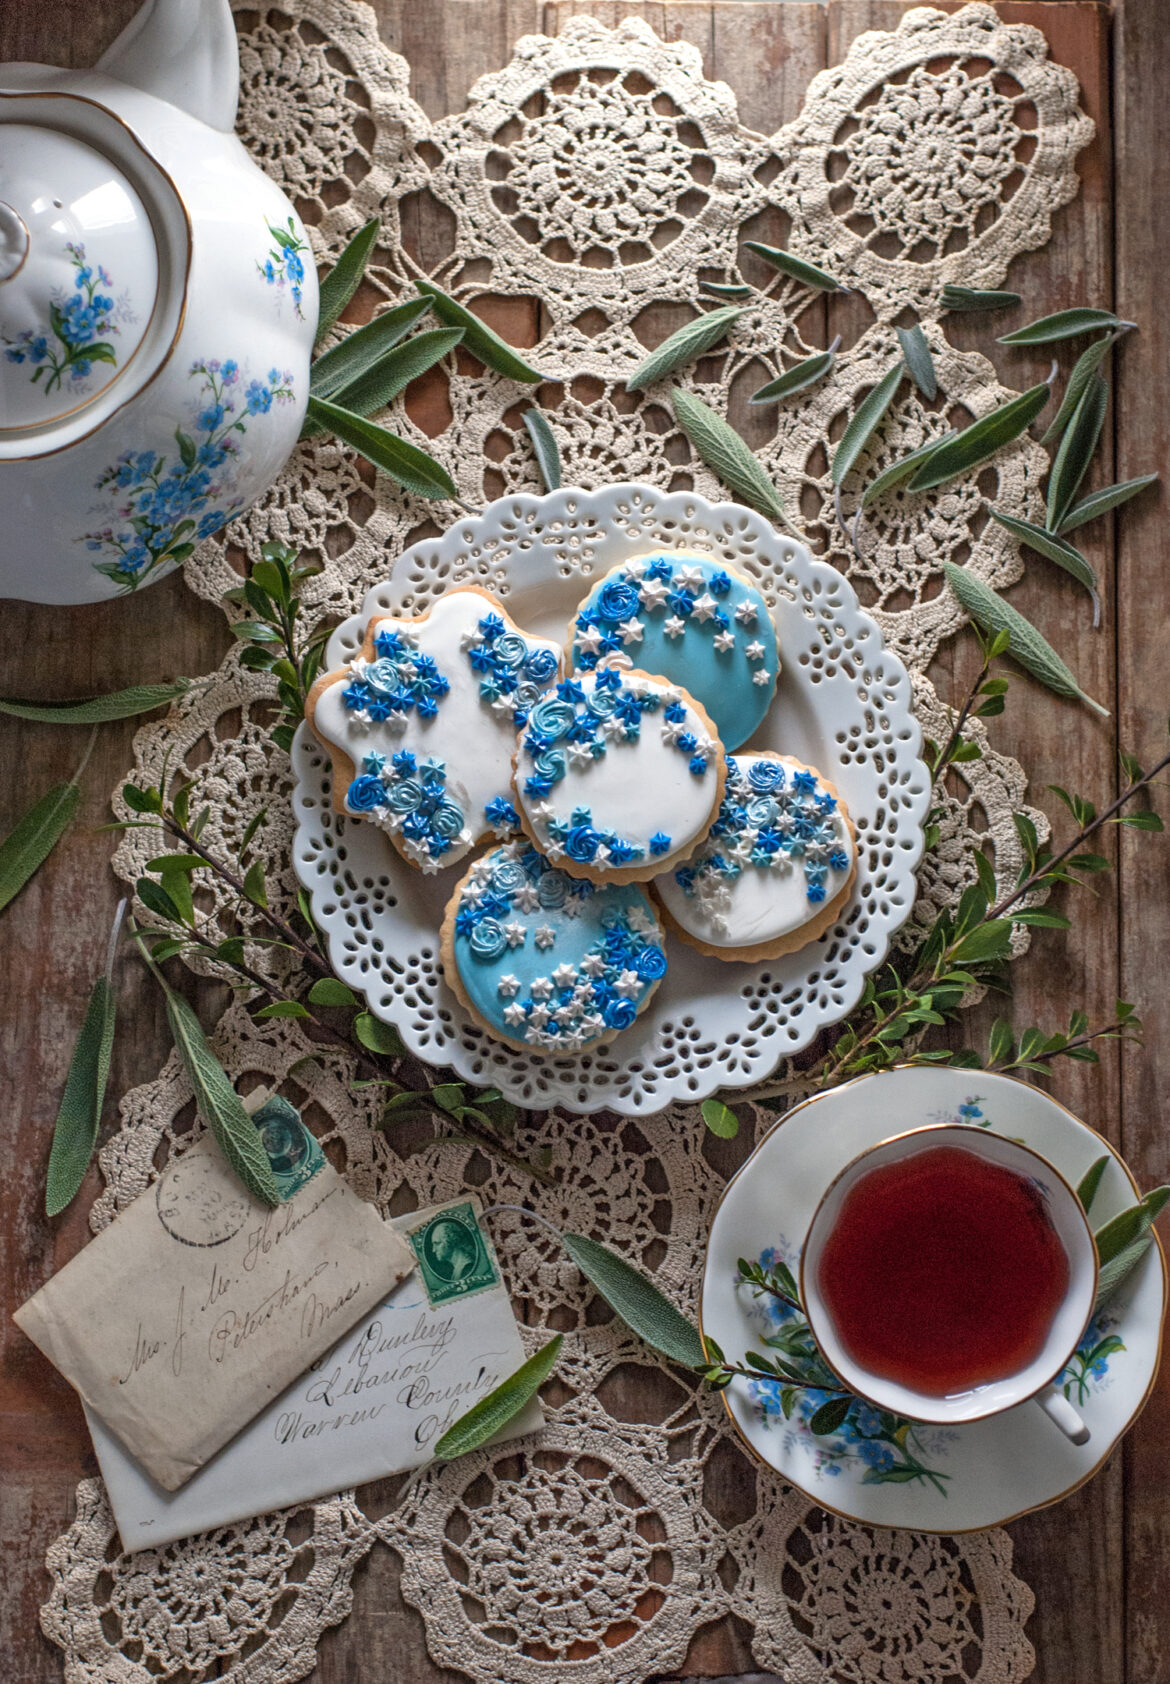
I think we should make some blue cookies. It’s winter, and we need some color. My favorite teapot has blue flowers on it; I thought some blue cookies might keep it company. Come on. I’ll give you a cookie when we’re done.
What are we waiting for? Let’s do this.
Got the Blues Sugar Cookies
I used to drool (not literally) over the beautiful pictures of sugar cookies in magazines and on social media. I WANTED to make them. I HAD to learn how. I went to college for 234 years and sold a kidney to get the books to learn the knowledge.
Just kidding.
Making sugar cookies basically boils down to how well you can lasso that maverick, royal icing. I have a more detailed tutorial here about how to make and use this tricky little lass. But don’t worry. You’ve got this. I’m going to do this with you.
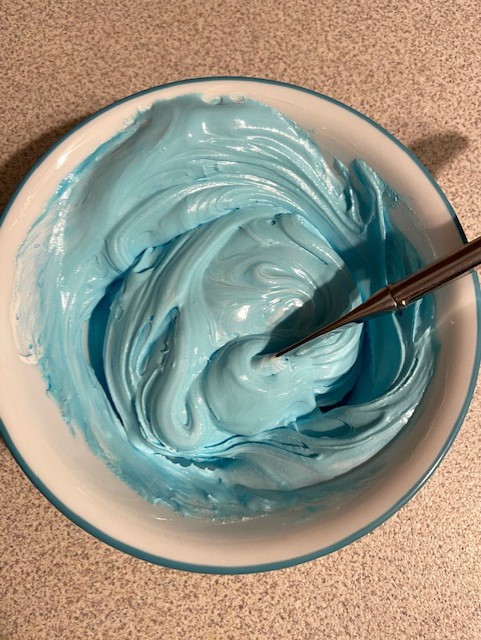
There are 3 things that are super important when you’re working with royal icing.
- Don’t let it dry out. Cover it with plastic wrap or a damp towel (not touching the surface) to keep it moist while you are working with it.
- Adding color will make the icing more runny (so make your icing a hair thicker than you need, knowing that the color will bring it to the correct consistency). Gel colors
work better than regular “teardrop” food colors, because you don’t have to add as much liquid to get the color you need.
- The difference between ruined and perfect royal icing is thickness. But no worries– a drop of water or a teaspoon of powdered sugar will save you either way. More on this in a minute.
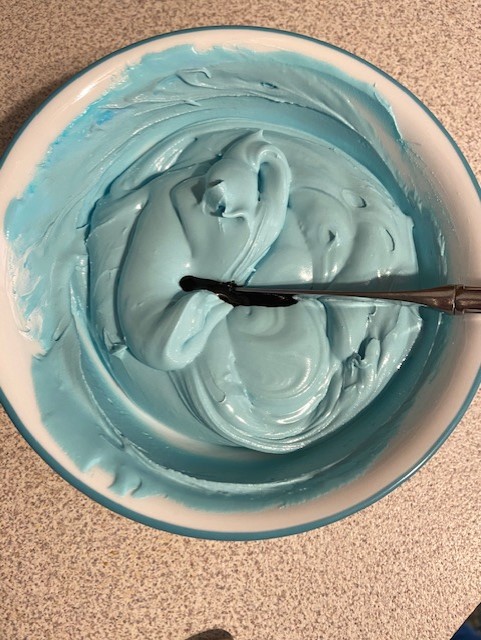
With color, start out small. You can always add more color, but you can’t take it out once you’ve added it. Gel colors are extremely potent, and like family reunions, a little goes a long way (*snicker*). I knew that I wanted something stormy (for the icing, not the reunion). I started with sky blue, then added a little bit of black icing (not pure gel).
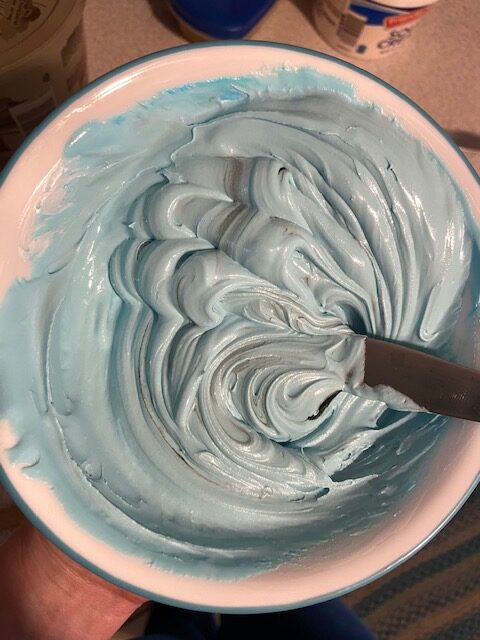
If you need just a little more moisture, add it with a spray bottle, a single spray at a time. Using the spray bottle helps you to be able to moisten the icing without making it too runny. You want roughly “17 second icing” for flooding (filling the sugar cookie base). This just means that it should take a drip of icing about 17 seconds to “settle back” into the icing completely when you test it in the bowl.
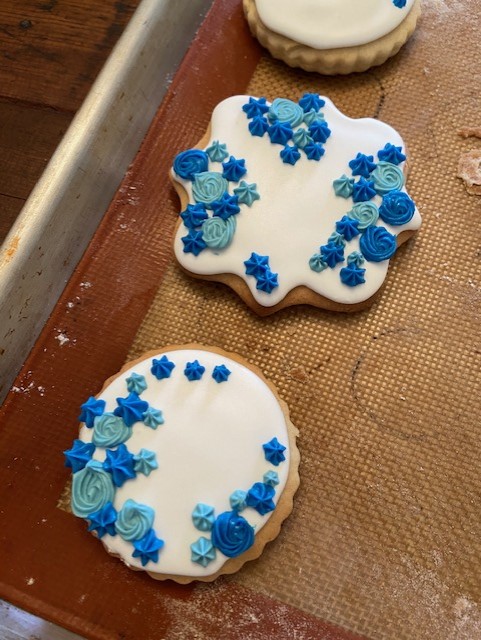
Once you outline and flood your cookies, let the cookies dry overnight before adding details. Royal icing is kind of like thin ice on a pond– it looks solid, but if you put icing details on top the “ice” will break. Since we will be putting a lot of details on these cookies we want the base layers to be completely dry. You don’t want to work so hard to see your work slither through the surface into icing oblivion. It’s rough. Don’t ask me how I know this. The cookies leak icing over the side like tears. I’m not crying! YOU’RE crying! *WAHHHHHHHHHHHHHHH*
Let your cookies dry. COMPLETELY. Don’t add the makeup without primer.
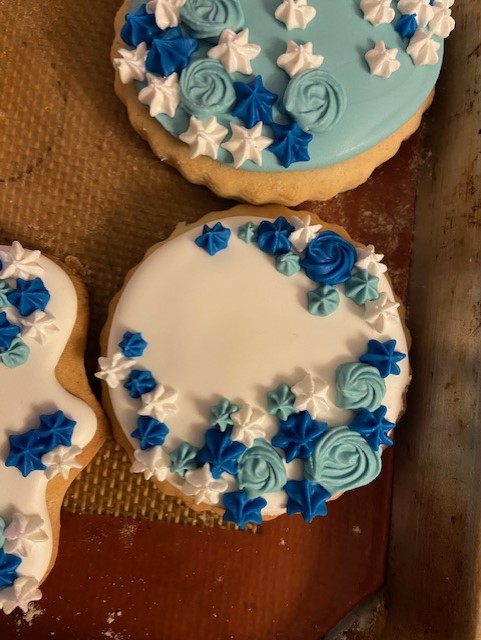
The icing that you use for piping the details needs to be a little thicker than the base icing. Base icing needs to be thinner, because you WANT it to settle out smoothly. The detail icing should not smooth out. You want it to hold its shape. The trick is getting it thick enough to hold a shape and not too thick to pipe. This takes some practice. Don’t be afraid to “practice” piping shapes on a piece of wax paper to see if the stars and roses hold their shapes before you put them onto an actual cookie.
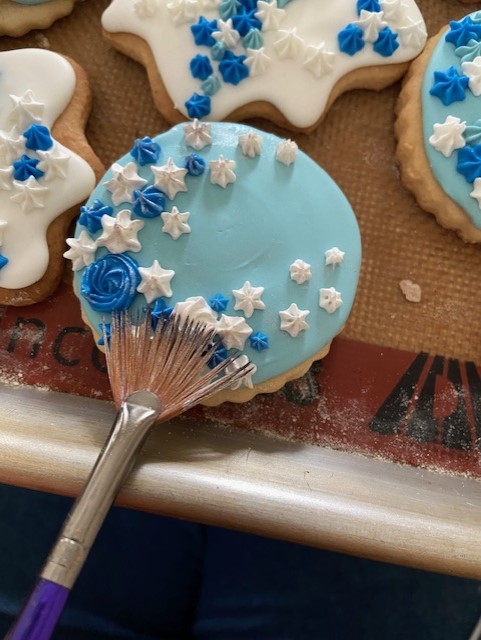
If you use the “icing bullet” method, it’s pretty easy to dump out the icing again and fix it if the consistency is too thick or thin. But you’re amazing so I’m sure you will get this on the first try. I believe in you. Remember. Water one spray at a time if it’s too thick. Powdered sugar 1 tsp. at a time if it’s too thin. Take it slowly.
Again, let these decorations dry overnight before you “glitz” them up. Trust me. They might look dry, but you want them to be totally dry before you take the brush to them to put their makeup on.
I am using some silver luster dust mixed with vodka (the alcohol evaporates off, leaving only the luster behind– it just makes it easier to apply). Use a fan brush
to kiss the tips of the flowers with silver to give them a little shine. You don’t have to use the luster dust, but if you have it, it just gives the cookies a little kiss of sparkle. All girls need a little glitter. These cookies deserve to get dressed up– after all, it is their last meal. *snort* Sorry. That’s not funny.
Hehe. Come on. It’s a little bit funny.
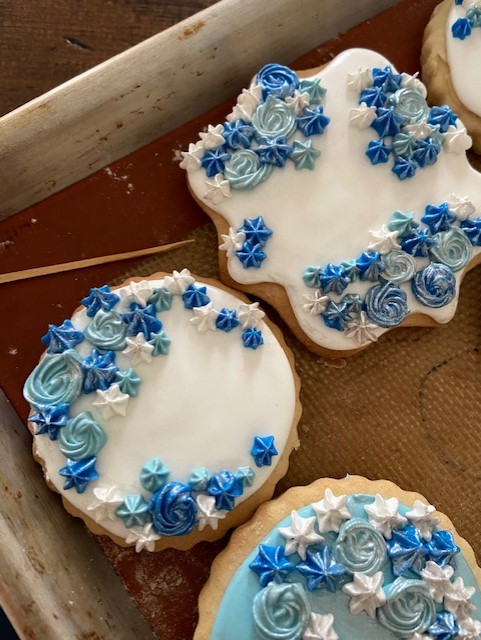
How PRETTY! See? The girls deserved to have their makeup done. A little bronzer did wonders for their complexions. They are practically glowing, now.
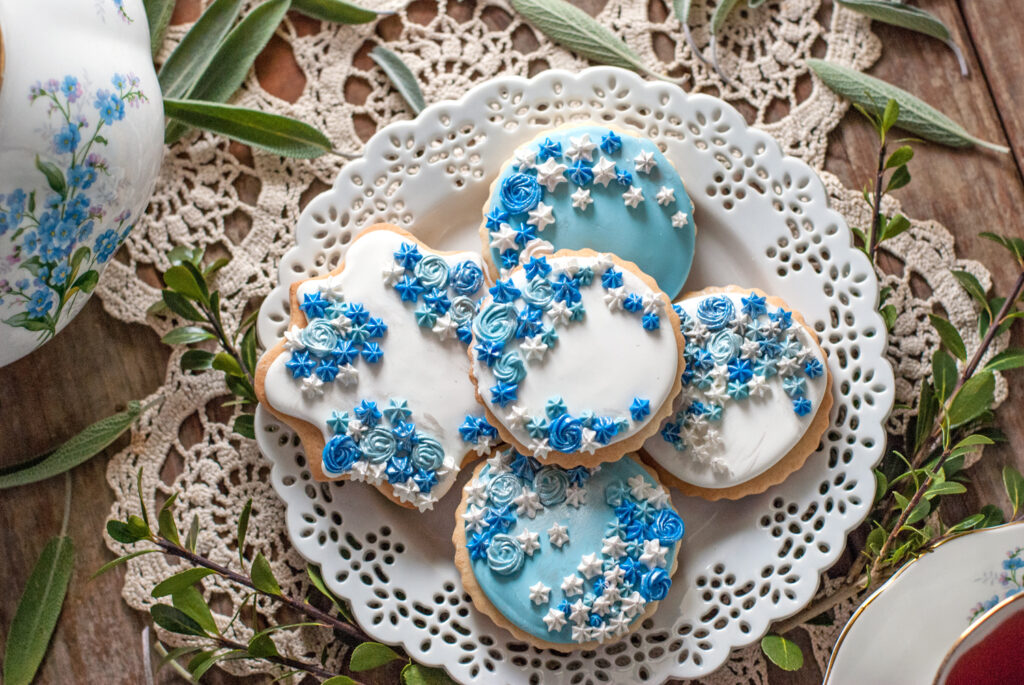
Now it’s time for me to admit something to you. Ahem. This is kind of silly, but . . .
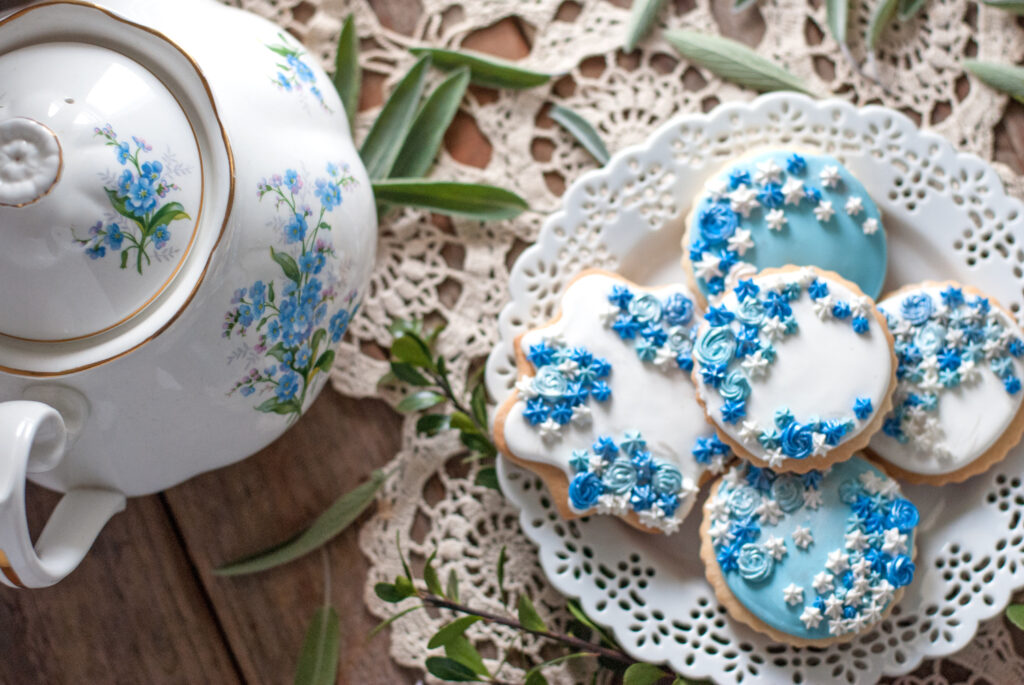
I made these cookies JUST to match this teapot. Yes. It’s true. I had no other reason. My teapot needed some fan girls.
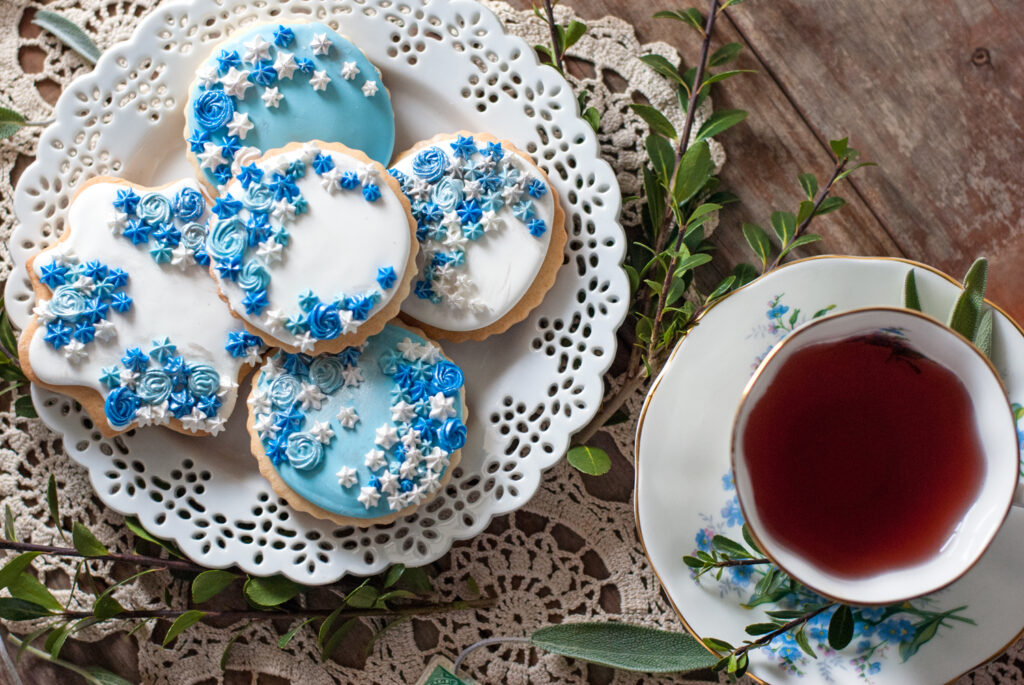
I love dainty little blue flowers, and this Forget Me Not tea set needed some matching ladies to come for tea.
The ladies came. They saw. They conquered. They had a blue Christmas without us.
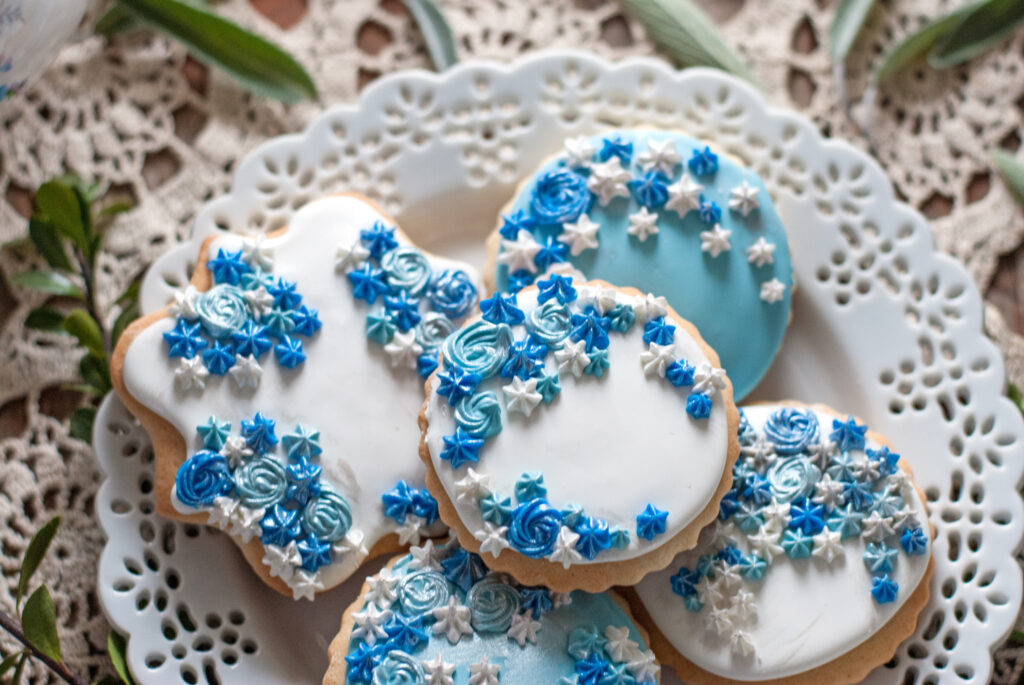
And with all these smiling little blue flowers, I mean . . . who wouldn’t want to have these ladies to tea? Shhh. Don’t tell the ladies that they will never return. hehe. 😉 This is horrible. You’re a bad influence. Good thing you’re so smart. I will forgive you.
Can someone please pass the cookies? 😉
You did it. And I’m just so proud of you.

Disclosure: This post may contain affiliate links, which just means that we get a few pennies if you purchase through our link. I never recommend products that I don't personally use and love. Thanks!

Just. So. Beautiful.
XOXOXO <3