St. Patrick was a pretty cool guy. According to legend he was actually born in England, but he claimed Ireland as his birthplace because he lived most of his life there. Supposedly ‘ole Patty hated snakes so much that he stood on a hilltop over his beloved Ireland and banished all the snakes into the sea. Locals say that it’s still almost impossible to find a snake in Ireland. Now, I don’t know how true that story is, but if St. Patrick hated snakes, then he is definitely my guy. I wish he could come do his banishment trick at my house. Eeeeeeekkk.
Besides being a really fun holiday, St. Patrick’s Day has a gorgeous color scheme– beautiful, deep green. Do you know that people whose favorite color is green are said to be generous, beautiful people who enjoy beauty and a pretty meal presentation. Cool. This tutorial is going to assume that you are all cookie experts, by now. If you need help with the basics of making sugar cookies, check out my tutorial here. Today we will be using royal icing, also– if you need help with how to make RI and know when it’s the right consistency, check out my tutorial here.
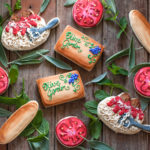
You also need some shamrock cookies, baked and cooled, and I am also using some rectangle plaque cookies for a St. Patrick’s Day Banner. I’ll walk you step by step through the process of decorating these babies, and you’ll have the cutest cookies ever for your St. Patrick’s Day bash! 🙂
What are we waiting for? Let’s do this!
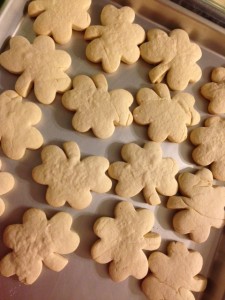
Come on, Me Buckle . . . let’s start with some cute little shamrocks!

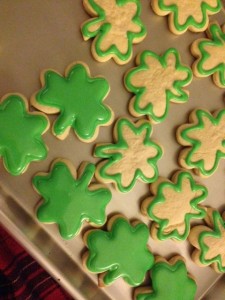
Next, go ahead and outline your shamrocks in some green 17 second icing. Again, more on Royal Icing and how to make 17 second icing here. I am using 17 second icing for both outlining and flooding, because these are small cookies. Thicker royal icing can sometimes dry out when you cheat a little bit and use it for both outlining and flooding. But for small cookies, it’s doable 🙂 I go ahead and outline all my cookies, first. Then, when I come back to flood them, the first outlines are dry enough for me to continue. It’s a beautiful system 🙂 So change your name to Noah and start flooding! 🙂
Hum a little Irish ditty as you go . . .
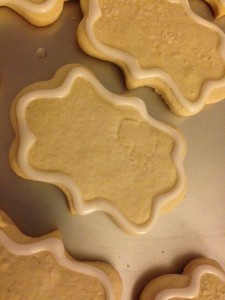
When all the green-eyed monsters are finished (ha), let’s start on the plaques. Again, I’m using 17 second icing for both outlining and flooding. Just outline all the plaques and then come back and flood them in white.

At this point, go ahead and let the cookies dry for at least several hours. Sugar cookies are sneaky– they look dry, but it’s really like a thin layer of ice over a dangerous pond. If you put your icing details on there too quickly, suddenly the crust will break, and the white details will sink hopelessly into the depths. So make sure that your green is nice and dry before you add piping details.
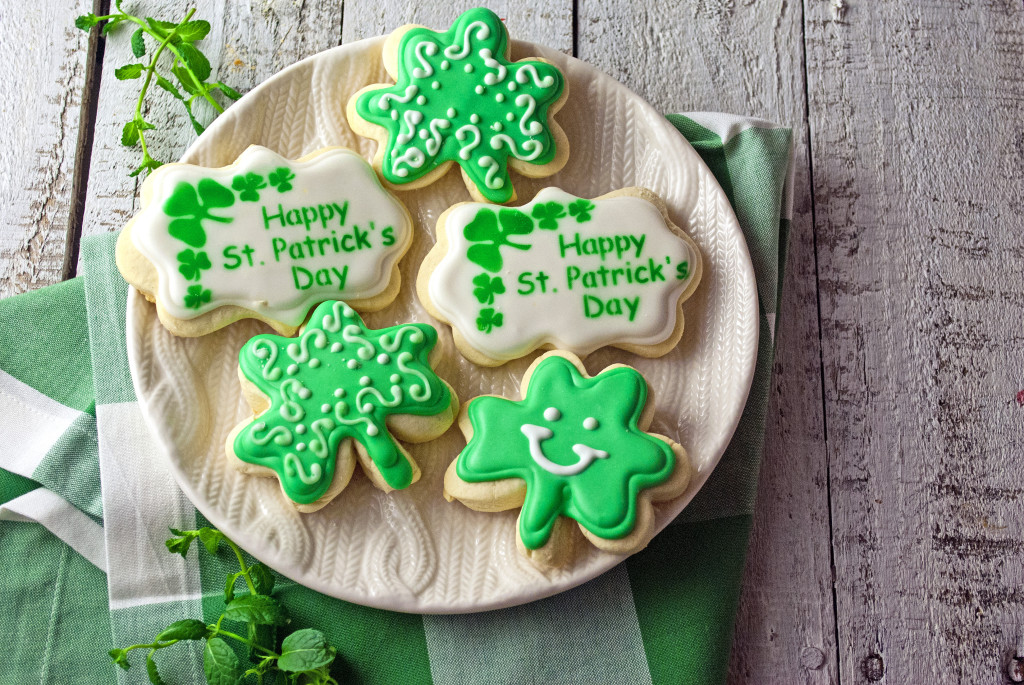
I used a 3 tip to pipe and fill the cookies, but for detailing, I am using a size 1. There is something nice about lacey, delicate details. Basically go around the shamrock making little sideways “S” shapes.
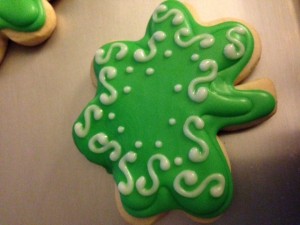
Put a few dots in the center to lighten the design a bit. Or, hey . . . add a sweet little smiley face (which I couldn’t resist doing on a few of them).
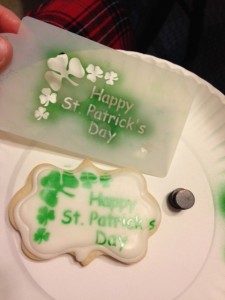
Now for the fun part . . . the AIRBRUSHING!!! I’m sorry. We can’t say “This is a real cookie with real beauty. It hasn’t been airbrushed.” (Guilty smile). Because it HAS been. 😉 There are many phenomenal cookie stencil companies out there, but my favorite company to work with is Designer Stencils. Unlike other companies that I have tried, Designer Stencils puts out a product that is very stiff and easy to use. These stencils don’t shift around when you’re airbrushing, like some other companies’ stencils do. Put a metal cookie sheet or cake pan below a cheapie paper plate, and then secure your stencil with magnets (which will stick to the metal cookie sheet). Use your airbrush to lightly spray green airbrush color (a type of food coloring) over the stencil. It’s better to do several light coats instead of one dark one so you don’t get bleeding colors or bubbles on the icing from too much moisture. When you’re finished, gently lift the stencil from the cookie to avoid smudging.

Awww. I can feel my inner Irishman chanting with glee! 😉 Let the airbrush colors dry completely before you attempt to move the cookies. The cookies, themselves, need to sit out, uncovered, overnight. That way the icing will be fully dried, and you can stack the cookies without smudging, smearing, or crushing. Yessssssss. Sorry. That sounded like a snake, and we banish ALL SNAKES!!! Eeeeewww…

When the cookies are fully dry, place a few of them on a plate and deliver them to a friend or neighbor. Maybe pair them with a fresh, hot loaf of Irish Honey Breakfast Bread or a box of Irish Breakfast tea. Let your kiddos make shamrock handprints with finger paints and deliver a sunny St. Patty’s day present to Grandma. She’ll love it. Who says you can’t make your own lucky day for someone? 🙂

And the best part about it is that the snakes will stay well out of your way on the trip over 😉 Thanks, St. Pat.
You did it. And I’m just so proud of you.

Disclosure: This post may contain affiliate links, which just means that we get a few pennies if you purchase through our link. I never recommend products that I don't personally use and love. Thanks!



Emilie, I love your blog!! Your photography is amazing and very professional looking!! I want to start a food blog myself, but I am not a talented photographer…I’m so jealous. 🙂 Keep up the good work!
Missy
As artistic as you are, I don’t think there is ANYTHING you couldn’t do! Thanks for taking time to stop by. 🙂