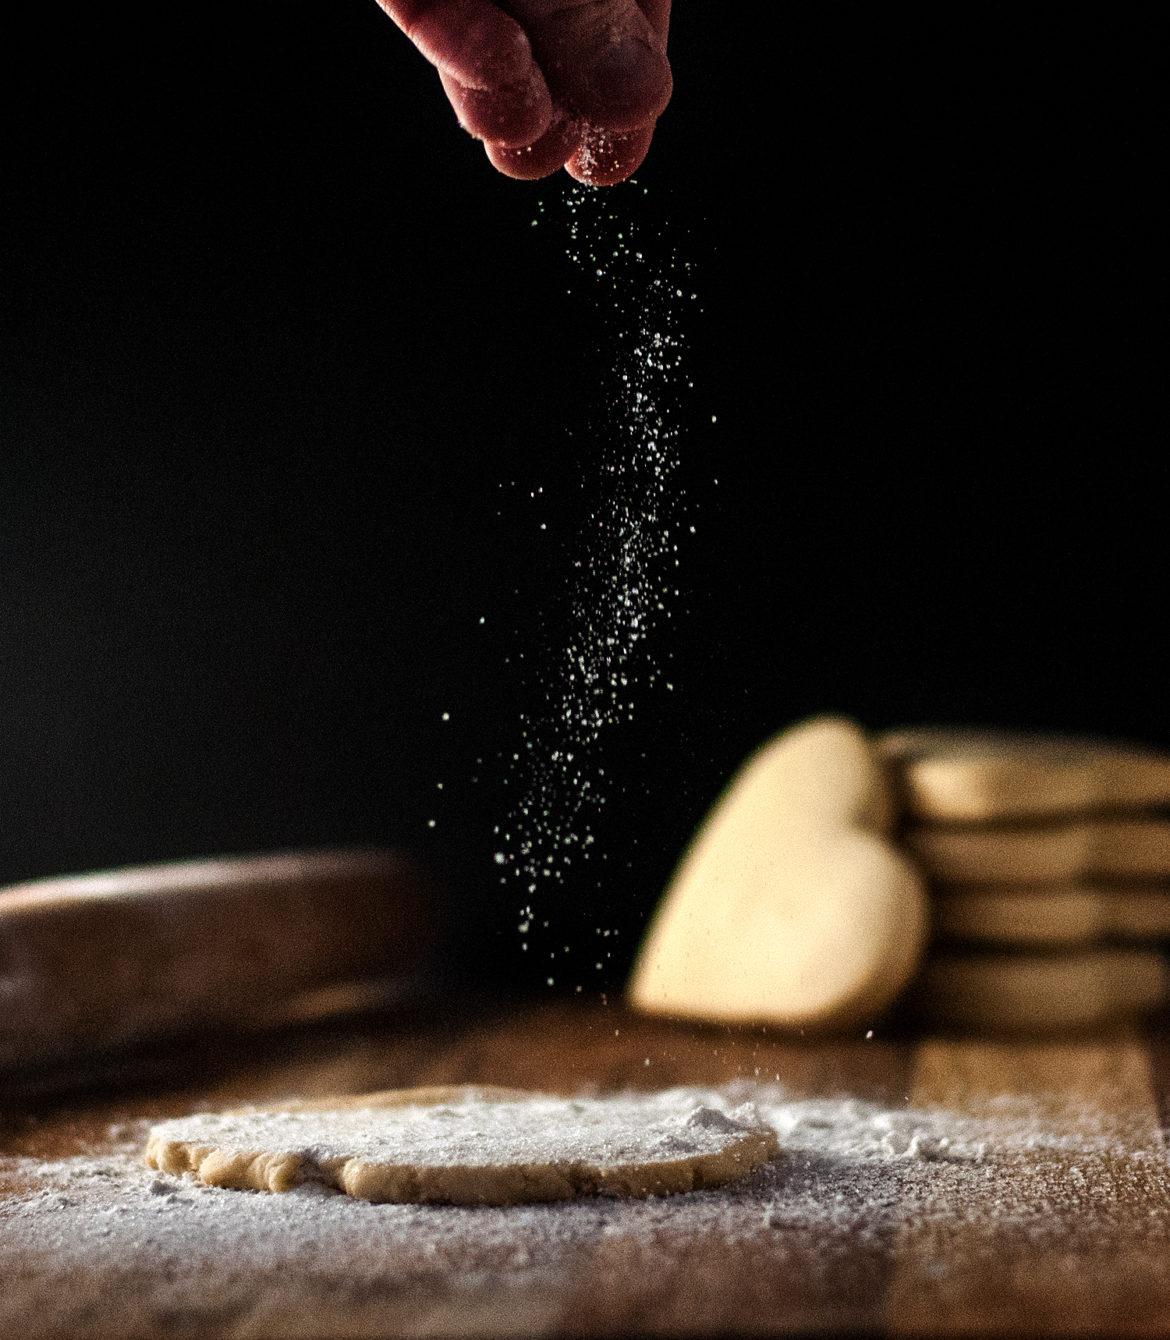
Understanding Camera ISO
What is ISO? How do I use it? How the heck is it relevant to my food photos?
Oh, I’m just so glad you asked. For a few weeks we have been working on a free photography series designed to help us all become better at what we love to do– take awesome photos. My focus has been on food photography, but the basic techniques apply to any kind of photos that you enjoy creating. If you’re new to this series be sure to check out our Photo Basics, and the tutorials on Shutter Speed and Aperture.
When I first started taking photos, I always put the camera on Auto and hoped for the best. I certainly didn’t understand MAPS or MASP or whatever the heck was on that camera dial. I was petrified to change anything because I was afraid I wouldn’t be able to get my settings back to what I started with. Sometimes I got lucky and got decent photos. But since I didn’t understand how I had gotten those decent photos in the first place, I could never recreate my successes. Then I learned what the camera settings meant . . .
And the heavens opened.
Well, maybe the heavens didn’t quite open . . . but I finally understood how everything worked together. I was finally able to see a photo in a magazine and know how they set it up, and guess pretty close to what settings were needed to create a similar look. I could also picture the way I wanted a photo to look, and then set it up exactly the way I wanted, without guessing and taking hundreds of photos hoping that one of them would look right. Don’t worry. If you’re lost in the photo terms game, you’re not alone. But soon you’ll be an expert, snapping professional quality photos without a care in the world. It just takes practice.
Think of Shutter Speed, Aperture, and ISO as a relay team. If one is slower, then the others need to speed up to take up the slack. If two of them are kind of slow, then the third one will need to be lightning fast to compensate. And once you realize how these three team members work, the photo game becomes easy. Be sure and check out the above tutorials on Shutter Speed and Aperture, if you need a refresher on those; today we are going to delve into what is probably the most seldom changed “team member”– ISO.

I once heard ISO described as a swarm of bees that you send out to collect light for you. Picture that each “bee” brings you back a little piece of light. The more “bees” you send out, the lighter your photo, but also the more grainy your photo, since the bees bring back light from the dark areas, too. Let’s look at some examples. I want to point out that for these photos I didn’t do any edits, and I left the shutter speed and aperture the same– the only thing I changed was ISO so you could see exactly how the photo changes as the ISO is adjusted.
The above photo is set for an ISO of 100. The photo is very dark, and it is very clear– i.e, not grainy in the dark parts.

Here is the same photo with the ISO set to 200. See how the photo got lighter? Let’s try raising the ISO even more.

This is the ISO set to 400. See how when the ISO goes higher (the more “bees” we send out), the lighter the photo and the more interference we get in the dark areas?

Here is ISO at 800 . . .

And, finally, here is ISO at a light-blowing 1600. See how blown out the light is in this photo? And also notice all the interference in the dark areas? Generally people prefer to let more light into a photo via shutter speed or aperture, because a high ISO introduces a lot of graininess that you don’t want.

Now, I’m going to point out some photos that I have taken, and some ways I could have improved them. No one is perfect, and I make mistakes just like anyone else. Check out this photo of Chocolate Peanut Butter Parfaits. See how the darkness in the bottom left of the photo is kind of grainy and not crystal clear? Yep . . . my ISO was a touch too high. Of course, I still really liked the photo (otherwise I wouldn’t have used it), but if I had it to do over again, I’d take the photo with a lower ISO to get rid of some of that graininess.

Now, in contrast, take a look at this photo of my Double Chocolate Muffins. I was really pleased with this photo– it can be difficult to get details in a dark photo without blowing out the ISO, but this photo turned out really well. The ISO was low enough that I didn’t have as much graininess or interference in the dark parts, like in the shadows bottom left, or on the dark background. The dark parts just look dark– not grainy or pixelated.
So, to recap, here’s what you need to know about ISO:
- The higher your ISO, the lighter your photo.
- The higher your ISO, the grainier your photo.
- If you need a lighter photo and you don’t want the added graininess of increased ISO, then compensate with either a slower shutter speed (to let in more light), or a wider camera aperture (lower f-stop).
Awesome. You did it. And I’m just so proud of you.

Disclosure: This post may contain affiliate links, which just means that we get a few pennies if you purchase through our link. I never recommend products that I don't personally use and love. Thanks!


Good stuff. That’s a great post. Much appreciated.
Glad you found it helpful, Sarina. 🙂 Thanks for stopping by.