Yum
There is something so lovely and homey about apple crisp. I know many call this dessert a fall tradition, and perhaps it is. But it’s just too good to save for fall. As soon as the weather starts to whisper of spring, I start to crave fresh fruit desserts. While this sweet apple crisp bakes, your entire house will smell like Grandma is in the kitchen, making homemade apple pie. And if you don’t tell how easy it is to make, then I won’t, either. 😉
What are we waiting for? Let’s do this!
Apple Crisp
Apple Layer Ingredients:
7-8 Granny Smith apples, cored, peeled, and sliced thinly
Juice of 1 lemon
2 tsp. vanilla extract
1/2 cup white sugar
1/2 cup brown sugar
1 tsp. cinnamon
2 tbsp. all purpose flour
3 tbsp. cornstarch
Topping Ingredients:
2 cups all purpose flour
1 cup butter or margarine
1 1/3 cups old fashioned oatmeal
2/3 cup brown sugar
1 tsp. cinnamon
1/4 tsp. nutmeg (you may substitute cinnamon if you don’t like nutmeg)
3/4 tsp. baking soda
3/4 tsp. salt
Directions:
Core, peel, and slice apples, stirring with the juice of the lemon to keep apples from turning brown. Add vanilla and stir to coat. Add rest of ingredients and stir until well mixed. Set apples aside and make topping. To create topping, cut butter into flour, and then whisk in other ingredients. Spray cooking vessel(s) with cooking spray and place a layer of apples. Top with streusel topping and bake at 350 for 45 minutes, or until apples are tender. Serve warm with ice cream. 🙂
Now, in pictures! 🙂
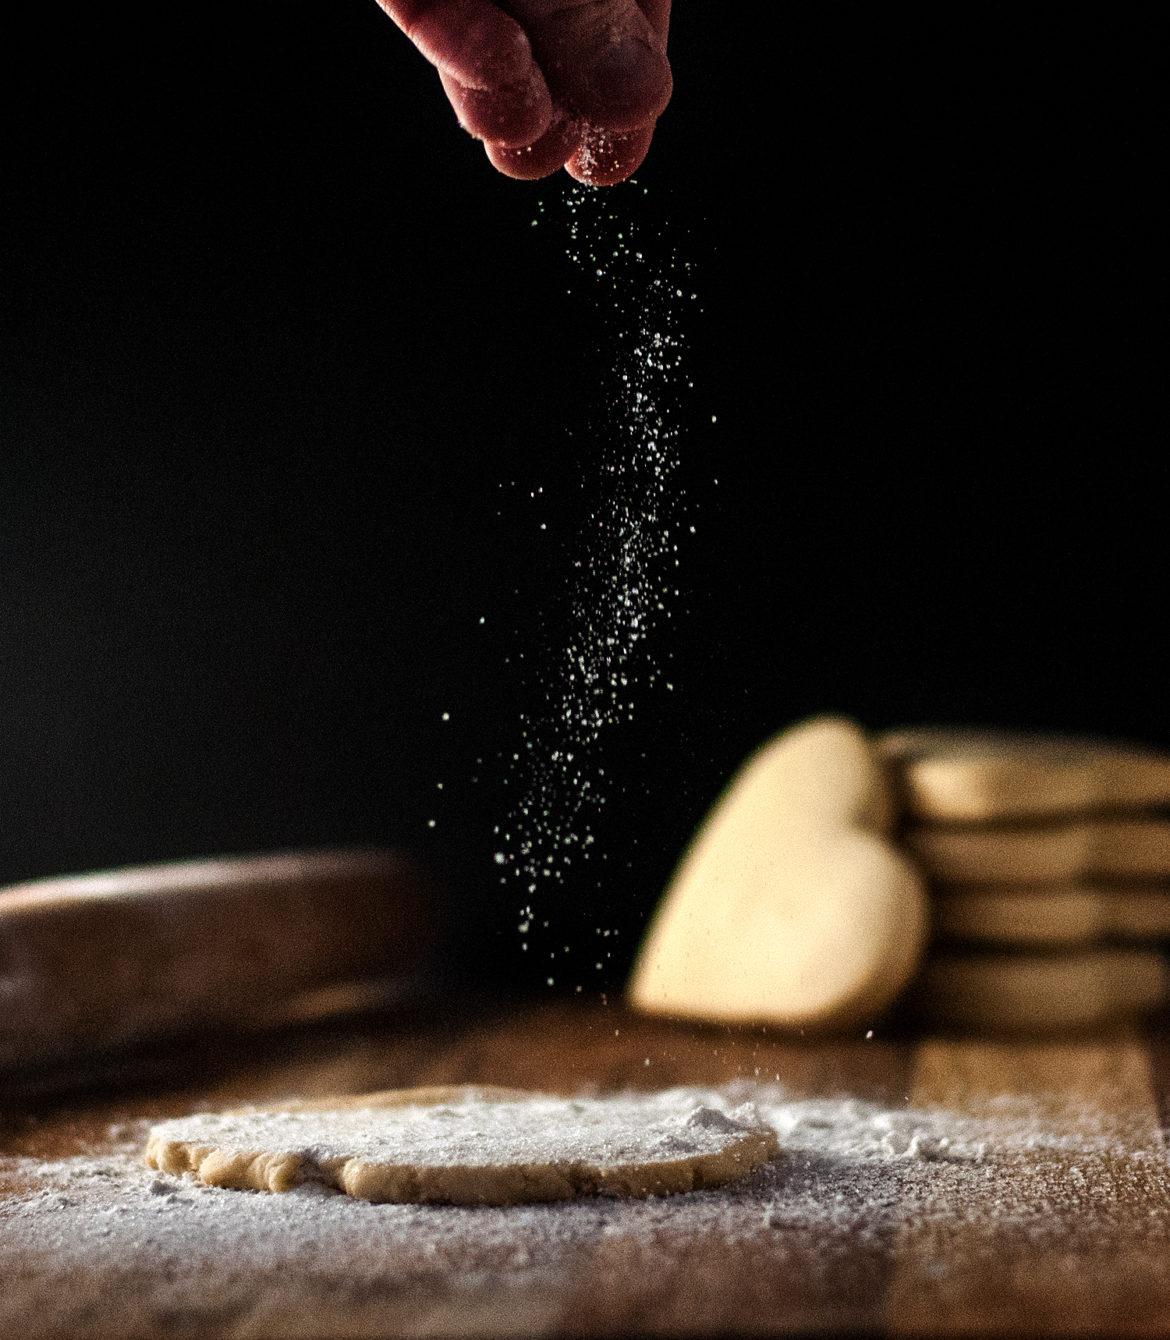
If you have ever made an Apple Pie, then you know that it can be a little daunting to make a whole pie, completely from scratch. Luckily, you can see how to do that, here, if you want to. But if you crave the flavor of delicious apple pie, combined with the speed required to get your kids off to school, race to work, and put dinner on the table after a long day before the troops revolt, then Apple Crisp is for you. It’s insanely easy to put together, and you can make the topping ahead of time and throw it in the freezer so that it’s ready to go anytime you want fruit crisp of any kind. Seriously. Can you imagine anything better than smelling warm, delicious apple crisp baking in the oven while you’re eating supper? And then, just as you finish eating, dessert is ready! Sign me up! 😀
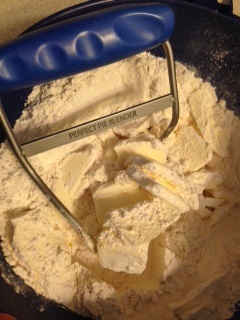
Start by taking your flour and cutting in your cold butter. “Cutting in butter” is a real pain if you are using 2 knives, or a fork. If you bake with any regularity, the Perfect Pie Blender should definitely be part of your baking tool kit. You can get this little beauty here for about 12 bucks, and you should definitely check it out. I use it constantly– for everything from Blueberry Crumb Bars to Raspberry White Chocolate Scones. This little baby has been working faithfully beside me for more years than most relationships last, and I could not recommend it more highly. 😀
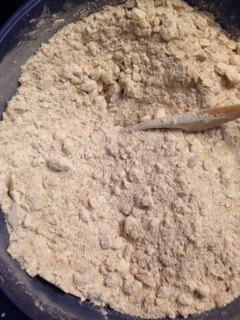
Once your butter has been cut into small chunks about the size of kernels of corn, go ahead and stir or whisk in the rest of your topping ingredients. Yep. Just stir. See how easy that was? When everyone is drooling over your dessert later on, don’t tell them how easy it was. Just lap up the compliments. You deserve them all. 😉
Once your topping is done just pop it into the fridge to keep the butter nice and chilled. Sometimes I just pour the entire thing into a freezer bag and pop it into the freezer. (Pop into the fridge? Pop into the freezer? What’s next– “Pop Goes the Weasel?”) This recipe may make extra topping, depending on what size baking dish you prefer, and when the leftover topping is ready in the freezer I can just pour it, frozen, overtop of any crisp recipe I want. Voila. I have a perfect dessert ready in two shakes. You’re welcome.

Now that we have secured our topping and it’s chilling out, let’s start on our apple filling. (Yes. I know the directions say to start with the apples. And you certainly may. I just went ahead and did the topping first since I had everything out already). The key to a successful apple dessert is keeping those apples nice and crisp and fresh– not brown. Meet Apple’s new best friend– the lovely Lemon.
Obviously, this lemon had a short complex and overdid things with the growth, but basically you want to squeeze the juice of one lemon into your bowl before you start cutting your apples. That way, as you slice apples, just stir them every so often so that the lemon juice will continually coat the “newcomers” and keep everything nice and happy and fresh. No brown apples here. You’re welcome.
Also, if you roll the lemon on the floor a few times using gentle pressure from your foot (don’t push too hard or the lemon will burst), the juice comes out much more easily. Again, you’re welcome.

Start coring, peeling, and slicing those apples. Stir the apples to coat with the lemon juice every so often. Think deep thoughts. Dream of delicious, cinnamon apple crisp.

Next mix in the rest of your apple layer ingredients. Let those apples sit a bit while you select which adorable baking vessel you want to put your apple crisp into. I can’t be the only one who has an entire collection of bakeware. Please don’t call my Pyrex hoard an addiction. Hehe.

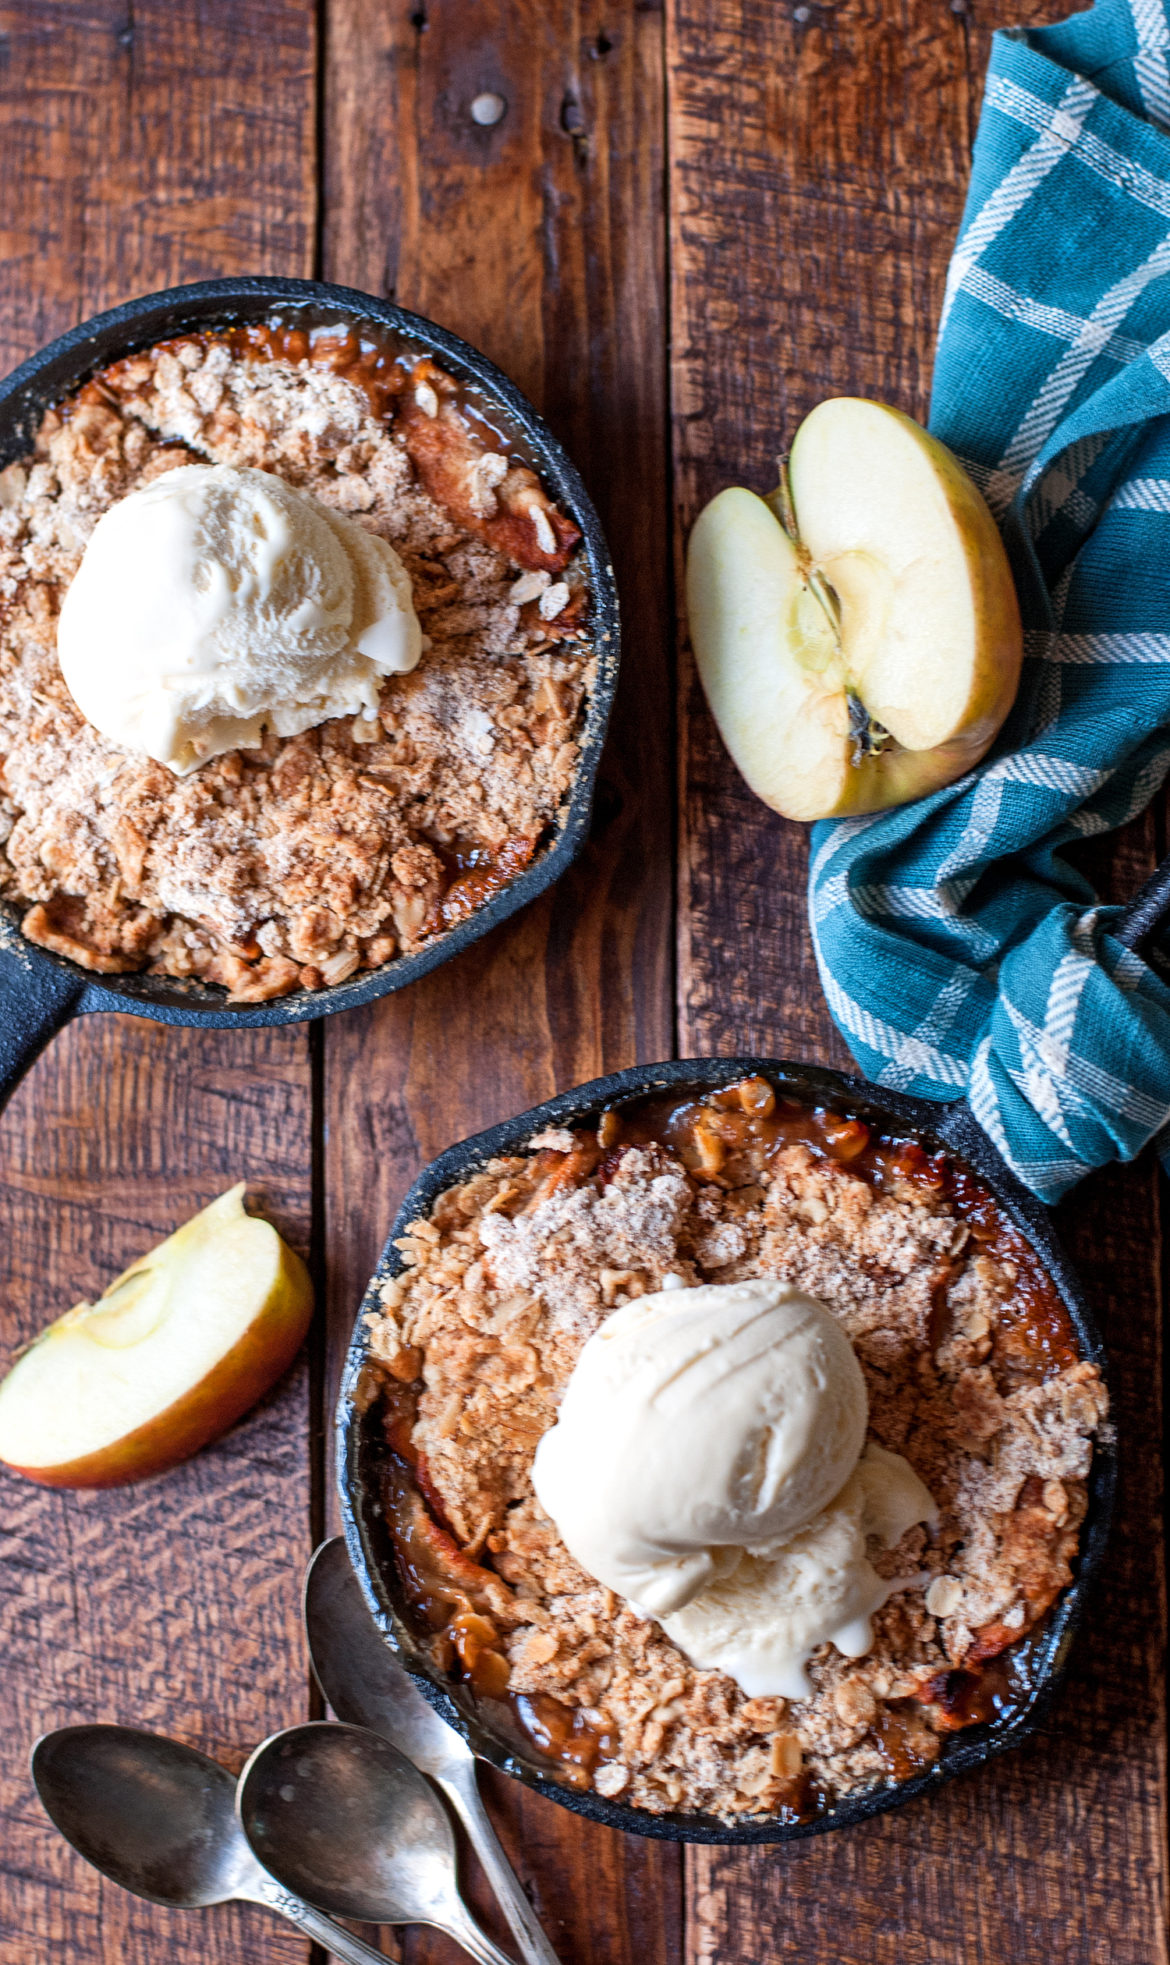
Today I am using two adorable mini cast iron skillets (like these, here), and two little Le Creuset pie plates (like these here
), which were a gift from my sweet hubby, for my apple crisps. You can also use a 13×9 baking dish, but I just love little individual desserts. They are so cute. Spray your baking dishes with cooking spray and fill them about 3/4 full of the apple mixture. Make sure that you get some of the “juice” in the bottom of the bowl into each dish, as well.

Cover your apple mixture with the crumb topping. There is not “right or wrong” way to do this. Just cover everything lightly and freeze the rest of the topping mixture for another time if you don’t use it all. Mist the tops of your apple crisps with cooking spray and put the dishes onto a silpat-lined baking sheet. The silpat
is an amazing invention– I use it every time I bake. If your apple crisps do happen to run over in the oven, the mess wipes right off of the silpat, no pan scraping or overnight soaking required. You’re welcome.

The baking time of your apple crisps will depend on what type of baking dishes you used. I baked these mini crisps for about 45 minutes, at 350 degrees. If you have a larger container, your baking time may be 45-55 minutes. Basically, when the apples are tender enough to be pierced with a knife, then your crisp is done.

When your apples are tender, you can take the crisps out of the oven to cool completely before serving. *Bursts out laughing* haha. Yeeeaaaaahhhhh right. We all know that warm apple crisp is like the food of the gods. You definitely shouldn’t wait until these little beauties cool off to dig in.

Here’s another idea . . . how about you grab your family, some spoons, and a big bucket of vanilla ice cream. Spread a picnic blanket on the floor and pretend it’s summer. Pull out the Monopoly board and fleece each other into bankruptcy. Eat your beautiful, spicy sweet dessert, and laugh together. Make some memories.

I can’t think of any better way to spend a “almost” spring evening– can you? 🙂

You did it. And I’m just so proud of you.

Disclosure: This post may contain affiliate links, which just means that we get a few pennies if you purchase through our link. I never recommend products that I don't personally use and love. Thanks!