Homemade Food Photography Backgrounds
When I first started food blogging, I knew absolutely nothing about food photography. I figured that as long as my recipes were good, the pictures didn’t really matter. But honestly, that’s not true. People eat with their eyes first, and if your photos look amateurish and unappetizing, then no one will take time to try the recipe, even if it’s a good one. This is one of my first food photos. CRINGE…….

So I set out to teach myself food photography.
I am a busy wife and Mom, and all my money goes to diapers (and the occasional set of Legos. haha). I didn’t have hundreds of dollars to drop on a photography class, and I didn’t have thousands of dollars to spend on fancy studio lighting or custom backgrounds. So I set out to make my own. And with a little trial and error, I did. In our last photo tutorial I showed you how to make a $20 Indoor Light Studio for those times when you need the look of natural daylight, but it gets dark at 4:30 PM (Thank you, Mr. Winter, for the perpetual darkness). Today I am going to teach you a little bit about homemade photography backgrounds, and how you can use items you probably already have around the house to take your food photos to the next level. Oh– and the money you save making backgrounds yourself means that you can now buy organizational bins to put those Legos in, so you don’t do the “silent scream” at midnight when you step on one and don’t want to wake up the baby. You’re oh so welcome.

I have a nice variety of photo backgrounds, and I use them for a lot of different purposes– from backgrounds to foregrounds to light reflectors. And I never paid more than a dollar or two for anything. Most of them were free or almost free and just took a little time and effort to create. You don’t have to spend a lot of money to get nice photos. 🙂 My first tip for assembling a nice photography background collection is to Keep Your Eyes Open. Anything that is around 18×18 inches will make a perfect food photo background. You can find interesting backgrounds in the strangest places. You might find an old scrap of wood at a construction site (ask before you take anything, obviously). Most times people are happy to part with scraps and will let you have them if you ask nicely. Sometimes you can use a scrap of pretty wrapping paper or even leftover fabric pieces, because so little surface area is needed for a food photo.

In addition to the freebies you can randomly find at junk piles or beside your neighbor’s trash can (again, ask first), let me introduce you to your next best friend. CARDBOARD. Anytime I have a big box (we recently moved, so I am in box heaven), I cut myself out a piece of cardboard roughly 18×18″ or so, and I paint it whatever color I want. You can use any color of paint that you like, but I recommend getting a few paint samples from Lowes. These are about 3 bucks each and last forever when you aren’t painting very much surface area, which means that you can have a nice array of colors to mix and match whenever you want to make backgrounds. Let your creativity go nuts.
Personally, I start deciding what colors to use by looking at food photos in magazines. When I see a photo I like, with a background color I like, I go grab one of my pieces of cardboard and recreate the colors of the background. Don’t worry if your color isn’t exactly the same– just make the piece your own, using the photo as inspiration for your work. Mixing colors somewhat (not completely stirring or the different color tones are lost) with a sponge makes each piece unique.
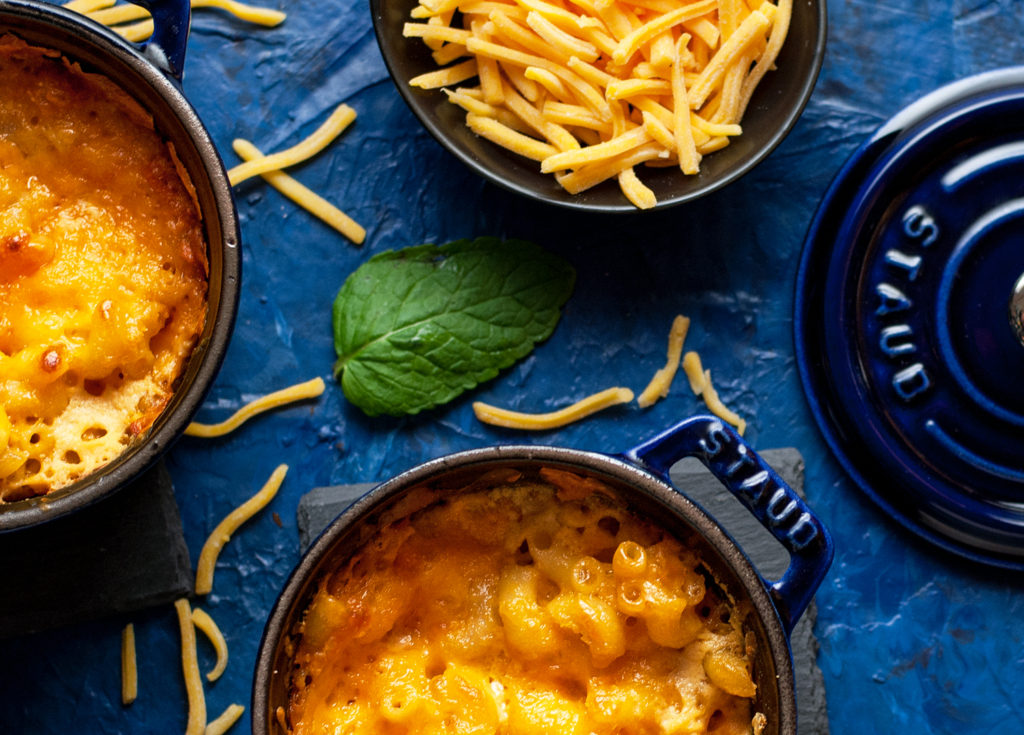
This dark blue background is one of my favorites. For colors I used a dark blue, a dark purple, and even a few spatters of white paint over some dried spackle. The spackle (about 3 bucks) created some ridges and depth to my background, making it a little more 3D instead of just flat paint, and I liked it. But of course, regular paint works fine too. Drizzle some different complementary colors (I use this cheapie color wheel here
to tell what colors work well together– and it’s a lifesaver) onto your cardboard, and then use a sponge or paintbrush to dab or swirl the colors. Don’t stress out about it– just go with what colors feel right. And if you don’t like the end result, just paint over the board again, when it’s dry. Some of my boards I have painted over 4-5 times. If your board gets too yucky from repainting, just get another one– luckily cardboard is cheap and easy to come by. So channel your inner Picasso and paint to your heart’s content. 🙂 Here is my pretty blue cardboard in action for this gorgeous Baked Macaroni and Cheese! 😀
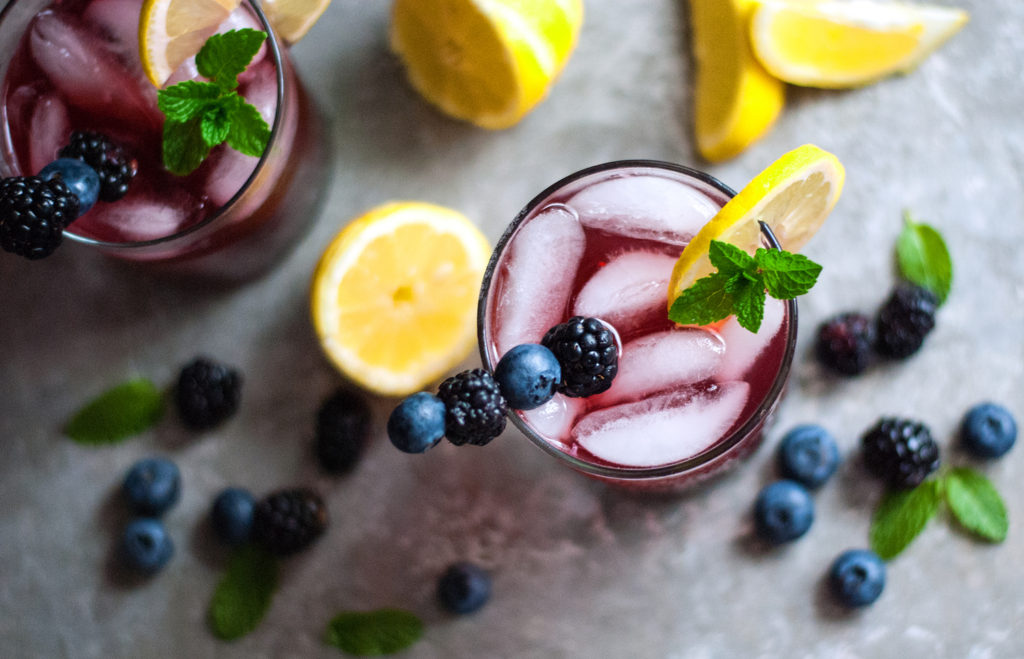
Now let’s talk about another easy place to get cheap and easy backgrounds– your local thrift store! I always love to take a swing through Goodwill when I’m passing, because there are treasures galore inside! Look at this cheap, dishwasher damaged, hard-water-scaled cookie sheet. I paid 25 cents for this thing, I think, because the damage makes it useless for baking. *whispers* But it’s NOT useless for food photos! Baking sheets make amazing backgrounds– especially ones with that dark patina baked on from years of use. People get rid of worn out cookie sheets because their baking careers are done, but that baked-on age will elevate your photos and take them from good . . . to great. And plus– the metal backgrounds are amazing for “splash” photos, because you can wipe them right off, no problemo, when you splash Peach Iced Tea everywhere. You’re so smart. I love working with you.

Ugly cookie sheet becomes a gorgeous photo background for this Black and Blue Lemonade. See? Put that sweet old horse out to pasture. There’s plenty of life in it, yet.
Another quick and easy photo background is an old cutting board. Of course, you can always use the pretty cutting boards, just as they are, for backgrounds. But sometimes you get an ugly one, or a piece of scrap wood, and you can upcycle it. I found this random piece of wood at Goodwill for a quarter, and I painted it one color on one side and another color on the second side, so that I get double duty out of it. Especially if storage space is an issue, getting 2 colors/backgrounds out of 1 board is a really smart solution.

Once you get the board painted, use sandpaper or an electric sander to take a little paint off the edges to give it a little rough, somewhat rustic look. I have this cheapie but faithful little sander here because I do backgrounds so often that I had to upgrade from sandpaper. My hands say THANK YOU to this sander. SO much easier. You can also paint one color, and then when it dries paint another color over top of the first one. Then use the sander to just take a little paint off the edges and make the second color pop through.
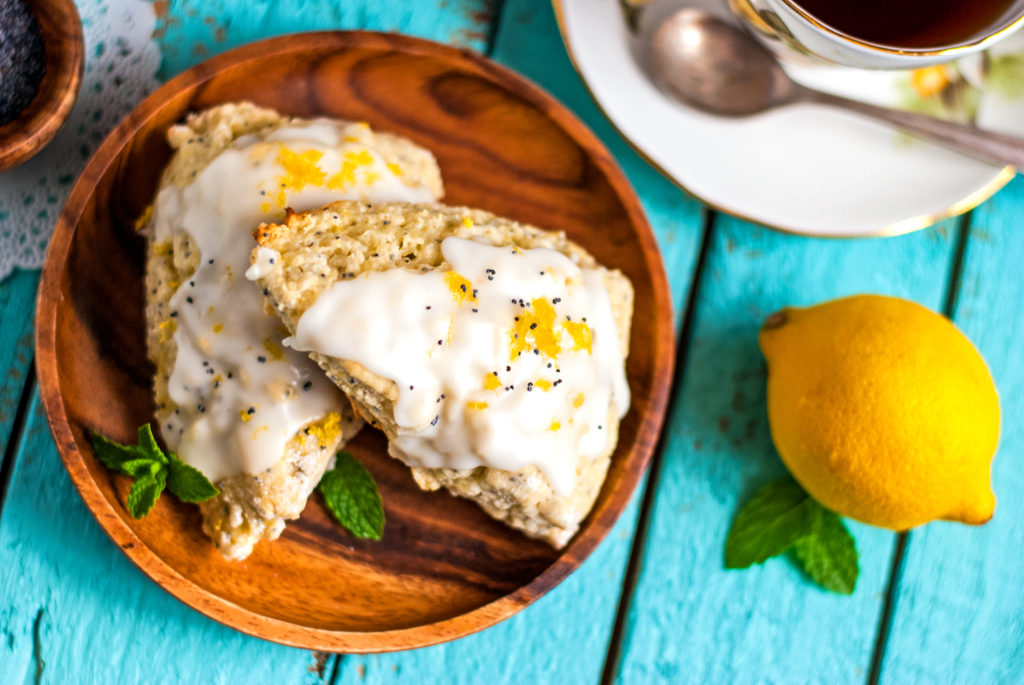
And then you can make some Lemon Poppyseed Scones, and because you have that awesome color wheel, you know that this teal/turquoise looking color goes AMAZINGLY well with lemon yellow. See? I told you that was 6 bucks well spent. I use that color wheel all the time.
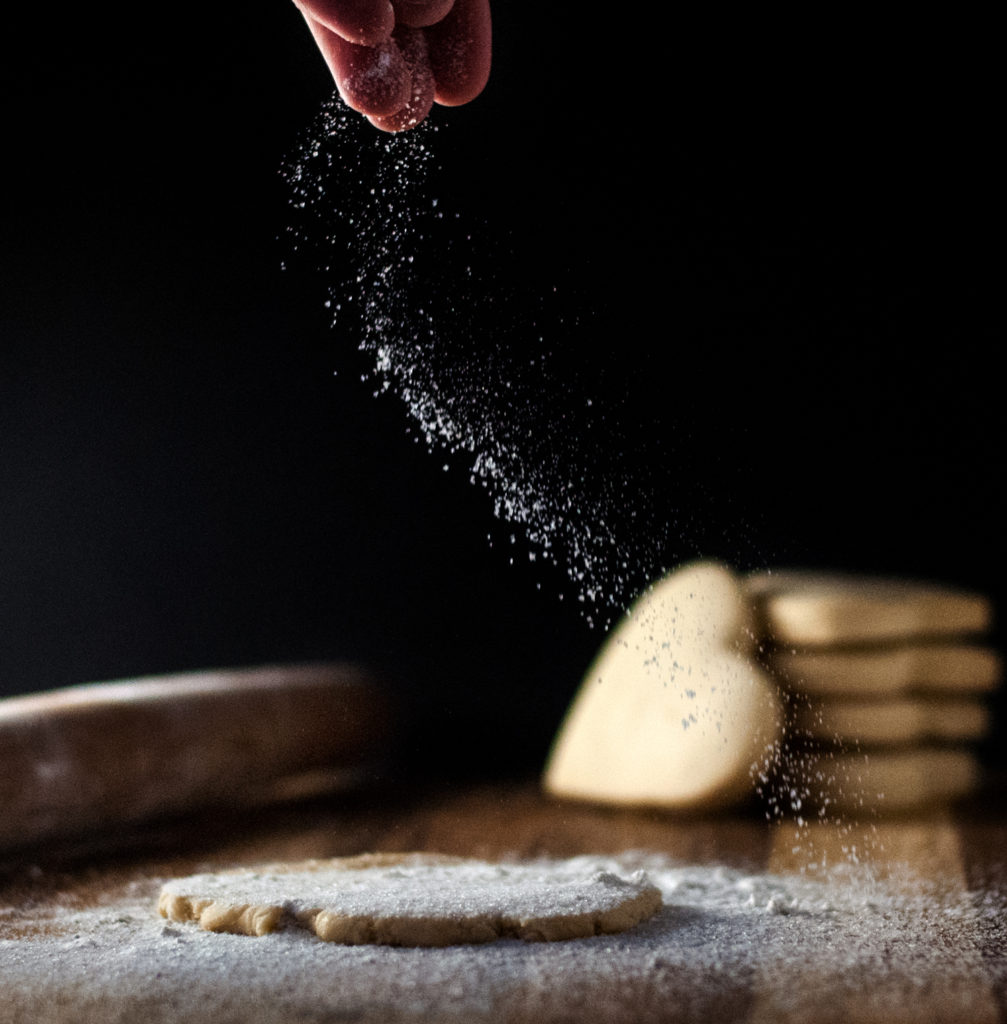
After you create some AMAZING photo boards, you can start taking some photos! And you don’t have to use a super expensive camera, either. I use the Nikon D60 here and the f/1.8 lens
. If you missed out on our previous (free!) photo tutorials on shutter speed, aperture, and ISO, be sure to check those out, too. Use anything and everything. Learn something new every day. You’d be surprised how much you can learn about photography just from studying photos you love and “picking apart” what it is about them that draws your eye– color? Composition? Prop styling? We will talk more about these things in future tutorials, but for now, go out there and enjoy!
You did it. And I’m just so proud of you.

Disclosure: This post may contain affiliate links, which just means that we get a few pennies if you purchase through our link. I never recommend products that I don't personally use and love. Thanks!




I love all the tips – they are treasures! And, I love how you are so willing to share what you have learned with others. You can take the teacher out of the classroom but you can’t take the yearning to teach out of the teacher! Your tutorials delightful and enlightening. I will never look at a piece of scrap anything in the same way ever again! A+ Miss Emilie!
😉
Some fab ideas here. I can’t believe that the blue back ground is cardboard. Now that I have looked up what Spackle is Im going to have to give it a go. It looks amazing.
Thank you so much, Jacqui! I almost always have some sort of experimental background drying in the garage. haha. Some of them have been flops, but that dried spackle over cardboard worked great! 😀 Hope you love it! Let me know how it turns out. I’d love to see a photo!