When Life Gives You Lemons
When I first started food blogging, I knew nothing about food photography.
Not a darned thing. Wait did you say I STILL know nothing about food photography? Aww that’s not nice. Meanie. haha. *throat clearing* ANYWAY . . . as I was saying . . .
My early attempts were cringe-worthy photos that I snapped with my cell phone taking pictures of my own dinner plate (Read: NOT GOOD). Although the recipes may have been delicious, you eat with your eyes first. And that meant that there were a lot of hungry eyes out there, my friends. So I thought it might be fun to revisit some of the mistakes I made in the beginning– and how I learned to fix them. I don’t have all the answers, but I’ve learned a lot. So read along– even if it’s just for a good chuckle about “what not to do.”
What are we waiting for? Let’s do this.
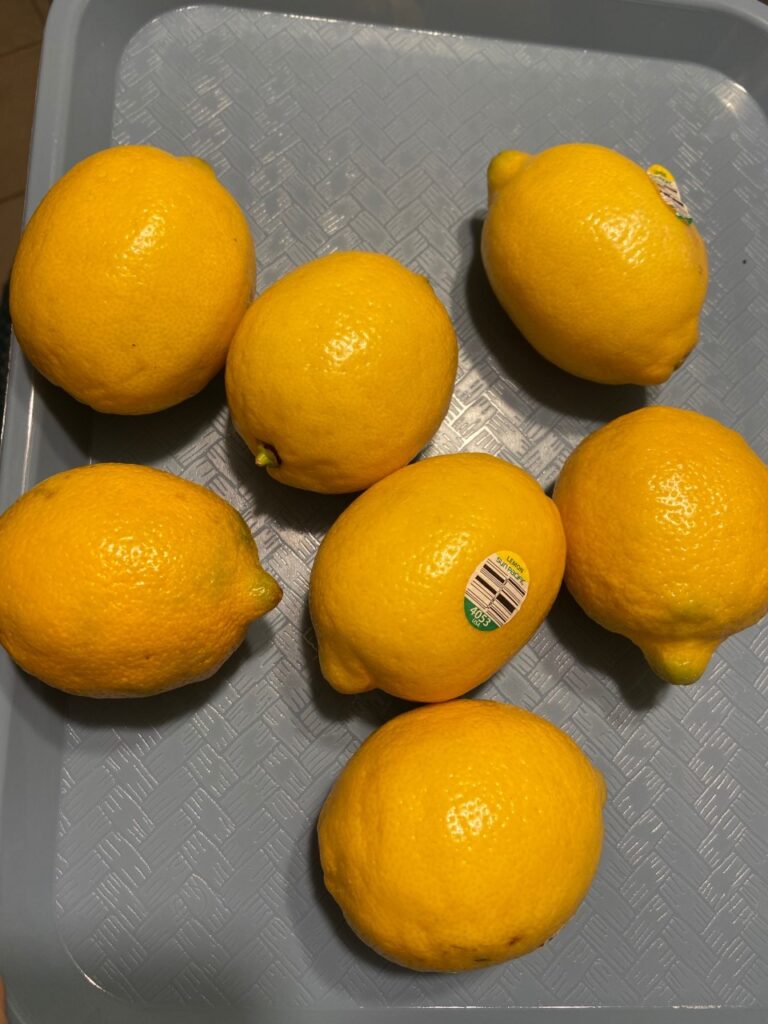
- Mistake #1: Using the gross yellow kitchen lights.
One of the most egregious mistakes that beginning food bloggers make is to use those cringe-worthy, nasty yellow kitchen lights. Even if your subject’s skin happens to be yellow (hello, yellow sunny lemons!), the yellow light does nothing but make your creation look like gross, overcooked cafeteria food under the blazing lights of the endless and seldom cleaned buffet bar. Never use your kitchen lights for your photos. There may be gold at the end of the rainbow– your food should not be that golden glow. Yeeeeeck.
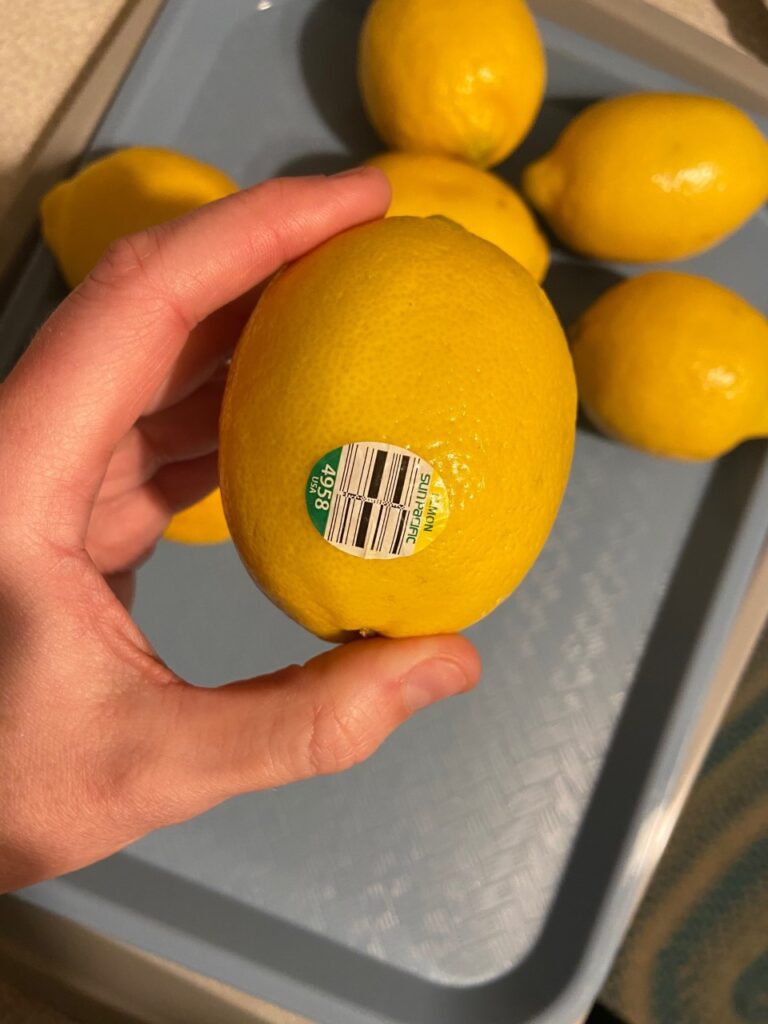
- Mistake #2: Not Minding the Details
Another mistake I used to make a lot in the beginning was thinking, “Well the food here is good. The little details in the photo aren’t important. The recipe speaks for itself.” Ooooohhhh no. If it’s not worth doing right, then it’s not worth doing at all.
Minding the details means paying attention to small things, like taking the grocery store stickers off your fruit. Minding the details is paying for fresh raspberries instead of using frozen ones that will get frosty in the photo and look weird and fake (and like you were trying to save two cents. Cheap makes bad photos). Minding the details is growing fresh herbs and flowers to use in your photos, or getting up early on Saturday to scour the flea markets for beautiful vintage dishes and silverware to use as props. Minding the details is practicing and reading and learning and trying to get better– always learning something new every day, even if it’s just one little thing.
The details are worth doing. And you can’t get better until you start paying attention to them.
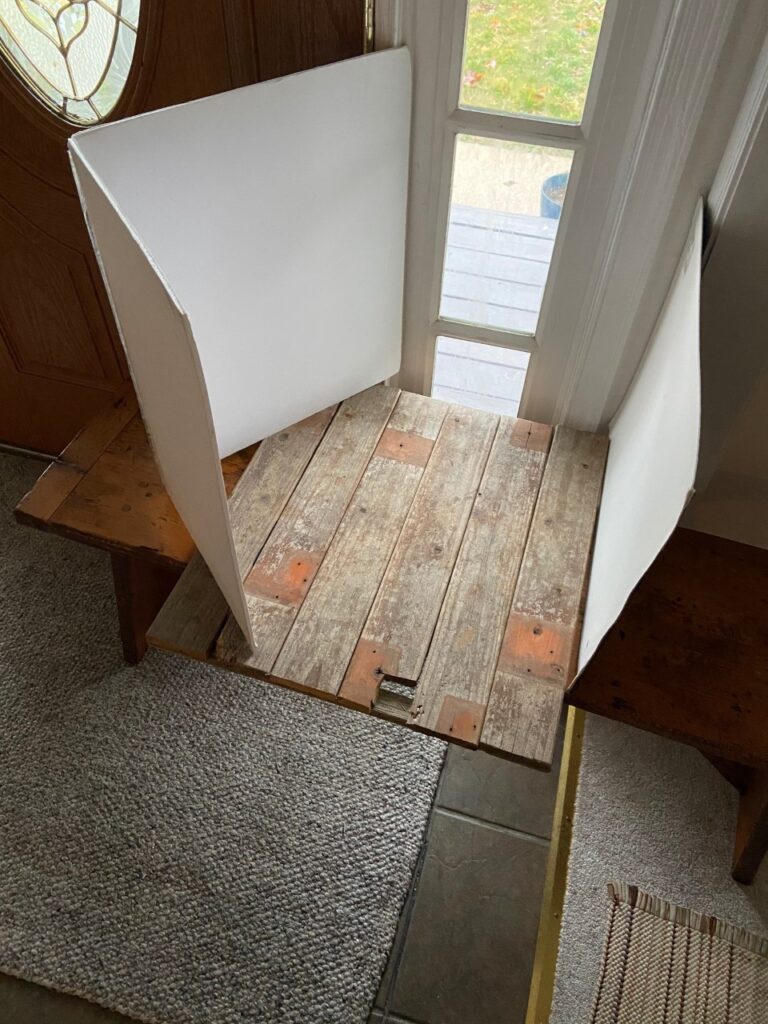
- Back to those lights.
Remember we mentioned not to use the yucky yellow overhead kitchen lights? Well if you can’t use those, then what CAN you use? I’m so glad you asked.
The most complementary light for your photos is clear, pure sunlight. Someone told me once that “the best light for photos is a cloudy window.” It’s true. That white, indirect light (not blazing sunlight where you have to squint your eyes) is perfect. A shady spot on a sunny day– like under a tree– is perfect. Light all around, enveloping, embracing, enchanting, but never glaring. That’s perfect light.
This is a basic setup that I use often– a photo board that I made, surrounded by white foamboards to bounce the light toward my subject. I place my board right in front of a window around 1-2 PM– when the sun isn’t shining hard enough through that window to make squint-worthy rays. The best part of this setup is that it cost me about 2 bucks to make, so anyone can do it without investing a lot of money to get started. Get craftttyyyyyy. Use your Hobby Lobby coupon. You’ve got this.
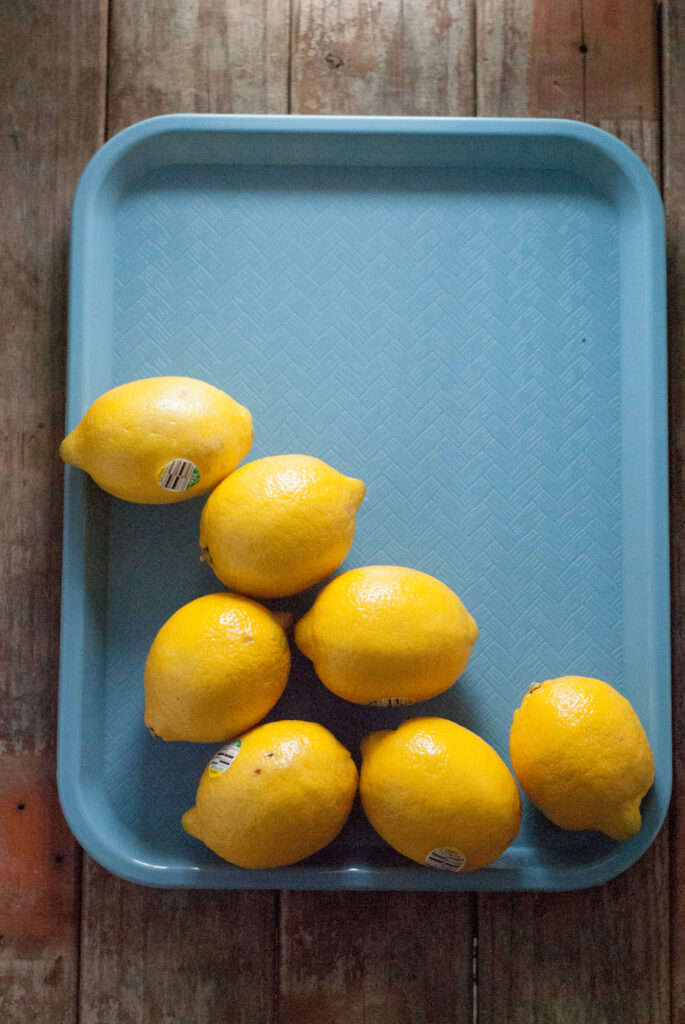
See? Here is the ugly blue tray with the lemons on it (notice how tacky those stickers look because I didn’t take them off yet?). It already looks better (even with no styling), just because I used the white light instead of the nasty yellow kitchen light. Such an easy change, and it will take your photos to the next level. Plus, daylight is free, which means more money for Hobby Lobby. You’re welcome.
If you live in an area that doesn’t get much natural sunlight, or if you’re trying to take pictures of something after the sun has gone down (don’t make dinner at 2 PM for your photo. It’s not worth it), it’s easy to make your own “fake daylight” lights– I did it for about 20 bucks, here.

- (Don’t) Fill ‘Er Up!
Another mistake I made often in the beginning of my food styling career? I forgot to fill up the coffee and tea cups. Yes. It’s embarrassing to look back at some of my old photos and see that I had cookies on a plate and an empty coffee cup on the side. Cringe. True, this was just a setup and I wasn’t really eating. Still. The photo looks weirdly staged and fake if you don’t at least take a stab at making it look like a real table. I drink tea every day, so it’s no big deal to drink it out of whatever cup I’m shooting with. (“Stick ’em up, teacup! Not THAT kind of shoot!You’re silly).
Pass the caffeine and give the ladies what they want. More coffee.
- Sacrifice One Man for the Team
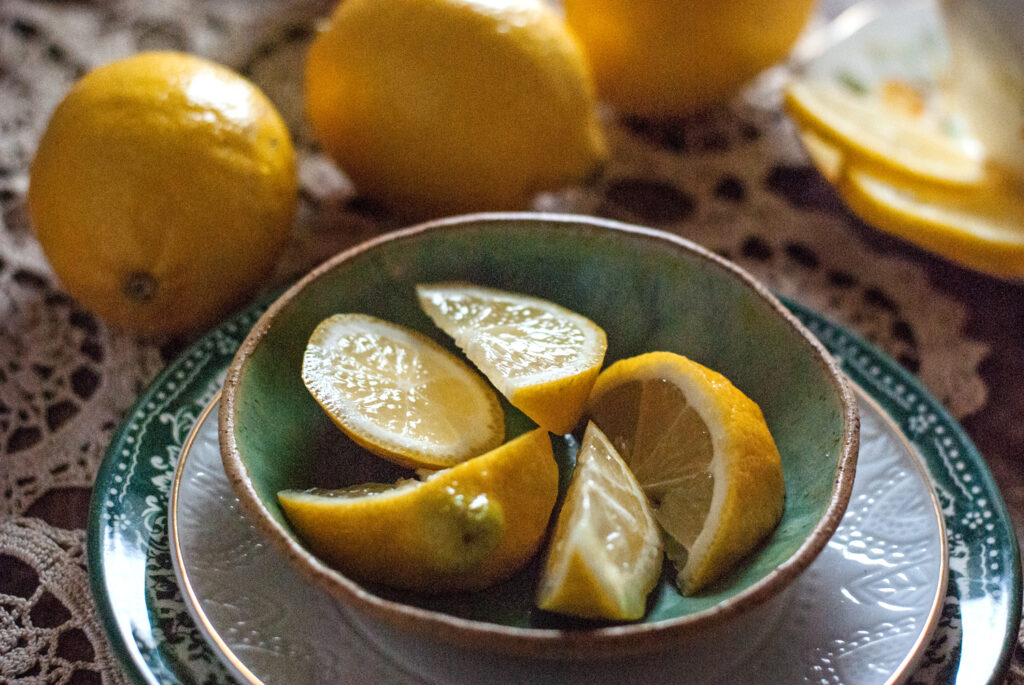
Well, one lemon, maybe. When I first started I used to think, “I don’t need to use a lemon for anything right now. I’m not going to cut open a perfectly good lemon, just for one photo.”
Remember what we said, above? If you’re not going to do it right, then it’s not worth doing at all.
You will find a use for the lemon, trust me. You can freeze the juice in an ice cube tray in 1 tbsp. portions for later. Cut into a real lemon if you’re using them for a photo, and show us the beautiful, juicy centers. Your photos will thank you for it.
- Mistake #(what number are we on, again?) . . . Knowing when to STOP garnishing.
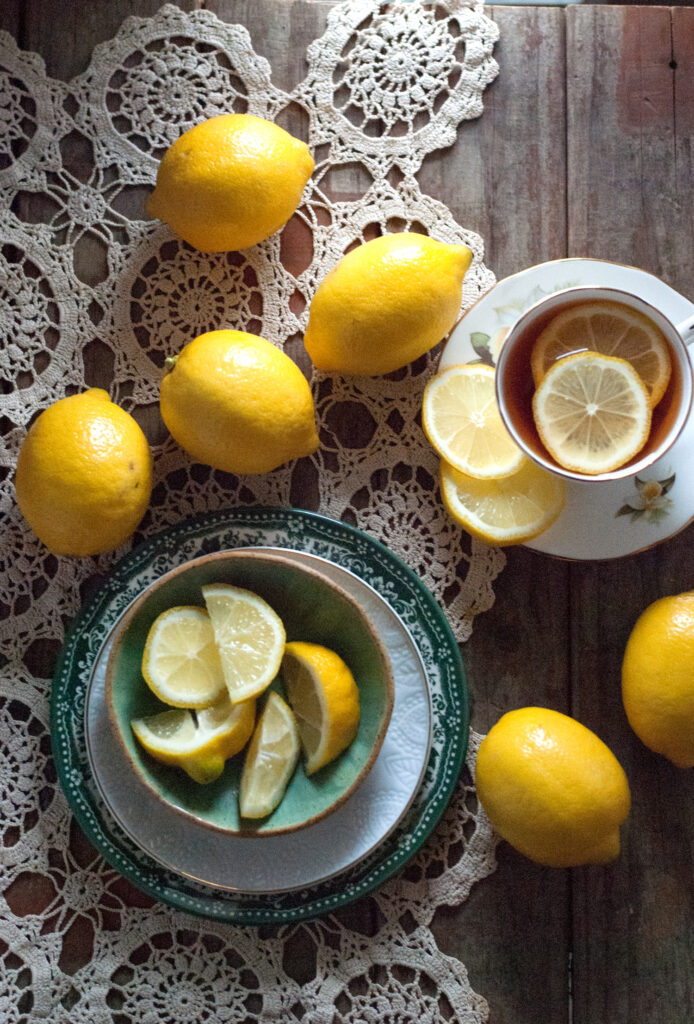
I still struggle with this one. It starts when I buy a truly gorgeous ingredient– maybe a bunch of carrots from the farmer’s market, peering shyly out at me from a sumptuous, verdant mane of carrot tops. Maybe it’s a plate of cookies. I took time on all of them, and I want to show ALLLLLL of them. Maybe it’s the most beautiful tea set you’ve ever seen, and I hate to leave out the cream and sugar when I looked so hard for those to match . . . and what about the TEAPOT? Pretty soon my pretty garnishes (and they are pretty– no one is disputing that) have crowded out the main dish. I just can’t let any of them go . . . can I?
It’s hard, but know when too many lemons is too many. Part of being a successful food stylist and photographer is knowing when to edit your work and cut something out, for the overall good of the photo.
All the lemons are beautiful. Pick the two prettiest and send the rest back to casting. I promise you won’t even miss them because the final photos will be so gorgeous and fabulous. Choose quality over quantity every time. And watch your photos improve.
- BIG MISTAKE. Not using photoshop. *shriek of terror in the background*
Would you go on a first date with your crush in frumpy house clothes, without putting makeup on first? Would you pick up an important guest from the airport without cleaning out the car and vacuuming the house before she arrived? Would you leave the house without brushing your teeth? No. So why would you send one of your precious photos out into the world, just rolled sleepily out of the camera, with no help from the good morning team? Ooooh you wouldn’t be so cruel!
I’ve been there. You think, “My iPhone takes pretty good pictures. I don’t really have time to plug in my camera every time I want to take a picture of something. I mean, come on. I’m a busy mom and don’t have time to set up photos every single time.”
*echoes* If you don’t have time to do it right, then you don’t have time to do it at all.
The fact is, if you want to do something, then you will find time. If you don’t want to do something, then you will find an excuse. Every single time.
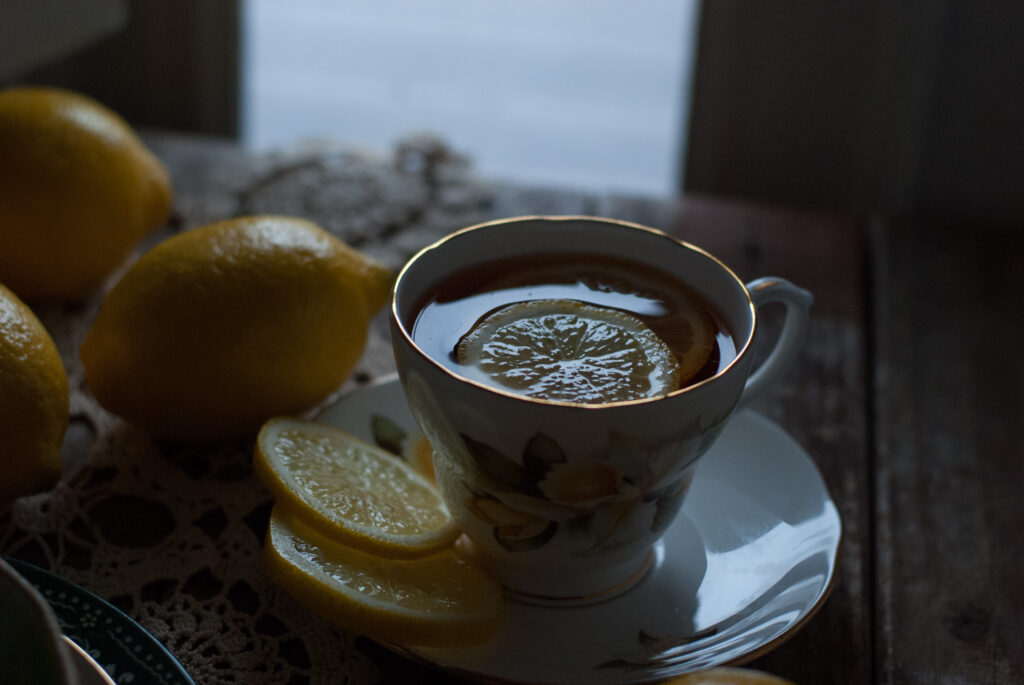
I don’t always use the camera for the step by step photos. But that’s the kicker– those are not my “star” photos. It’s ok if you don’t have time to use photoshop for every single photo you use. You don’t put on a full face of makeup to get groceries at walmart on a regular Tuesday. But DO use the special touches for your “red carpet” version of the dish– the one you want on social media and for your actual recipe pin. Do the makeup for the cover girl, even if the backups don’t get to take a swipe at the mascara wand. It matters. Trust me. The photo above is my original, fresh from the camera image, without photoshop.
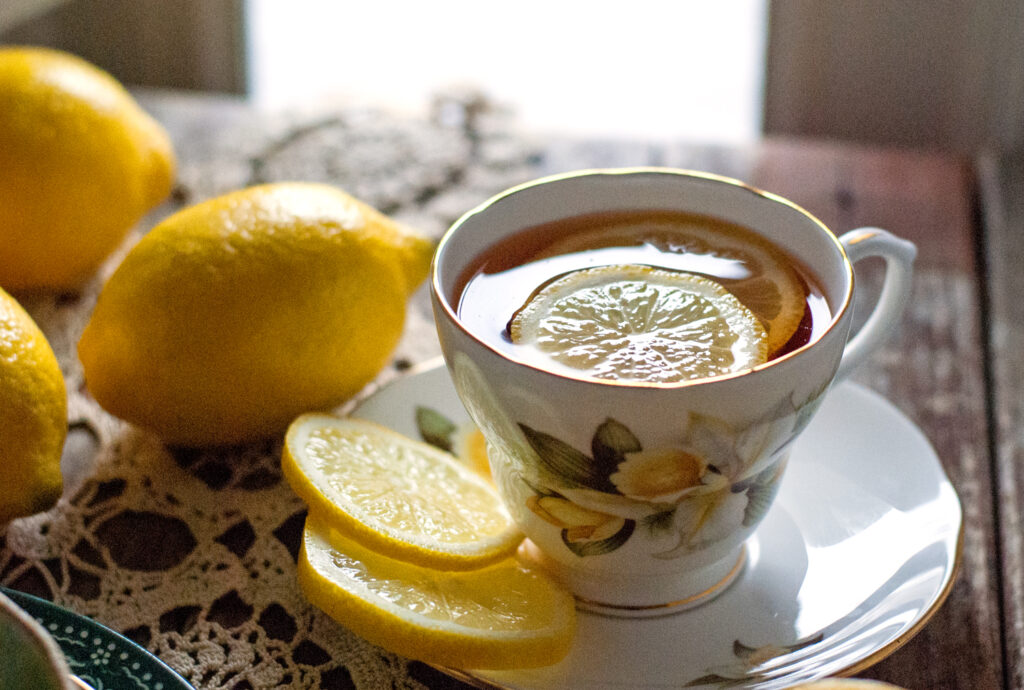
And this is that same photo after I touched it up in photoshop. The results speak for themselves. The camera is the tool used to capture an image, but you are the one setting up and creating the photo. The photo capture, itself, is your skill in action– not the camera’s or photoshop’s. Don’t feel like it’s “cheating” to use the tools at your disposal– if you use a car to drive to the store, is it the car going there, or you? It’s you, making skilled use of the tool that is the car to accomplish the end result that you imagined. Photos are the same way. The finished results are your responsibility, and that includes making use of the tools at your disposal to make your final work the best that it can be.
Get photoshop and learn how to use it. Yes, it’s intimidating at first. Yes, it costs some money. Yes, it takes time. But there is a youtube video for everything. Start watching. If you want to be seen as a professional, then you need to have the tools of a professional. Photoshop is the second most important tool, next to your actual camera, that you need to elevate your photos from hobby to professional levels.
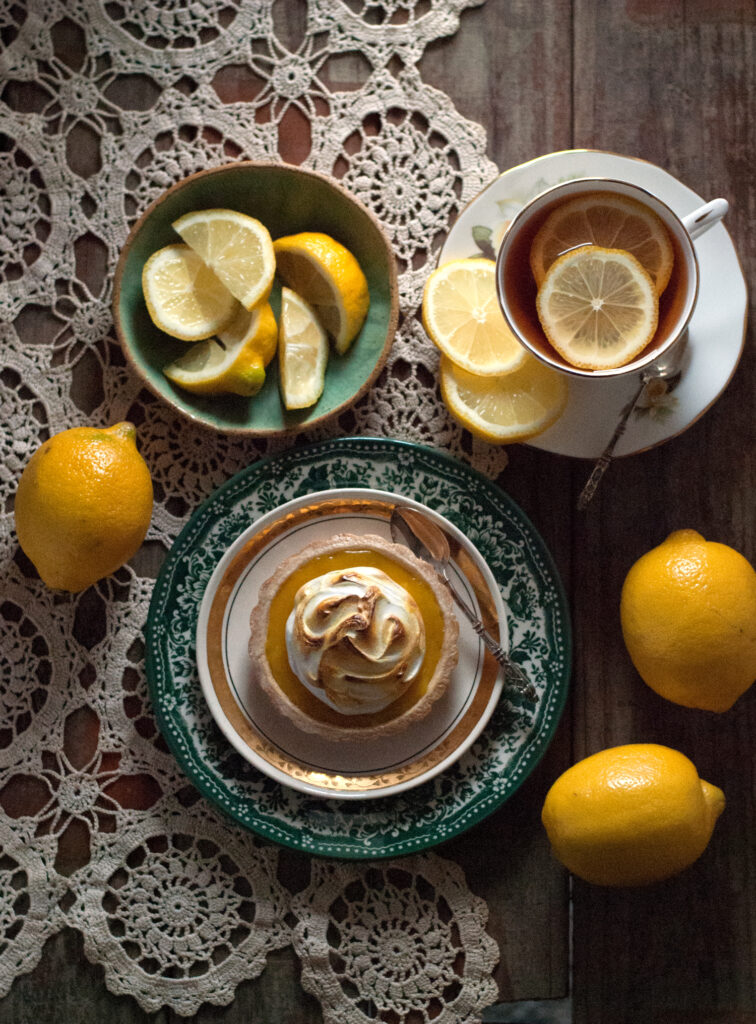
- Layer, layer, layer.
Layer everything. It adds interest and dimension to your photo. Layer your backgrounds– you can use napkins or towels or doilies. Layer your plates– a pop of green color around the smaller plate just adds a little kiss of color without being overwhelming. Layer colors and flowers and kisses of fruit. Heck– layer yourself too. It’s cold in here. It is winter, after all. Ok let’s say “almost spring” instead. Much less depressing. I agree with you. You’re so smart– I love working with you.
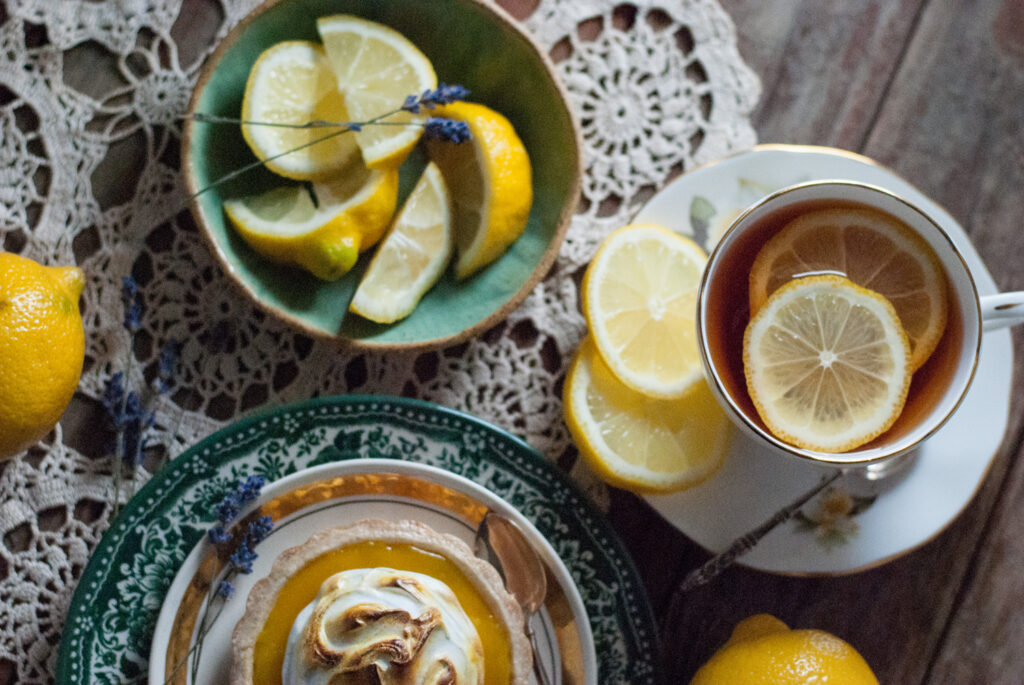
- Another rule to live by . . . add some greenery for life.
Someone told me once, “When you don’t know how to make a picture better, add an herb.” That makes me chuckle, but the bones of that saying are true. Add something green and beautiful– something natural. I grow and maintain a large flower and herb garden, and I love to put flowers and herbs I have grown into my photos. Not only are the flowers lovely, but it makes me happy to see my two great loves– cooking and gardening– both intermingled in the photos I create.
I can look at a photo and tell what time of year I took it, just from seeing what plants I have used to garnish it. If there are delicate English roses, then I know it was May or June when those beauties bloom gracefully on my porch. When I see fresh lavender and thyme I know it was summer, and I also know that I picked those herbs still warm from the sun and put them right into my picture setup. When I see dried lavender, citrus, and sage, I know it was winter– a season whose beauty is perhaps a bit more stark, but no less lovely because of the few plants hardy enough to survive it. There is beauty in the endurance of a winter plant, and I love to see that strength in my work. You can also use herbs to give a hint of the ingredients within a dish. If you are using lemon and lavender in the recipe, then add those elements to the garnishes and styling. Each garnish should tell a story and not be there simply to “take up space.”
You are telling a story without words. Make it beautiful.
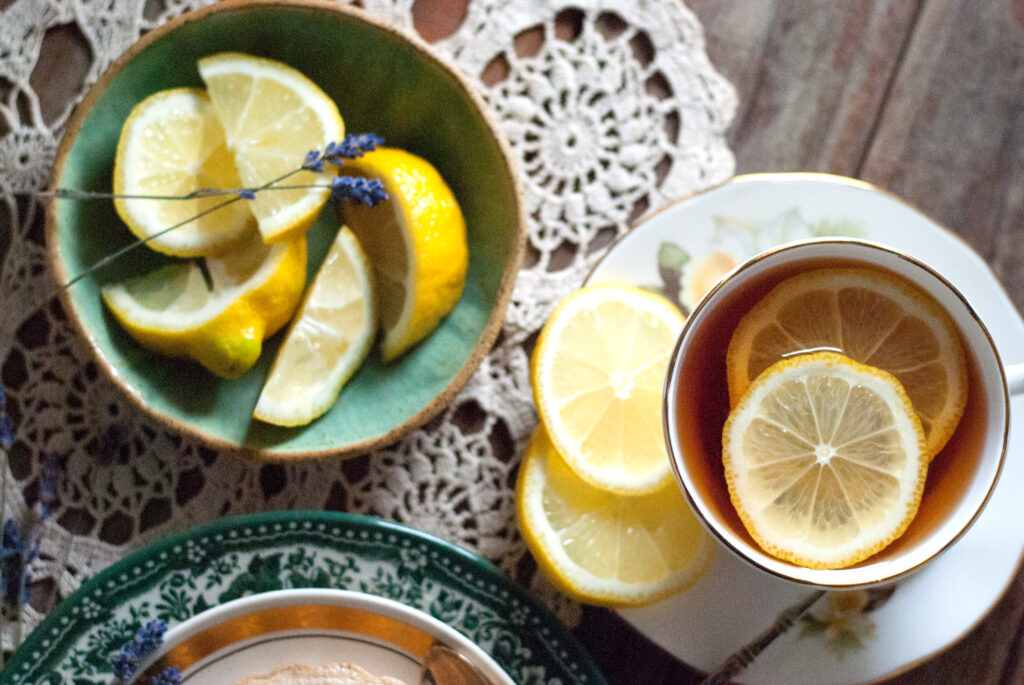
- Put Yourself in the Photos
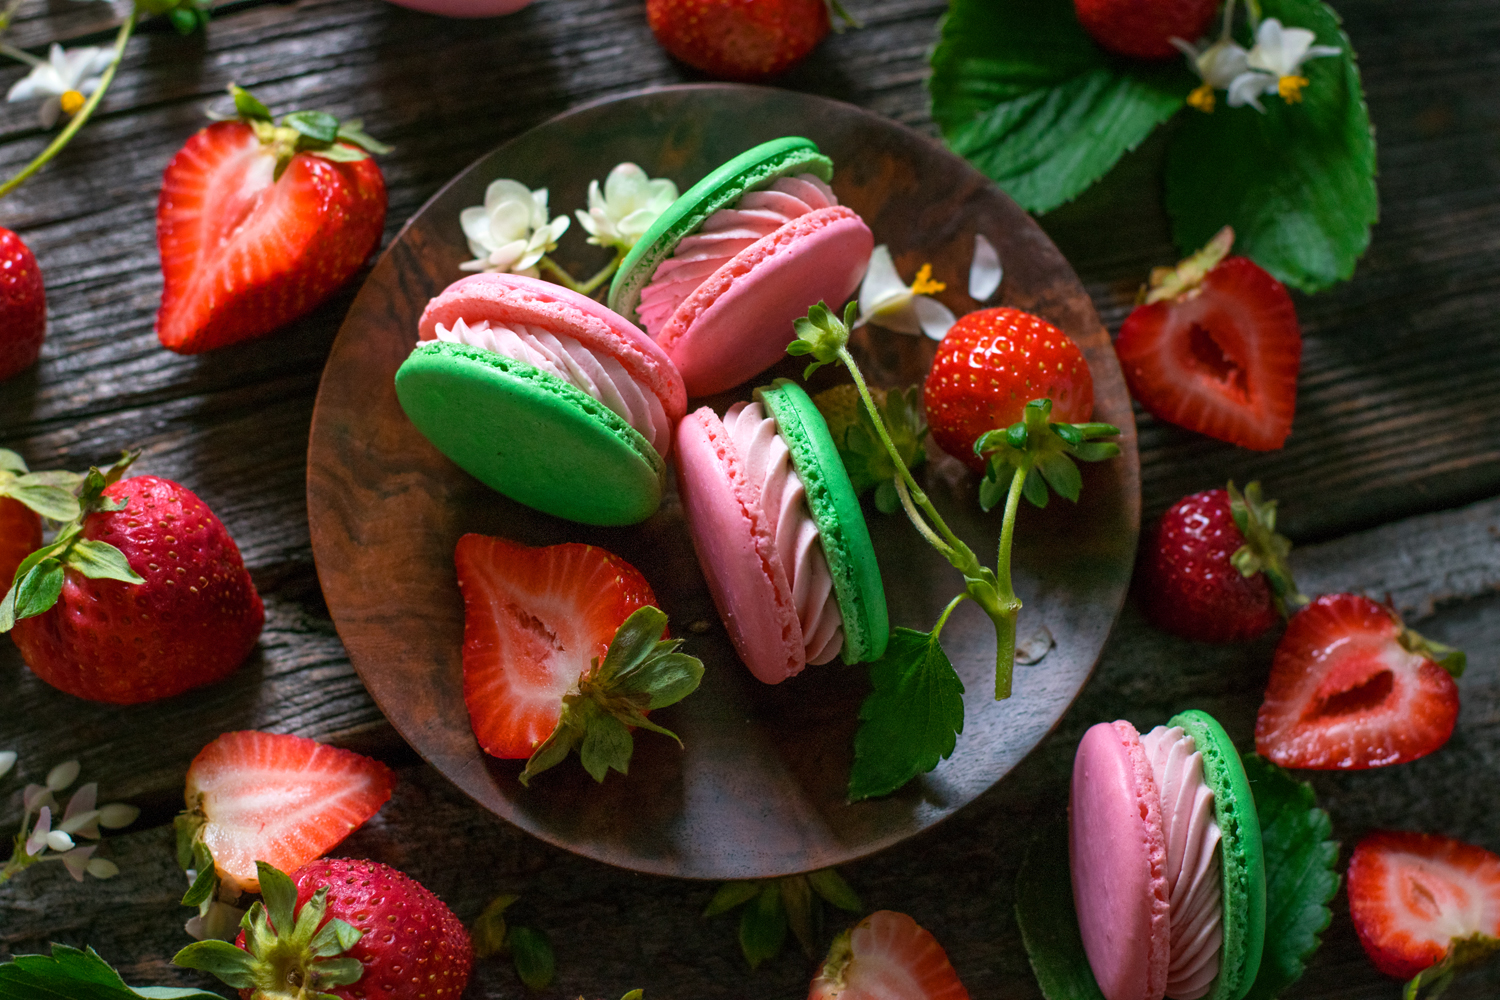
Well, ok. Maybe don’t LITERALLY put yourself in there. No food selfies. But one lesson I learned over my time trying to improve as a food stylist was that my photos looked better when they “felt” comfortable to me. When I tried to make my photos look more like a popular trend or tried to force myself to create work that “really wasn’t me,” then that uncertainty always showed. I am most comfortable with dishes I love, food I truly eat, and flowers I grow. And my photos have come to reflect that, as I grew more comfortable trusting my own instincts.
Just be yourself. Don’t be a copycat. Use your own style. Your work always shines most brightly when it is truly yours. For better or for worse, this is you. Celebrate it and don’t try to change who you are to copy the success of someone else’s style. Be yourself– everyone else is already taken.
And of course at the end of the day you can stand back, admire your work, and know . . .
You did it. And I’m just so proud of you. 🙂

Disclosure: This post may contain affiliate links, which just means that we get a few pennies if you purchase through our link. I never recommend products that I don't personally use and love. Thanks!




I have a hard time believing that your pictures were EVER cringe worthy. Your pictures are always stunning. Thank you for sharing such helpful tips; who knew?!?!?
Oh trust me. They definitely were. 😉