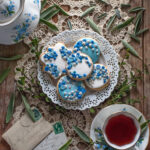
Snowy Christmas Tree Cookies
I can’t think of a better way to kick off Christmas cookie season than making some beautiful, snowy fir trees. These cookies are so cute, with their layer of sparkly snow– and they are sure to be a hit on your Christmas cookie tray, or in your gifts of Christmas cookie trays. However you choose to use them– even if it’s just nibbling on one while you decorate the tree, together– they will be great. Hey– someone has to taste them, to make sure they’re safe for the kids, right? 😉
What are we waiting for? Let’s do this!

First, obviously, it’s cookie baking time! Get ready for your kitchen to smell like Christmas . . . and get to baking! If you need a sugar cookie recipe and a tutorial with some tips and tricks of how to make sugar cookie cutting easier, check out my tutorial here.
Also get your icing bags ready. This tree cookie is great, because it requires only 2 colors! Easy, peasy. For more information on how to make royal icing and how to get it the right consistency for decorating, check out my tutorial here.
Okey doke. All set? Good. Choose your favorite tree cookie cutter and get those babies cut out and baking. When they are finished, allow them to cool while you flex your decorating muscles. This is going to be so much fun! You can almost smell Christmas in the air . . . Christmas does smell like cookies, right?
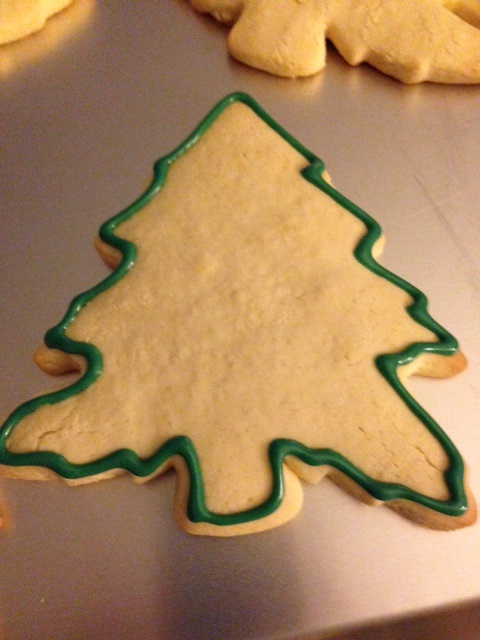
You’ll need your 17 second green icing, first. Outline your trees, smoothing your joining point a little bit, with a toothpick, if it makes a blob. “You’re a blob, today. We need to smooth things over.” Please, please don’t ever say this to me. Allow your outlines to dry for about 10 minutes before you move on to flooding the cookies. Drying generally takes me roughly the time it takes to outline all the cookies– by the time I’ve finished outlining the last cookie, the first one is usually dry enough to continue. It’s a beautiful system.
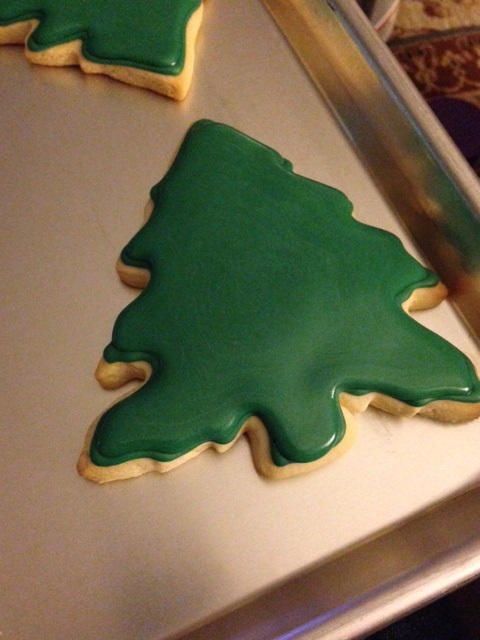
Using your flooding icing (I went ahead and used the same icing for both outlining and flooding), flood the outlines with your dark green. Use your toothpick to pop any air bubbles that may float unassumingly to the surface. We don’t want those little guys in our cookies! Blah. They will ruin our perfect, shiny finish. If you accidentally do miss one, don’t worry. Don’t try to pop the air bubble when the cookie has started to dry– it will just leave a scar. We can always cover a tiny mistake up with “snow,” later on 😉
After you finish flooding your cookies in green, they need a really good rest– what can I say. They are Americans. They need a good rest before they can do anything. Allowing the cookies to sit, uncovered, overnight, is perfect. If you can’t wait that long, give them at least 3 hours. You are going to be applying pressure to this layer, with your brush, and we don’t want the icing collapsing on us before it’s dry.
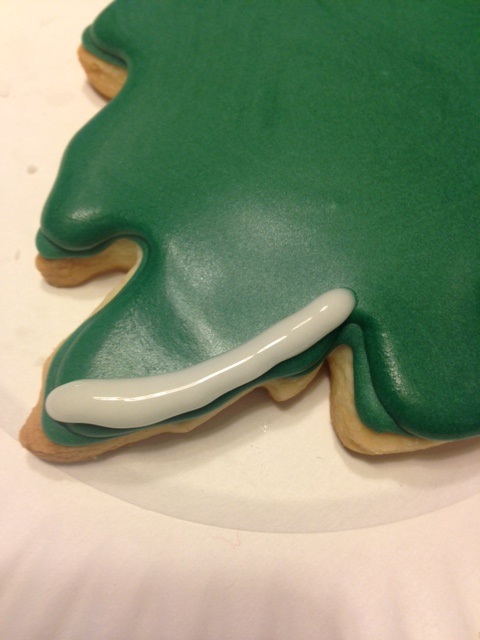
When the green layer is completely dry, get out your 17 second white icing. There really isn’t a “right” or “wrong” about where to put your snow on the tree– just kind of do what looks right, to you, or what works with the cutter that you have. I chose to make my snow drifts on the bottoms of the limbs, so that I could sweep the snow upward. More on that in a moment.
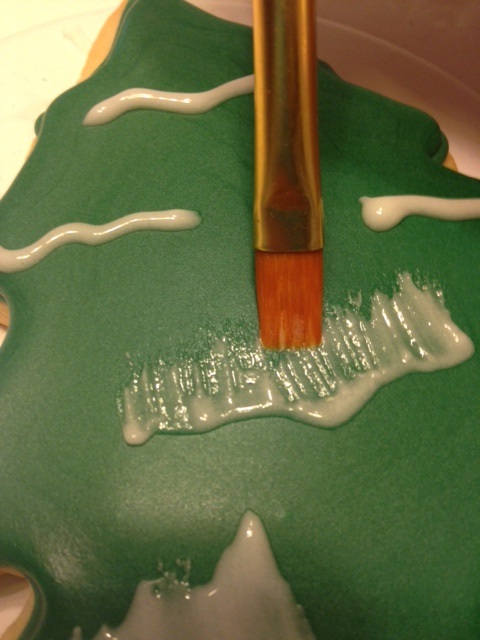
Now, it’s time for some brush embroidery. Remember when we used that technique, here, the other day? Basically, you want a flat brush that is barely dampened. If your brush is too wet, you won’t be able to see the individual brush lines, as the water will cause the icing to bleed together. Gently sweep the icing upward, creating a nice little snowdrift.

Allow the initial snow sweeps to dry, and then add another line of icing to the bottom of the drift (where you initially placed your icing line, before brushing it). Sprinkle this line with chunky sparkling sugar. Don’t use regular sugar– it will be too small and fine for this. I bought my favorite sparkling sugar at King Arthur Flour here . I am a huge fan of this Vermont-based baking company. Not only are their products absolutely top notch, but their customer service is outstanding. Once, at Christmas, I used a coupon, and then, after I had placed my order, realized I had a better coupon I should have used. When I wrote to the company to ask them if they would allow me to change my coupon, after the order was already placed, they wrote back, “After talking it over, we have decided to honor both coupons, in honor of the holidays. Merry Christmas.” They also do charity bake-a-thons every year, and create a valuable community presence. I tell you . . . they just don’t make companies like this, anymore. So every chance I have to support them, I do it.
And besides that– their products are superb. I have never found another sparkling sugar that I like as well as this kind. It doesn’t “melt” into your icing, like some sugars do. It really keeps its shape and its crunch. Nothing adds Christmas cheer to cookies like the sparkle and crunch of snow.
It’s fantastic to add a sparkle to the tops of pies or scones, as well . . . but I digress.

When you have “sugared” those lines, gently turn the cookie sideways so that the extra sugar falls off the cookie. A little trick is to “sugar” your cookies on one of those cheapie paper plates that are basically useless as a regular paper plate. You know– the plate that dumped all your potato salad into your lap last summer because it couldn’t hold up under the strain of 3 grams of food? Yes. That kind. Although, in this case, their cheesy bendability comes in handy. When you are done with your sugar, just bend that cheapie plate in half and pour the rest of your sugar back into the container. It’s so easy, it almost hurts. Don’t tell anyone how easy it is, and I won’t, either.

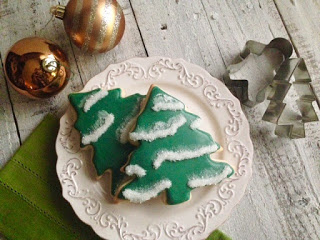
Allow your cookies to dry, overnight, so that they are completely dry. Adorn your cookie trays and enjoy the Christmasy crunch of your snowy beauties. They’re beautiful.
And you did it. I’m just so proud of you.

Disclosure: This post may contain affiliate links, which just means that we get a few pennies if you purchase through our link. I never recommend products that I don't personally use and love. Thanks!