Yum
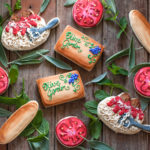
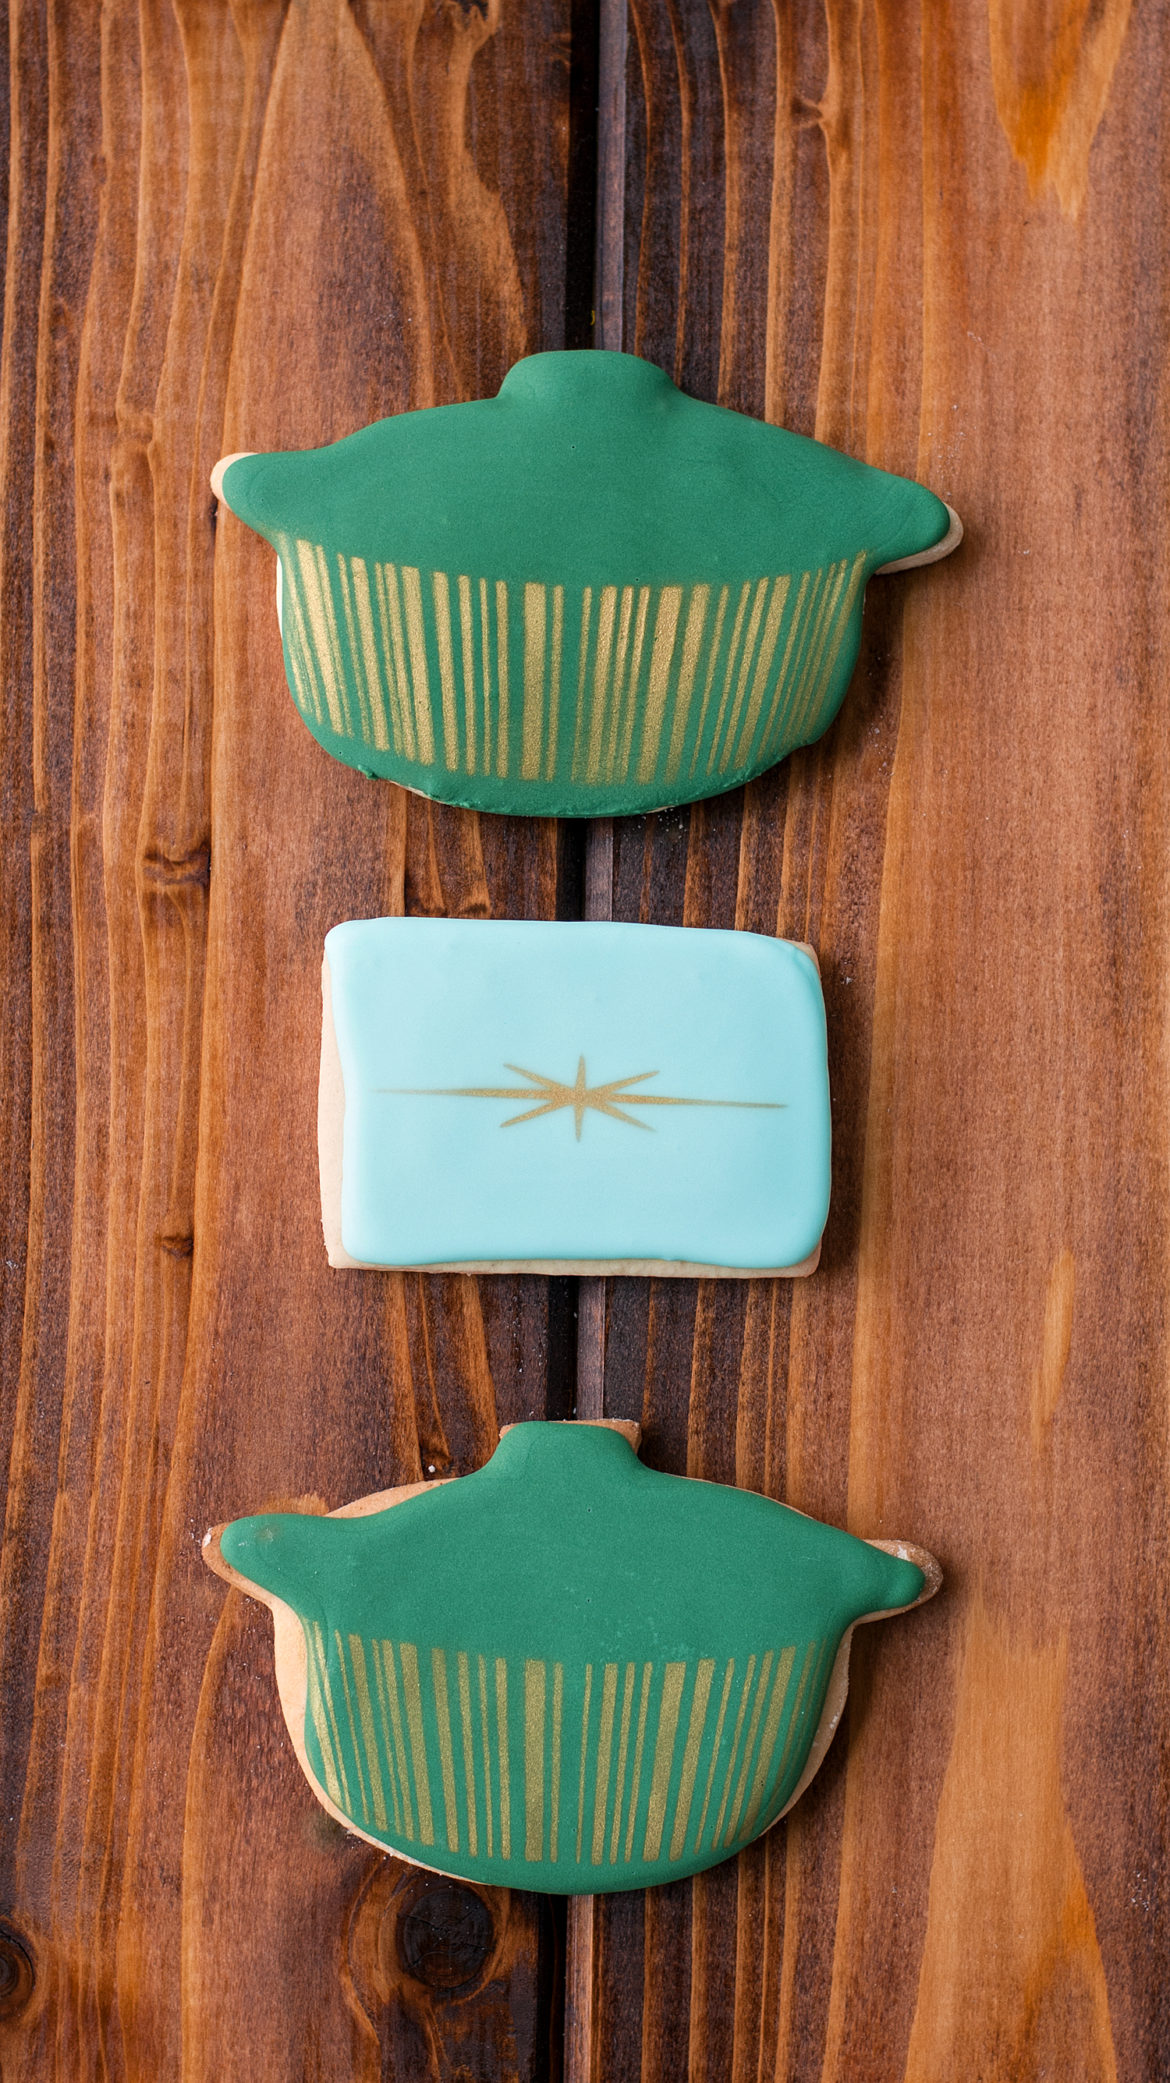
As you all know, I have long been a lover and collector of vintage Pyrex. So it follows that I would make a few of my favorite Pyrex patterns onto cookies! 🙂 Today’s “main squeeze” is the venerable Pyrex Starburst– the casserole may run you 400 bucks, but the cookies won’t be nearly that much, and then you can have as many as you want. 😉
What are we waiting for? Let’s do this!
Pyrex Starburst Cookies
(Cookie recipe adapted from Sweet Sugarbelle— designs and decorating tutorial are my own)
Ingredients:
1 1/2 cups powdered sugar
2 sticks (1 cup) butter or margarine, room temperature
2 tsp. extract of your choice (I tend to use vanilla)
1 egg (room temperature)
2 tsp. baking powder
1/2 tsp. salt
3(ish) cups flour
Royal icing, for decorating (the recipe I use here)
Directions:
Cream powdered sugar and butter until light and fluffy. Add extract and egg; beat well. Sprinkle baking powder and salt over mixture; mix well. Add flour, a little at a time, until it forms a stiff dough that does not stick to your fingers. Place on a floured surface and allow to rest for 15-20 minutes. Roll out dough to 1/4 inch thickness. Cut out shapes and “peel” dough scraps (more on this here). Bake at 375 for roughly 15 minutes until set and bottoms of cookies are lightly golden. Allow to cool on a baking rack before decorating with royal icing (more on how to make this here).
Now, in pictures! ?
Obviously, on a blog NAMED after cookies, we have made (and eaten, unfortunately) our fair share of sugar cookies. But in case you’re new here and you need a brush up tutorial on the actual sugar cookie making process, no worries– I’ve got you a nice, step by step sugar cookie tutorial here. ? Check that out if you need a little extra help and then come on back here so I can show you how to make these little Pyrex cuties. 🙂
Of course, you can use any sugar cookie recipe you prefer– you can even use pre-made sugar cookie dough at the store, and then just decorate the cookies, yourself. Shhh . . . I won’t tell if you don’t! 😉 We will be using royal icing to decorate, and you can find out more about how to make royal icing here if you’ve never made it before. Unlike other icings, royal dries hard, which means that you can stack the cookies when you’re done, without messing up your designs. Awesome.
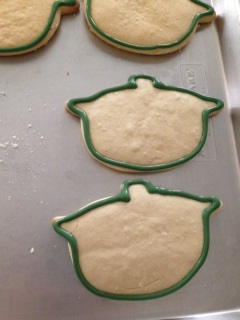
Start out by outlining your Pyrex shapes in 17 second icing. For the barcode casserole I am using this Le Creuset cookie cutter, and for the starburst I am using a simple rectangle cutter
. The point of outlining the cookies in icing, first, is to make kind of a “dam” to hold the flooding icing from slipping all over the sides of the cookie before it has a chance to dry. I like to outline all my cookies and then go back to flood the beginning ones. This gives the first outlines a chance to dry so that they are ready when I come back to flood them.
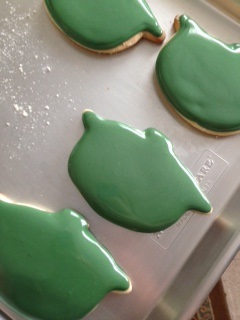
When your outlines are finished, flood the cookies with the same icing, using a toothpick to fill in any gaps and to pop any air bubbles that surface in the smooth icing surface before it dries. If you’re new to royal icing, and you are thinking that flooding is just for people named Noah who live on an ark, then check out the royal icing tutorial here. ?
I iced the barcode cookies in a mixture of forest green Americolor and a touch of yellow and brown. I just kept tweaking until the colors looked about right. Remember with icing that your dried color will be a little lighter than the wet icing, so take it “one shade darker” than you need, and the finished product should be about right.

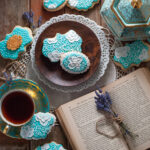
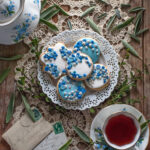
For the starburst cookies I actually used a teensy bit of Wilton teal colored gel. You may be able to find this one at your local craft store, also, as they are more likely to carry Wilton products. Remember– a little gel food coloring goes a long way, so start out with *just* a smidge (I dip the very end of my butter knife in the color and mix. That’s all you need).

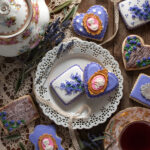
I also iced some plain white cookies to make these Denmark-Pyrex inspired cookies. They are known as . . . wait for it . . . “Hearts.” Very imaginative, eh? 😉
For all of these cookies, I used a cookie airbrush. An airbrush is a fairly large investment, but I use mine constantly. If you’re unsure if you want to dip your toe into the cookie airbrushing world, there are little individual “color mist” colors at most craft stores that you can try, first. They won’t work as well as a professional airbrushing system, but if you only want to make a few cookies then they can be an economical way to get the job done, and I’m all about saving you some green! 😀 I got the Pyrex stencils from Buttercup Love Designs here. I custom ordered them, and they were such a big hit that she made them a permanent item in her shop. How cool!
As far as airbrush colors go, I am using the red and green classic airbrush colors from Amerimist. There are cheaper options out there, but the Americolor colors are the best, bar none, in my opinion. They have a lot more color options, and they don’t bleed like some of the cheaper colors do. If you put the money in for an airbrush gun, it’s worth getting decent colors so you actually have a fun airbrushing experience. Plus, then your cookies won’t look like they applied a heavy coat of mascara and then watched “The Notebook.” *lip trembles. WAHHHHHH!!!!!!!!!!!!! *sobs*

For the barcode and the star of the starburst, I used Amerimist gold sheen. Airbrushing sheens can be a bit of a learning curve, because the little gold flecks can clog your airbrush if you’re not careful. When I use any kind of sheen I dillute it with the following ratio: 3 drops sheen to 1 drop vodka. Don’t worry about adding vodka– all the alcohol evaporates. No one will get drunk from eating your cookies. 😉 It just makes a good vehicle for transferring your color through the system, and because alcohol evaporates so quickly, it’s gone almost as soon as it eases the transition for the gold. 😉 As with all airbrush colors, less is more. Do 2-3 light layers, allowing each layer to dry in between, rather than 1 heavy layer. Globbing on color will just make your design run– so keep adding light layers and drying the color in between, until you have the color density that you want.
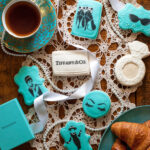
When your cookies dry, you can package them in individual 5×7 clear cello bags (cheapest I found were these, here— they are roughly 100 bags for 5 bucks. That means you can package pretty cookies for a LONG time. ;). Give them to the Pyrex lover in your life– or just enjoy a little sweet 1960s nostalgia.
When you wish upon a starburst, right?
You did it. And I’m just so proud of you.

Disclosure: This post may contain affiliate links, which just means that we get a few pennies if you purchase through our link. I never recommend products that I don't personally use and love. Thanks!